SQLServer搭建网站实例详解
环境:SQLServer2008R2一台、web服务器一台
软件支持:iis、动态网站源代码
拓扑:

步骤:
数据库部分:
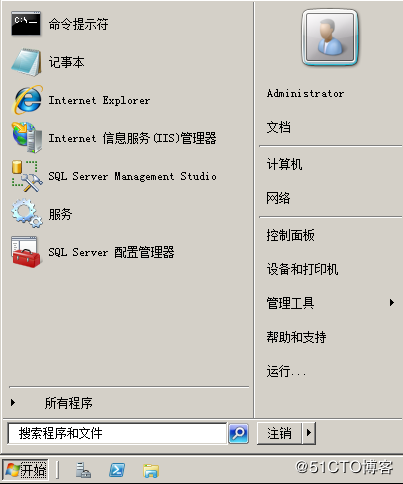
1、开始-点击SQL Server Management Studio
2、输入SQLServer服务器的名称或IP地址、登录名、密码-点击链接数据库

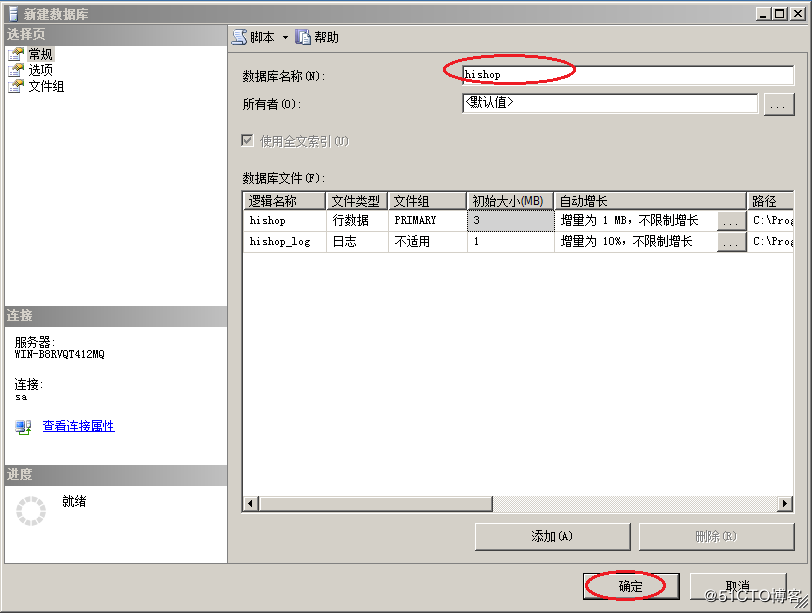
3、新建一个数据库

4、输入新建的数据库名称-确定
web服务器部分:
1、首先把下载的源代码复制到一个磁盘中

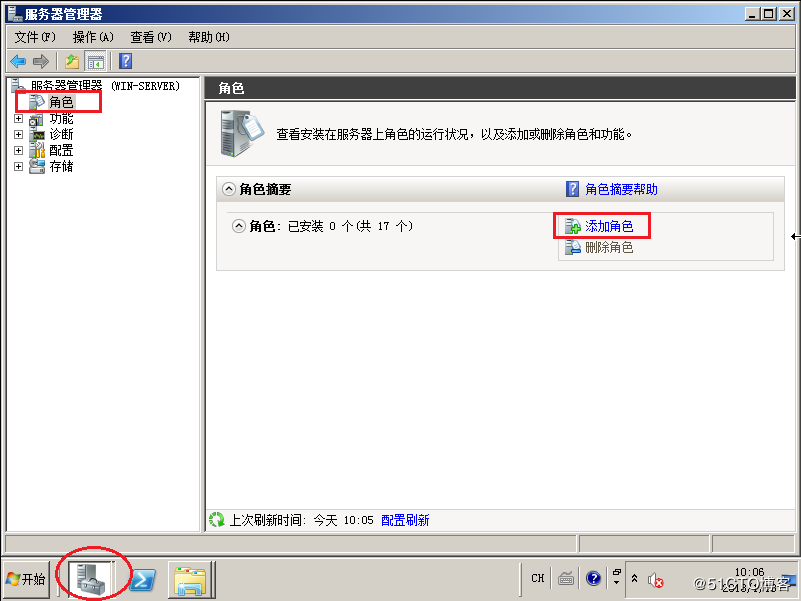
2、安装web服务。点击左下角的服务器管理器-角色-添加角色
3、点击服务器角色的web服务器(iis)

4、勾引上应用程序开发以及子选项-然后开始安装

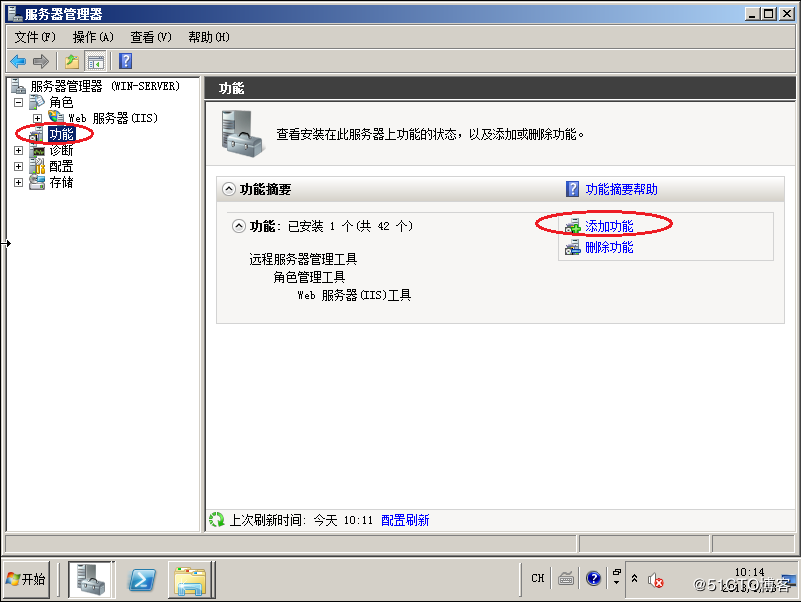
5、点击功能-添加功能
6、勾选.net-并选择添加必需的功能-然后开始安装.net。
7、点击开始-管理工具-IIS

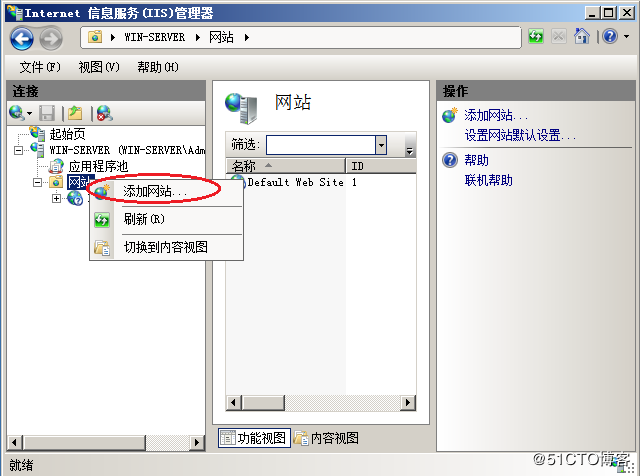
8、展开节点-网站-右击选择添加网站
9、输入网站名称-点击选择物理路径-选择upload-点击确定

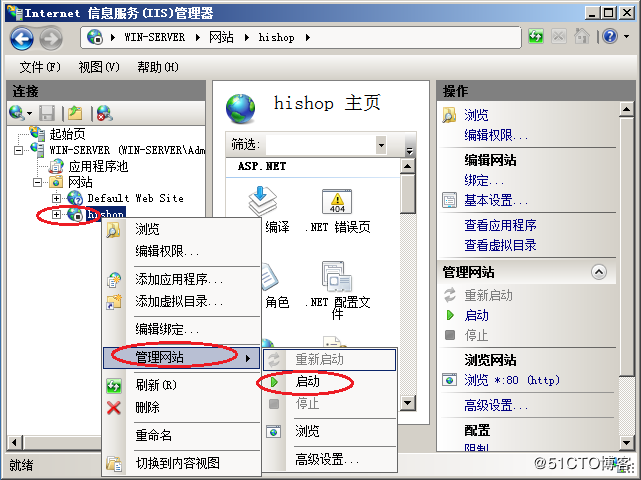
10、右击hishop网站-管理网站-启动
11、点击应用程序池-右击hishop-基本设置

12、将这里托管管道模式的“集成”改为“经典”模式

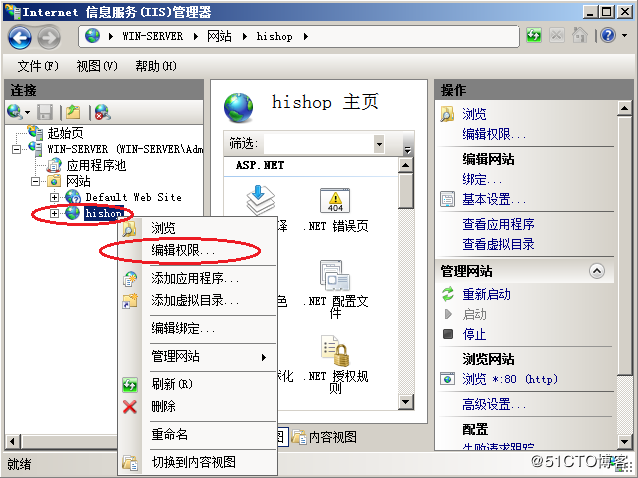
13、编辑权限
14、选择安全-添加everyone-并给予完全控制的权限
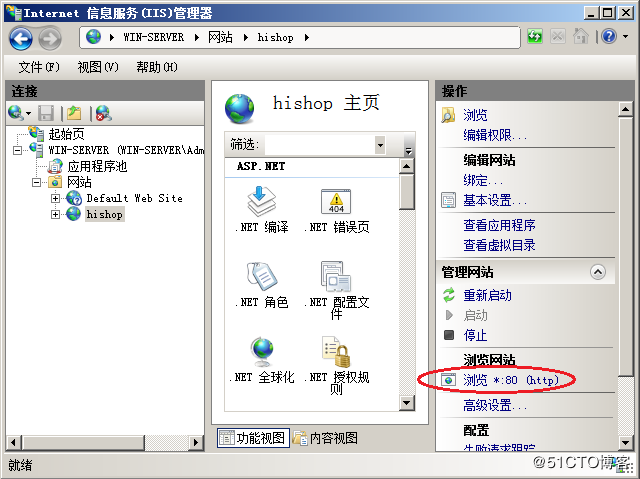
15、返回到hishop-点击浏览网页
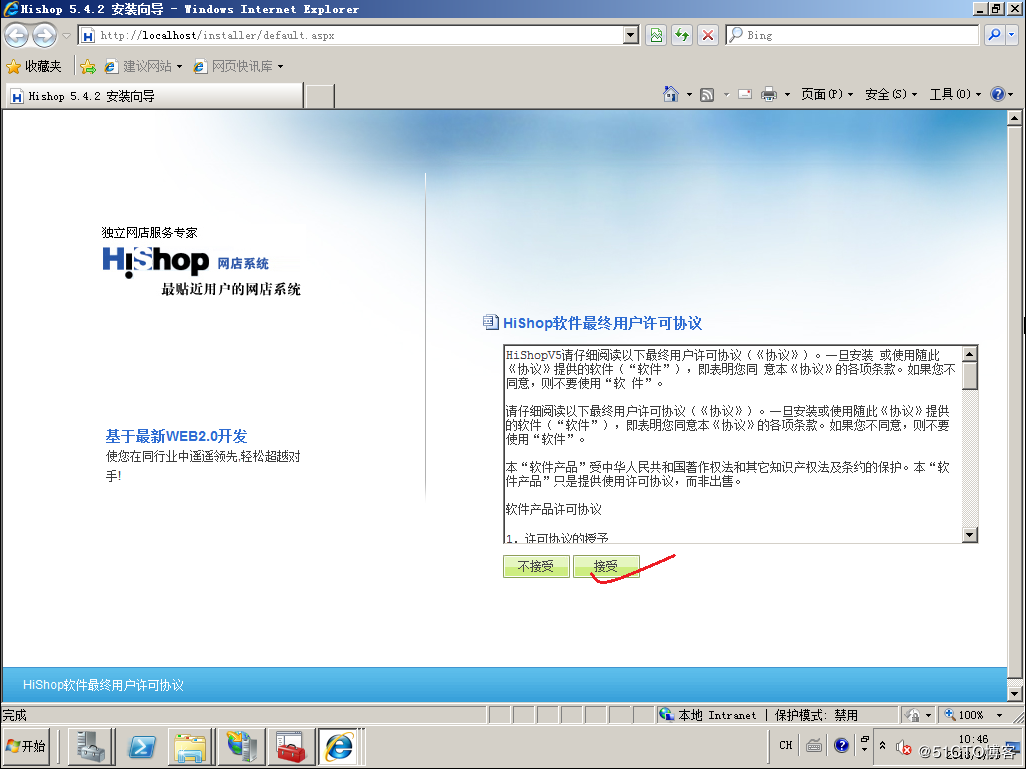
16、浏览网页可以看到hishop的界面

17、配置后台信息
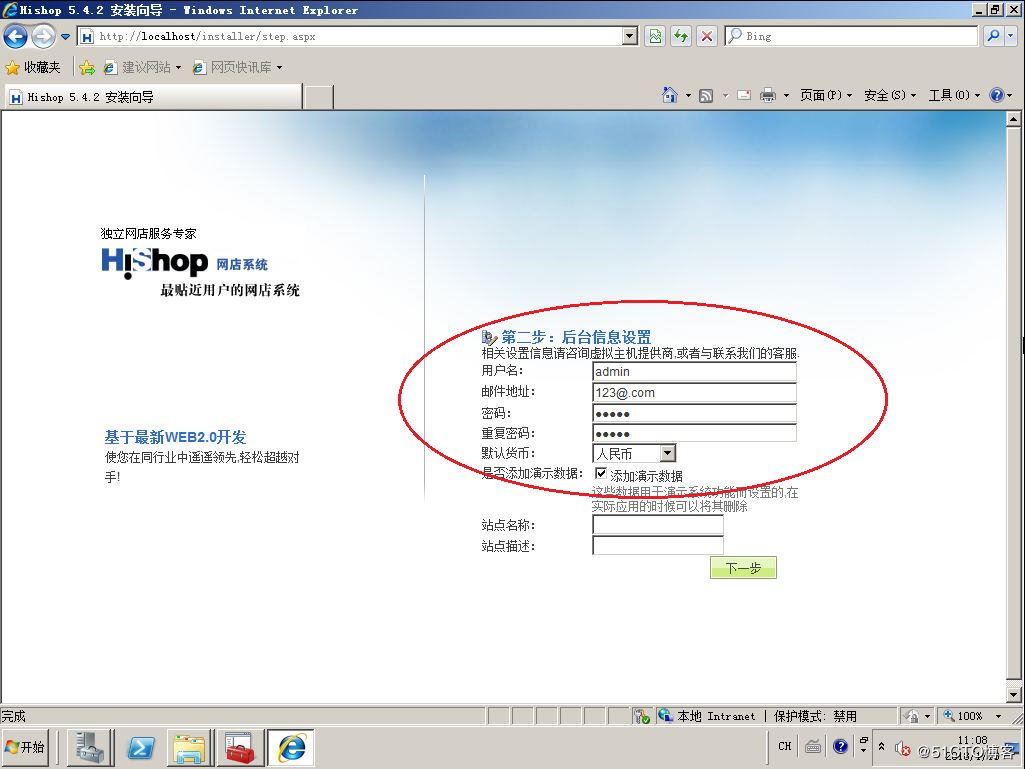
18、点击完成就可以进入网站

19、网站界面

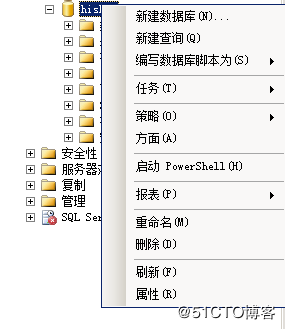
20、这时候备份一下数据库

21、删除数据库
22、删除的时候勾选关闭现有连接

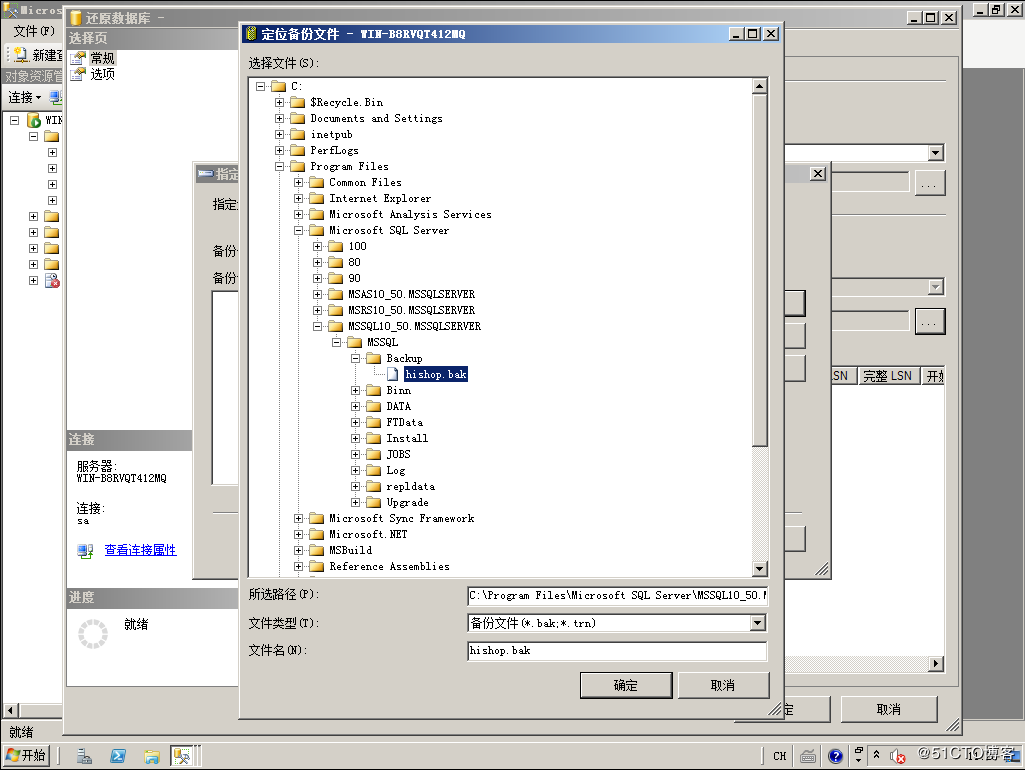
23、恢复数据库
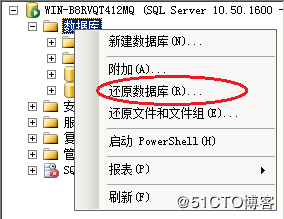
24、找到备份文件-然后确定恢复
到此这篇关于SQLServer搭建网站实例详解的文章就介绍到这了,更多相关SQLServer搭建网站内容请搜索电脑手机教程网以前的文章或继续浏览下面的相关文章希望大家以后多多支持电脑手机教程网!