windows server 2019 服务器配置的方法步骤图文详解
目录
- 一、启用远程功能
- 二、测试
- 三、解决多用户登录的问题
- 参考连接:
这篇文章主要分享了安装完windows server 2019的一些比较实用的设置,以方便更好的管理服务器。
一、启用远程功能
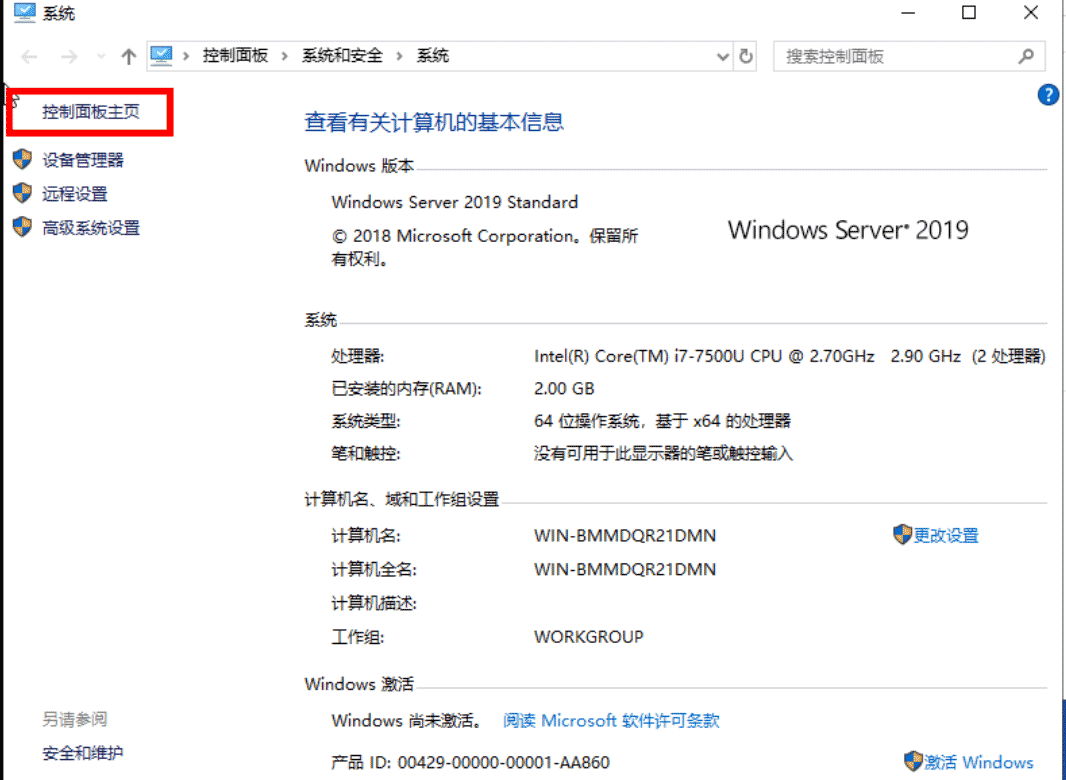
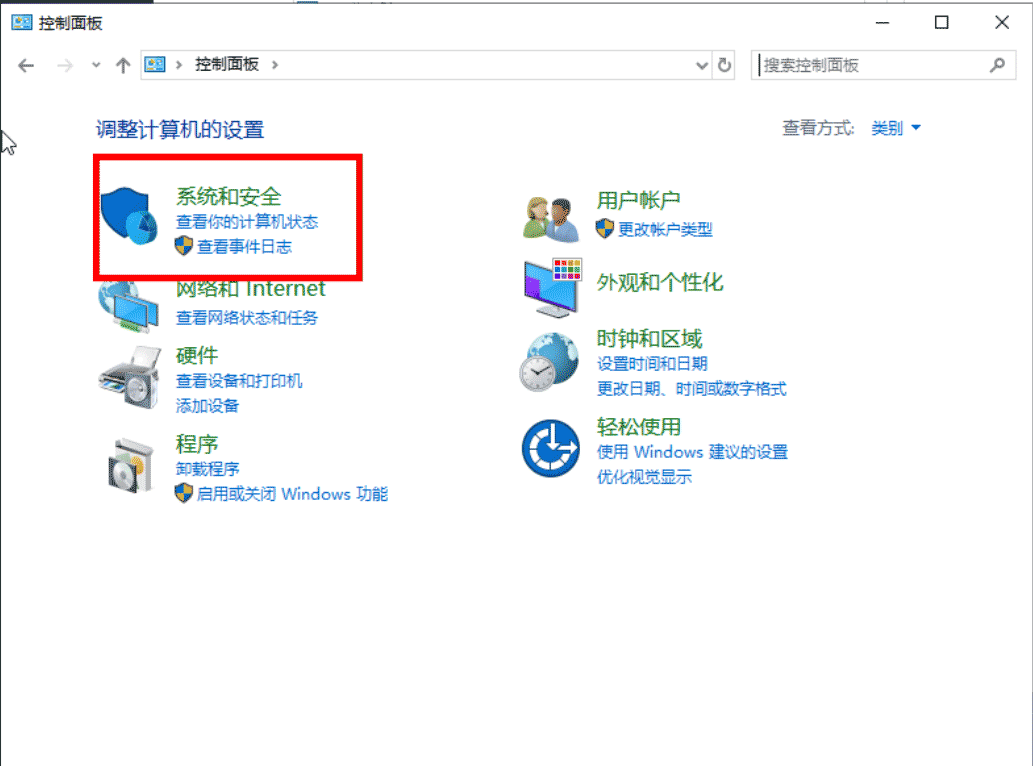
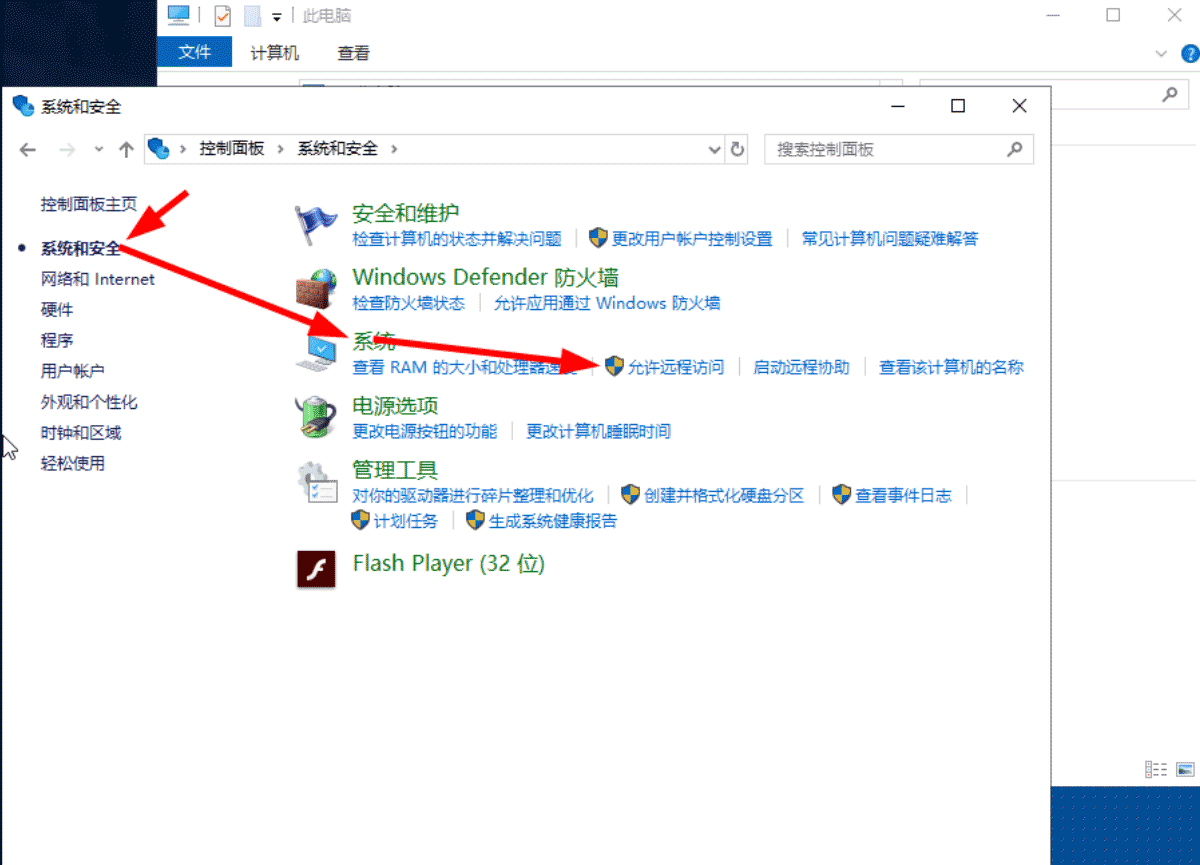
右键点击【此电脑】–【属性】,进入“【控制面板\系统和安全\系统】”,点击-【远程设置】(计算机找不到就使用【win+E】快捷键)

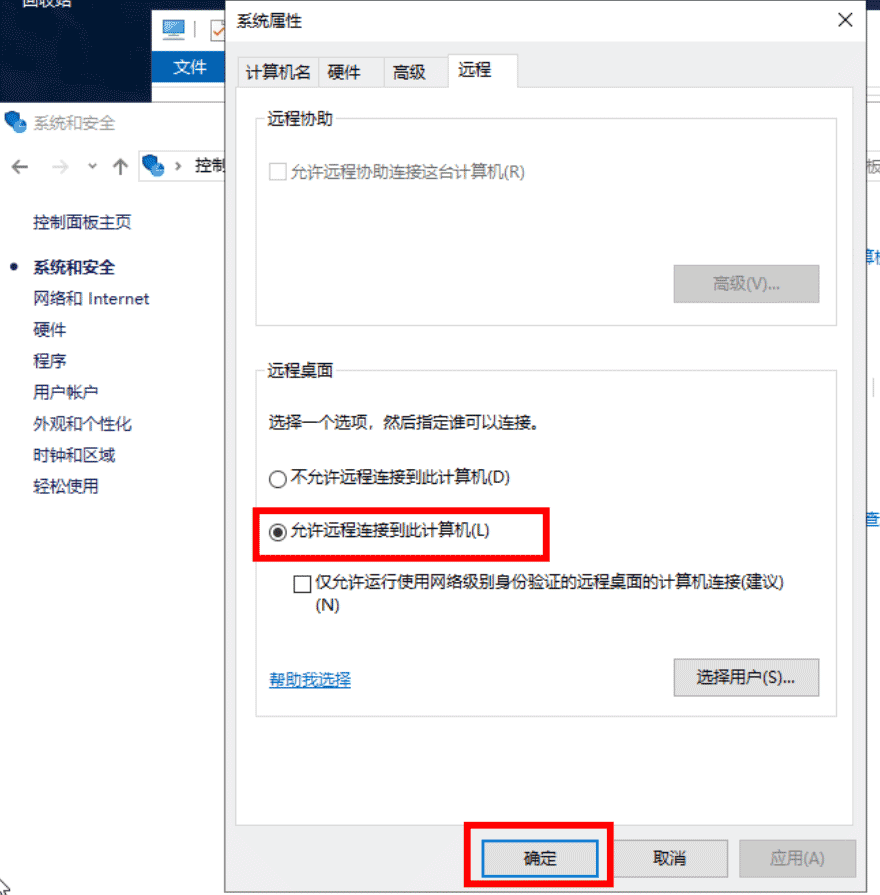
2、在“远程桌面”下方,点击【允许远程连接到此计算机】,还有去掉下方【仅允许运行使用网络级别身份验证的远程桌面的计算机连接】,如图所示:
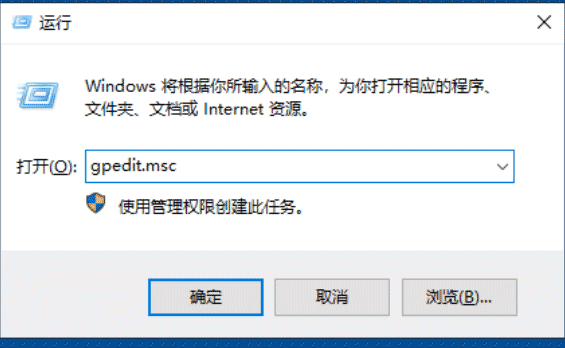
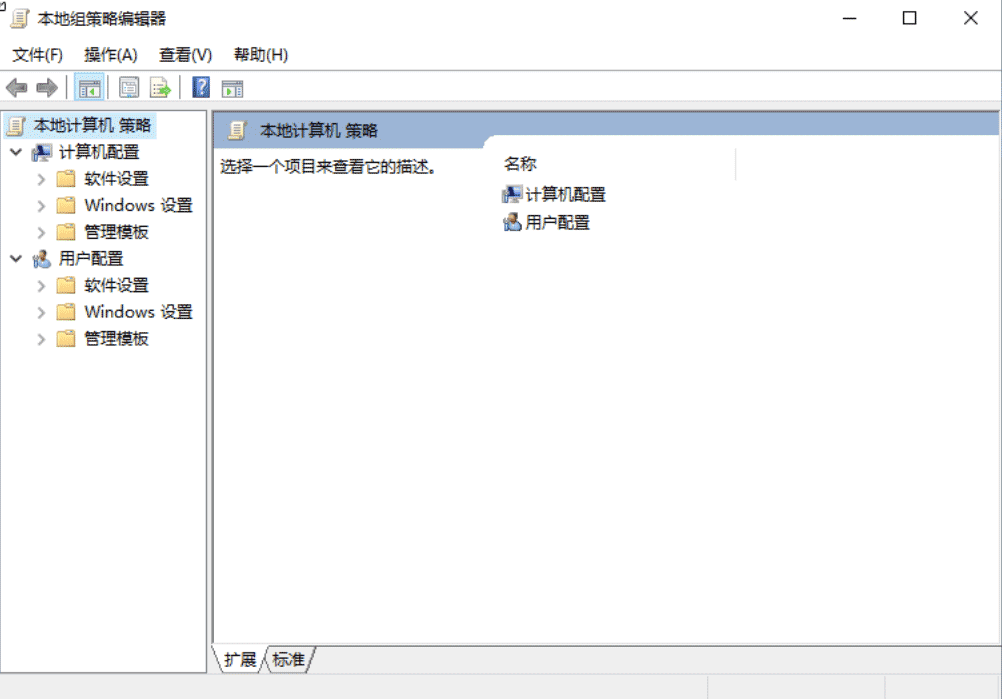
3、在运行(快捷键win+r)中运行gpedit.msc命令,调出本地组策略编辑器
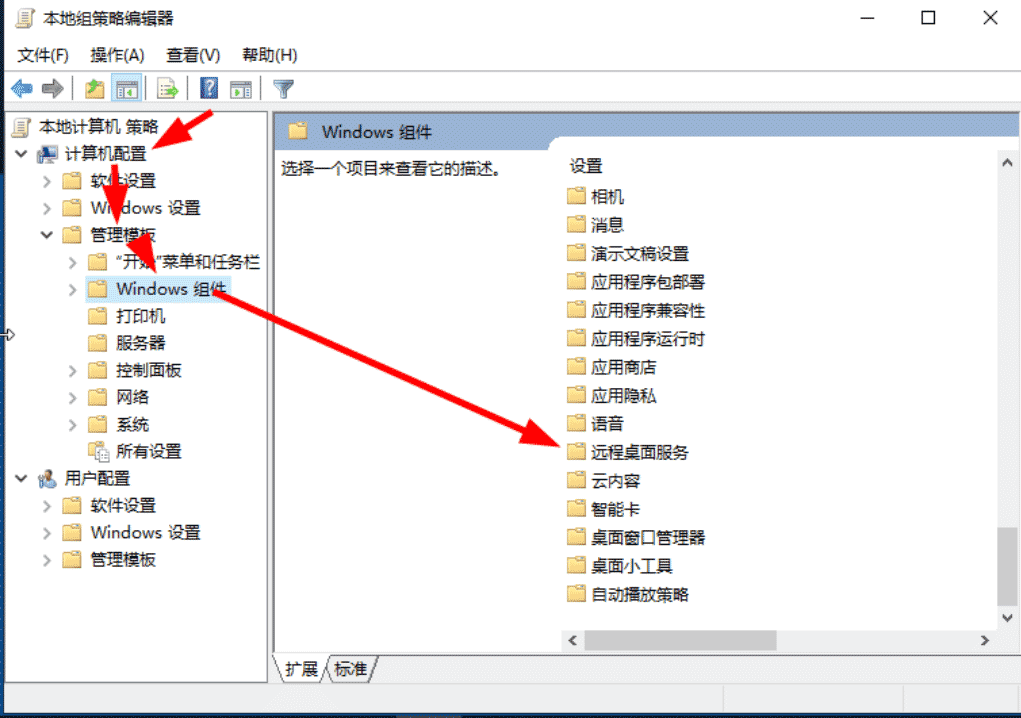
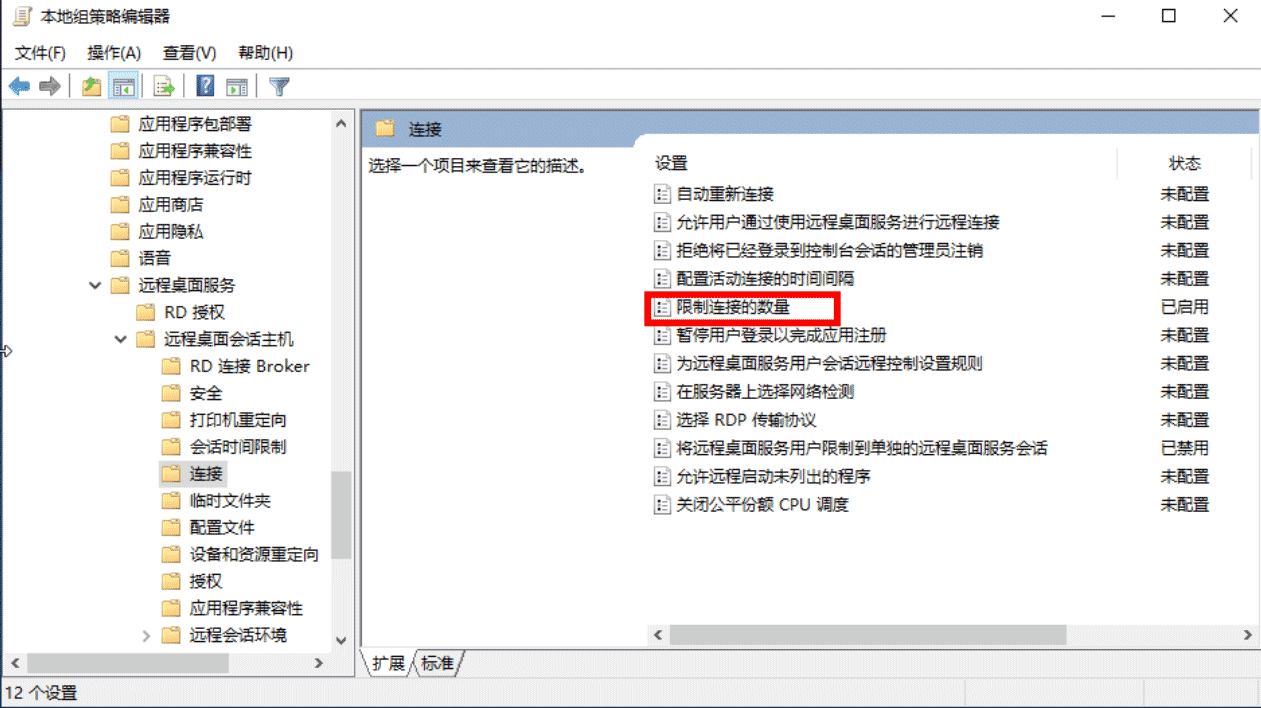
依次点击展开【计算机配置】>>>【管理模板】>>>【Windows 组件】>>>【远程桌面服务】>>>【远程桌面会话主机】>>>【连接】
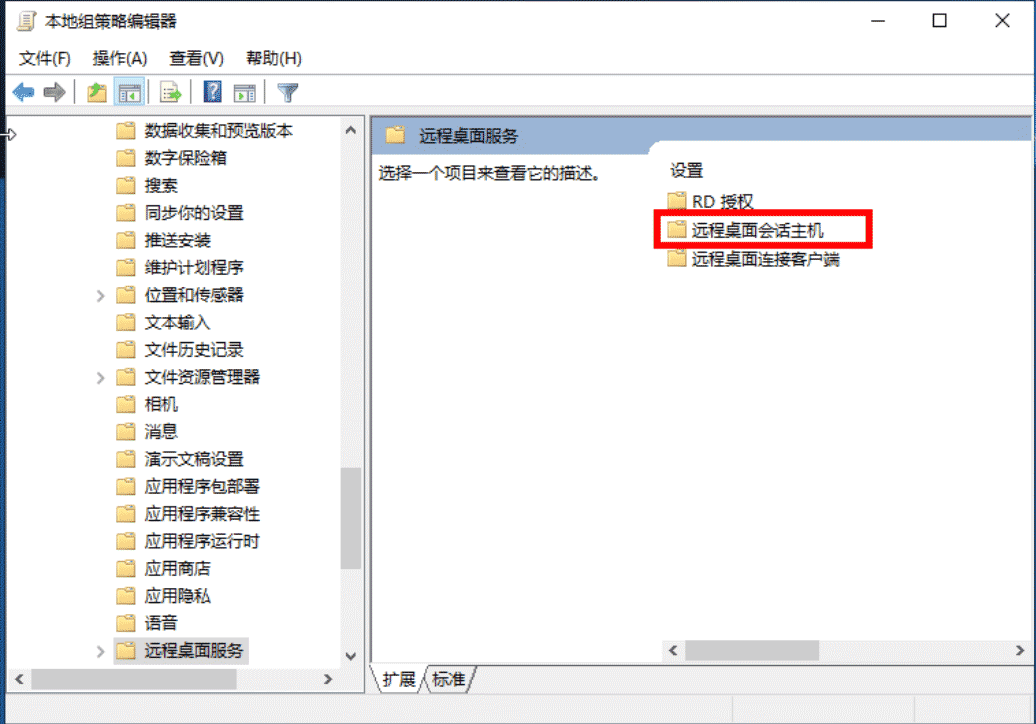
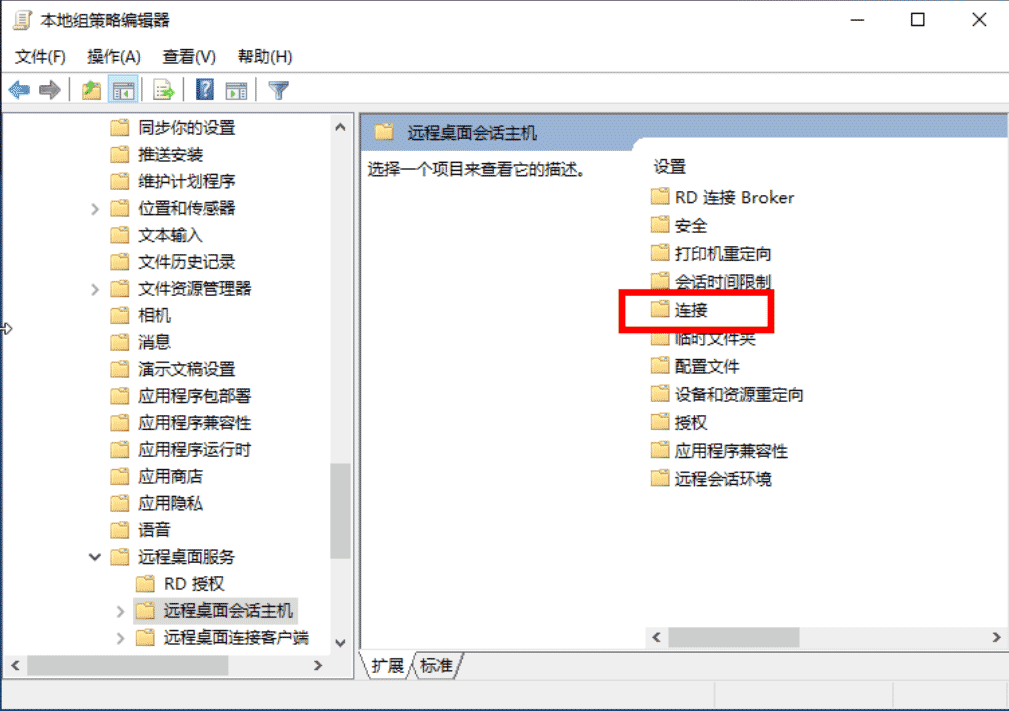
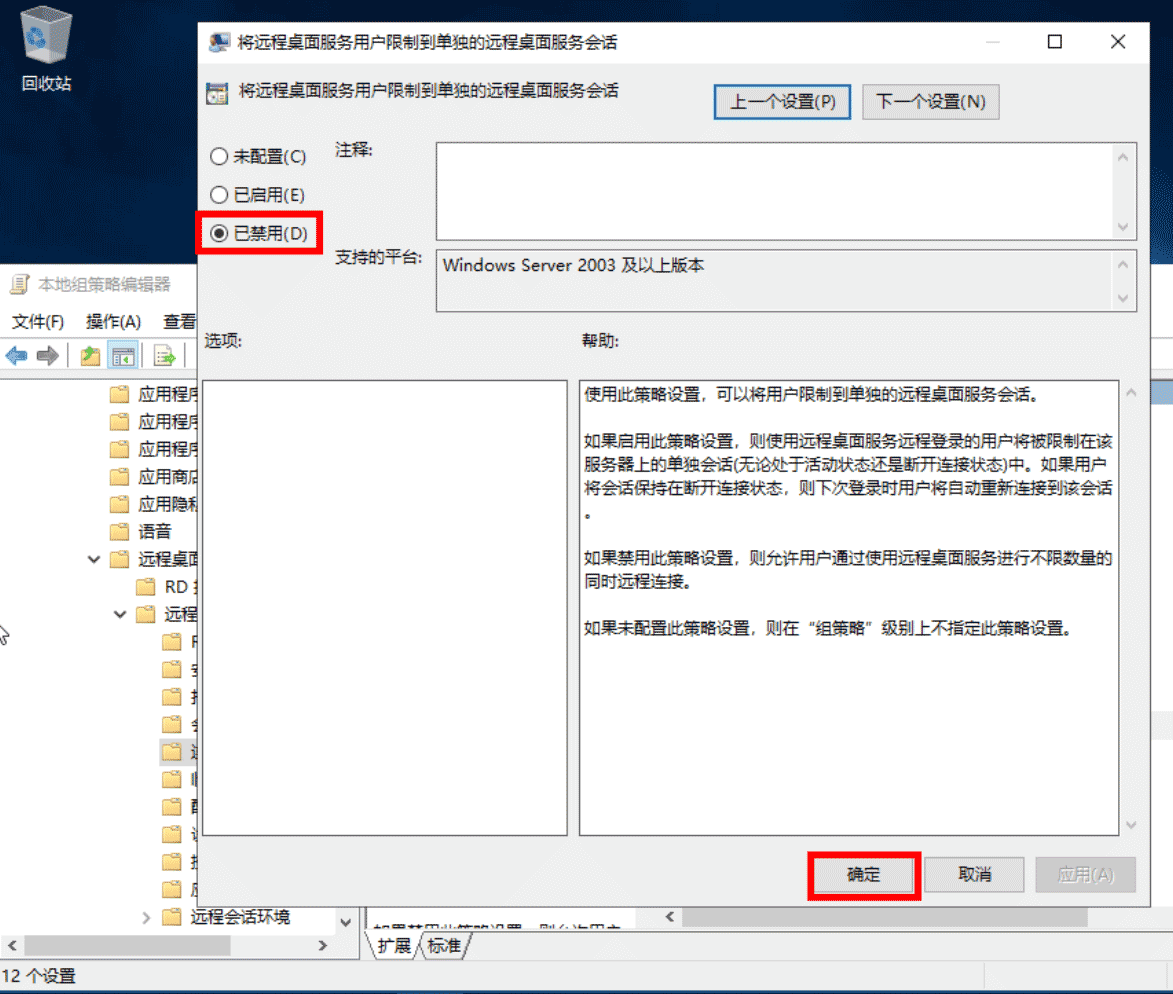
4、在连接项右侧找到并双击打开【将远程桌面服务的用户限制到单独的远程桌面会话】
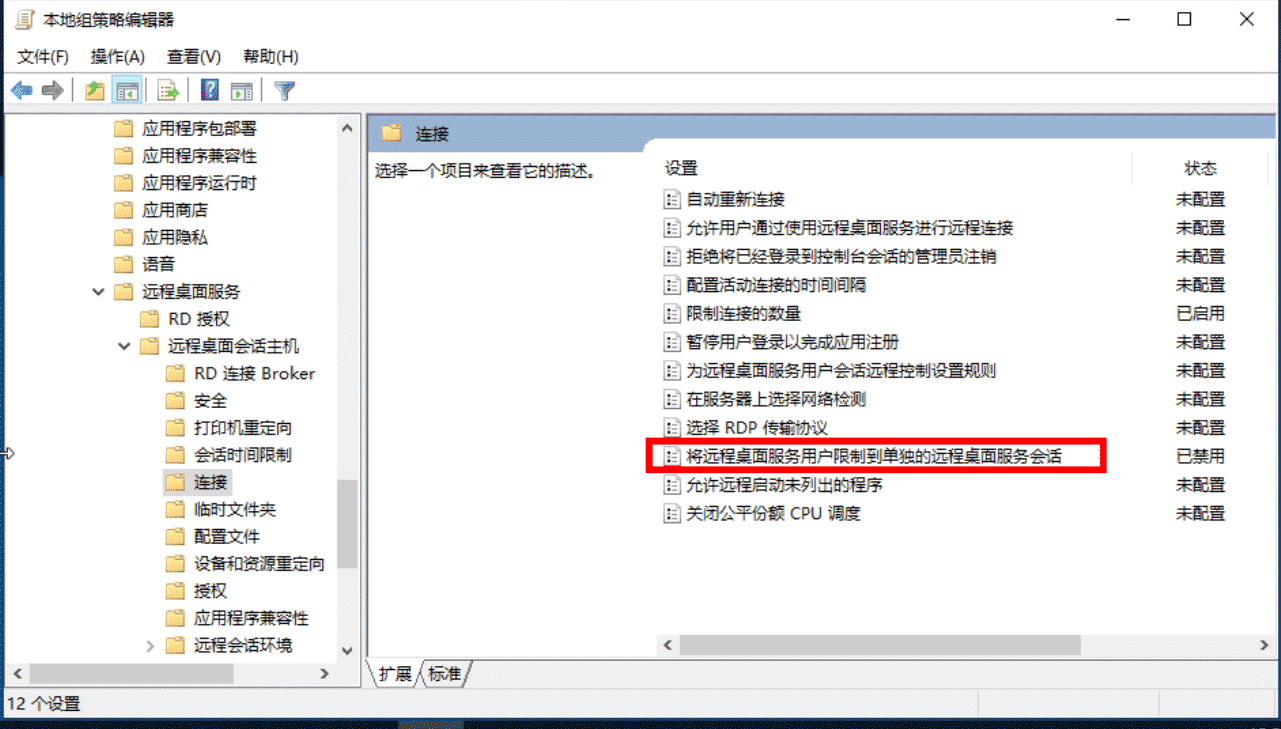
当前状态为未配置,选中【已禁用】,点击确定,如图所示:
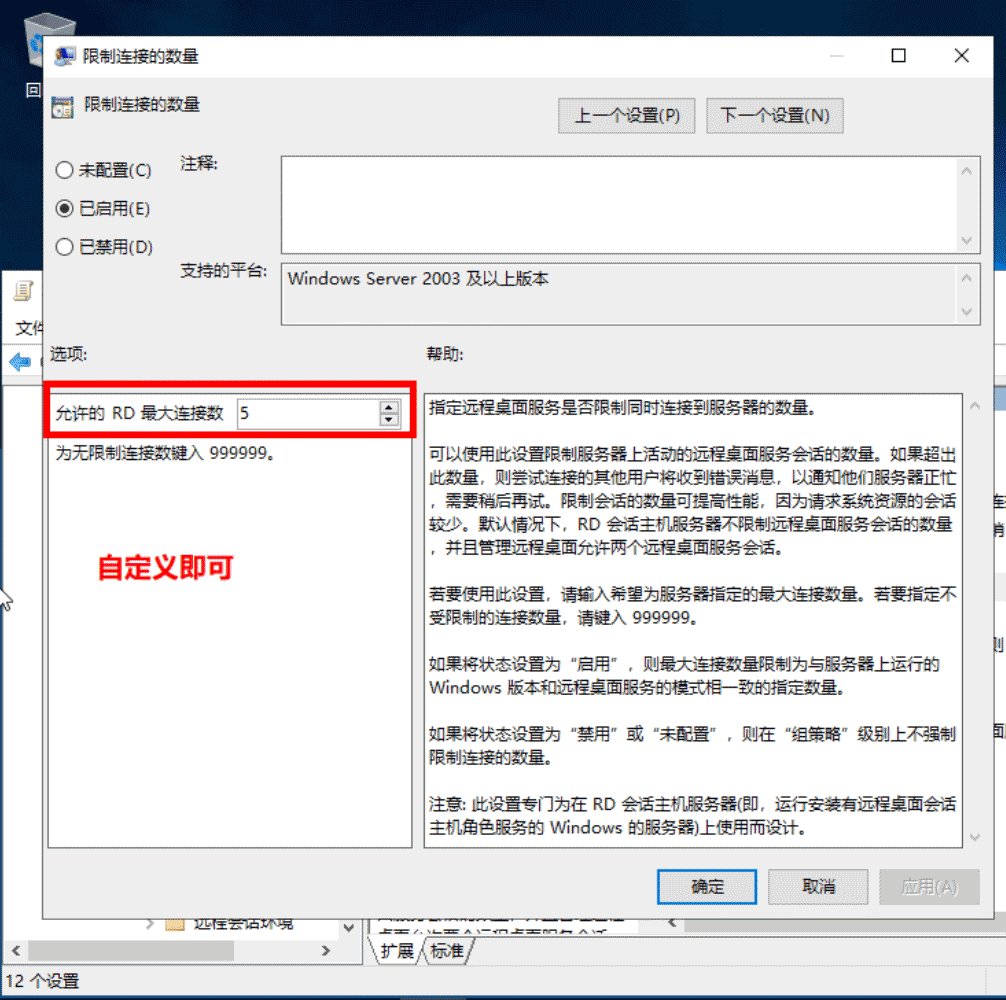
在连接项右侧找到【限制连接的数量】,并启用,设置最大用户数目。
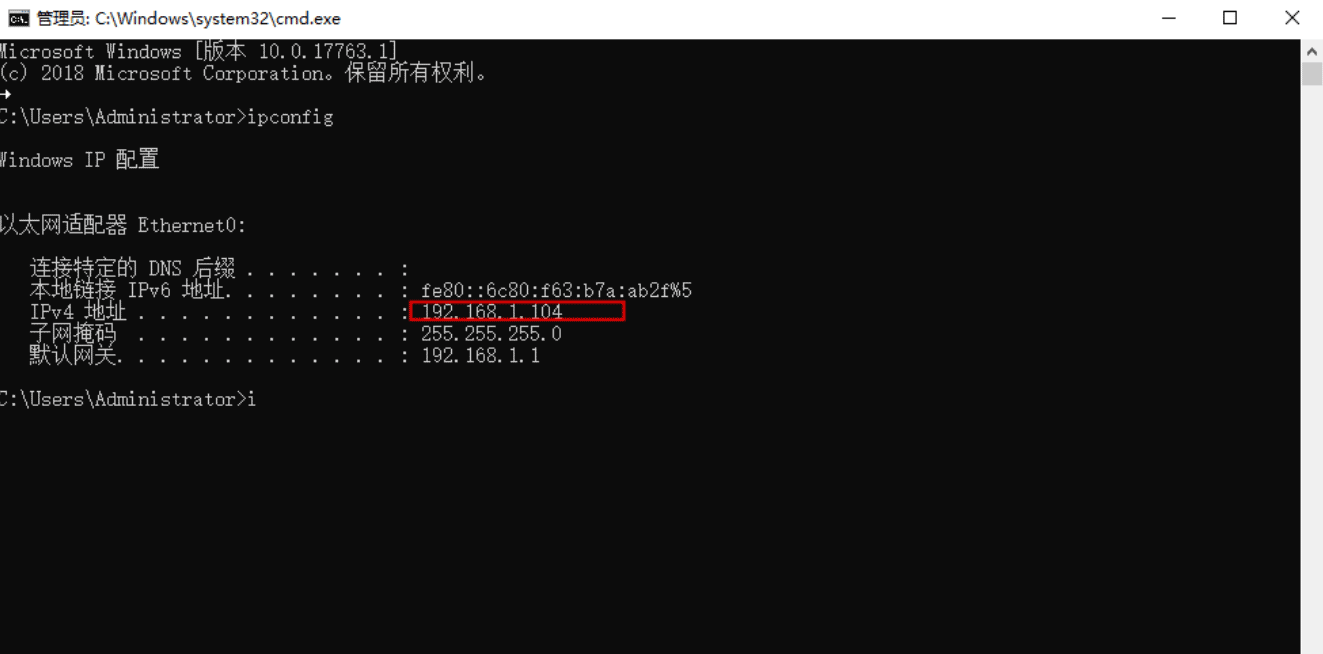
确定服务器端的IP地址。
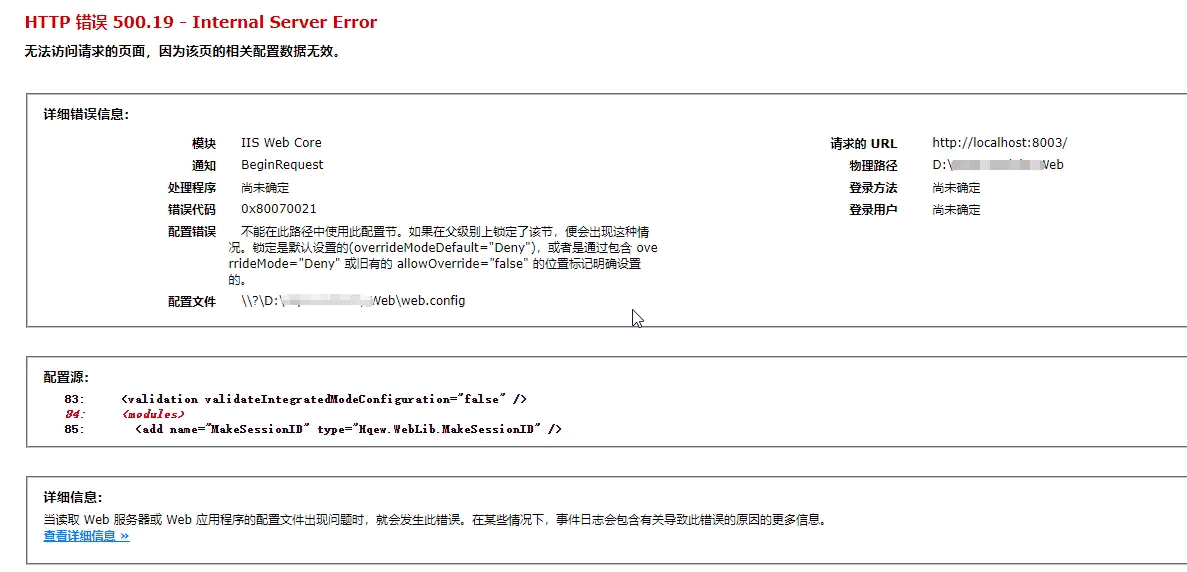
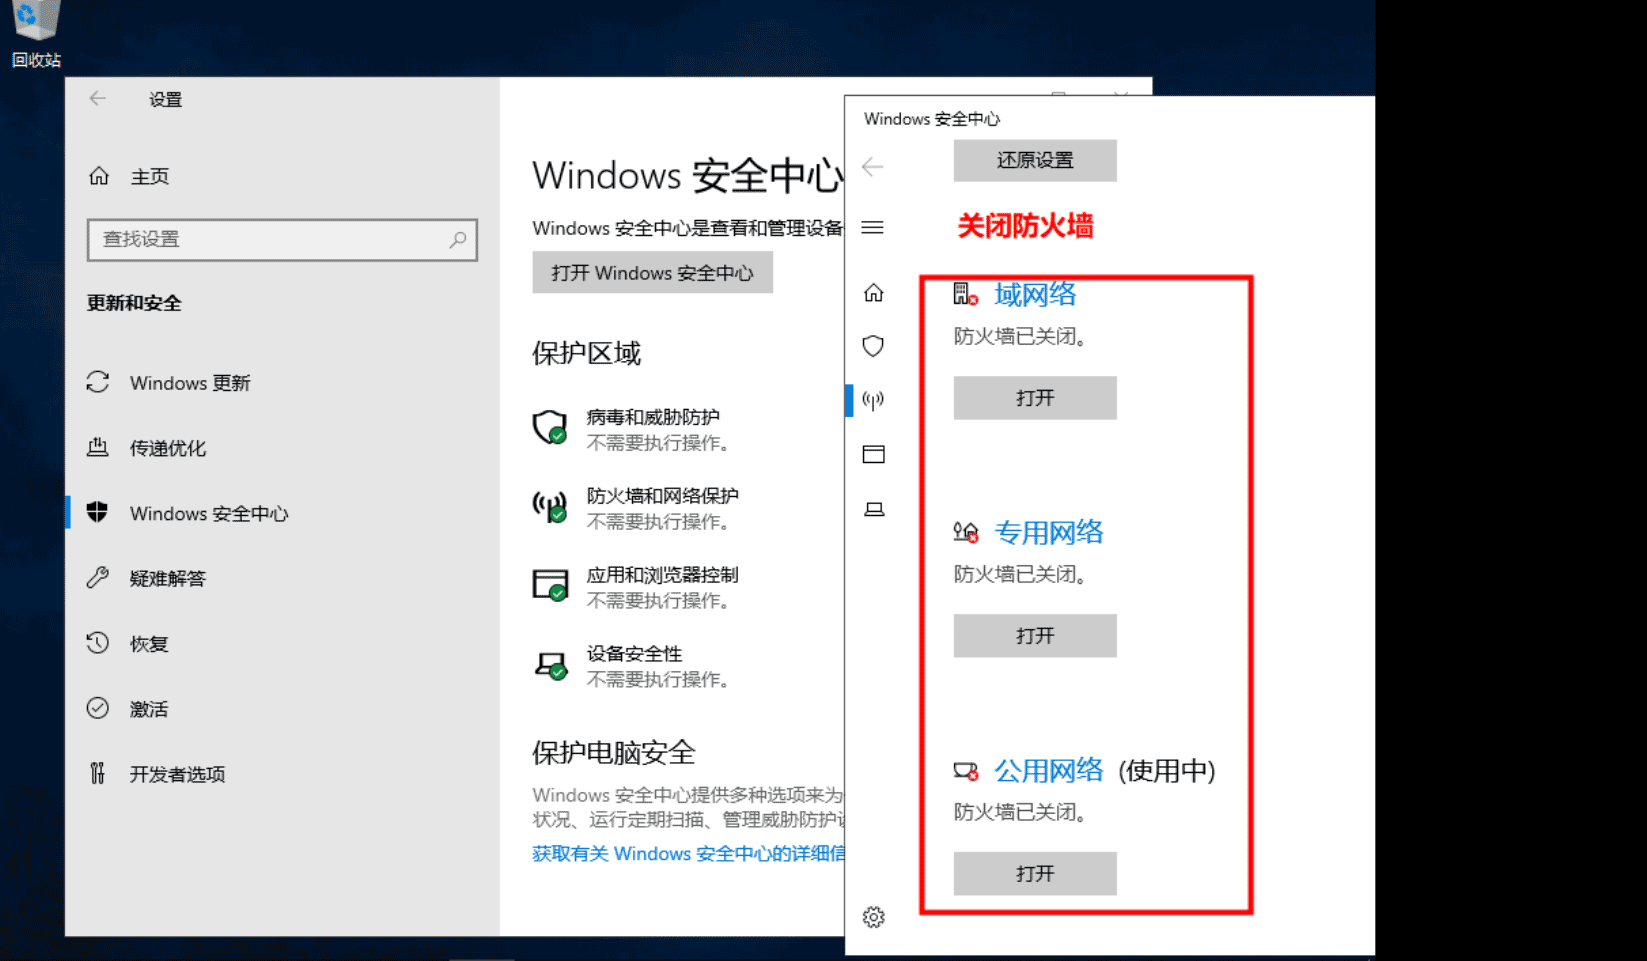
关闭防火墙
现在可以测试客户端是否可以远程登陆此服务器。但是只能单用户登陆
备注:如果无法访问,关闭防火墙再尝试。
二、测试
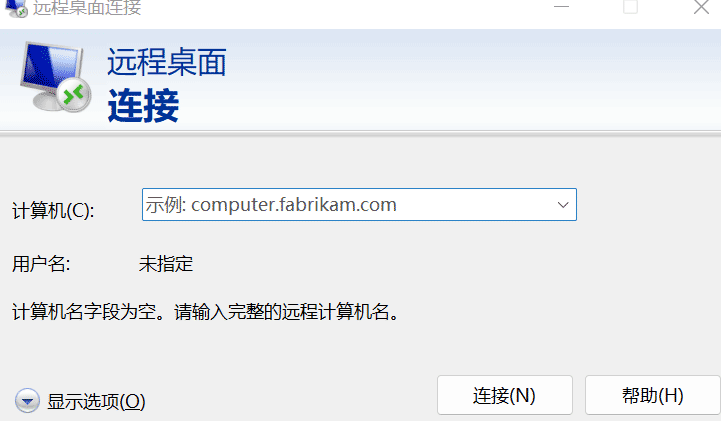
在本地端搜索远程桌面连接
输入上一步骤中的IP地址
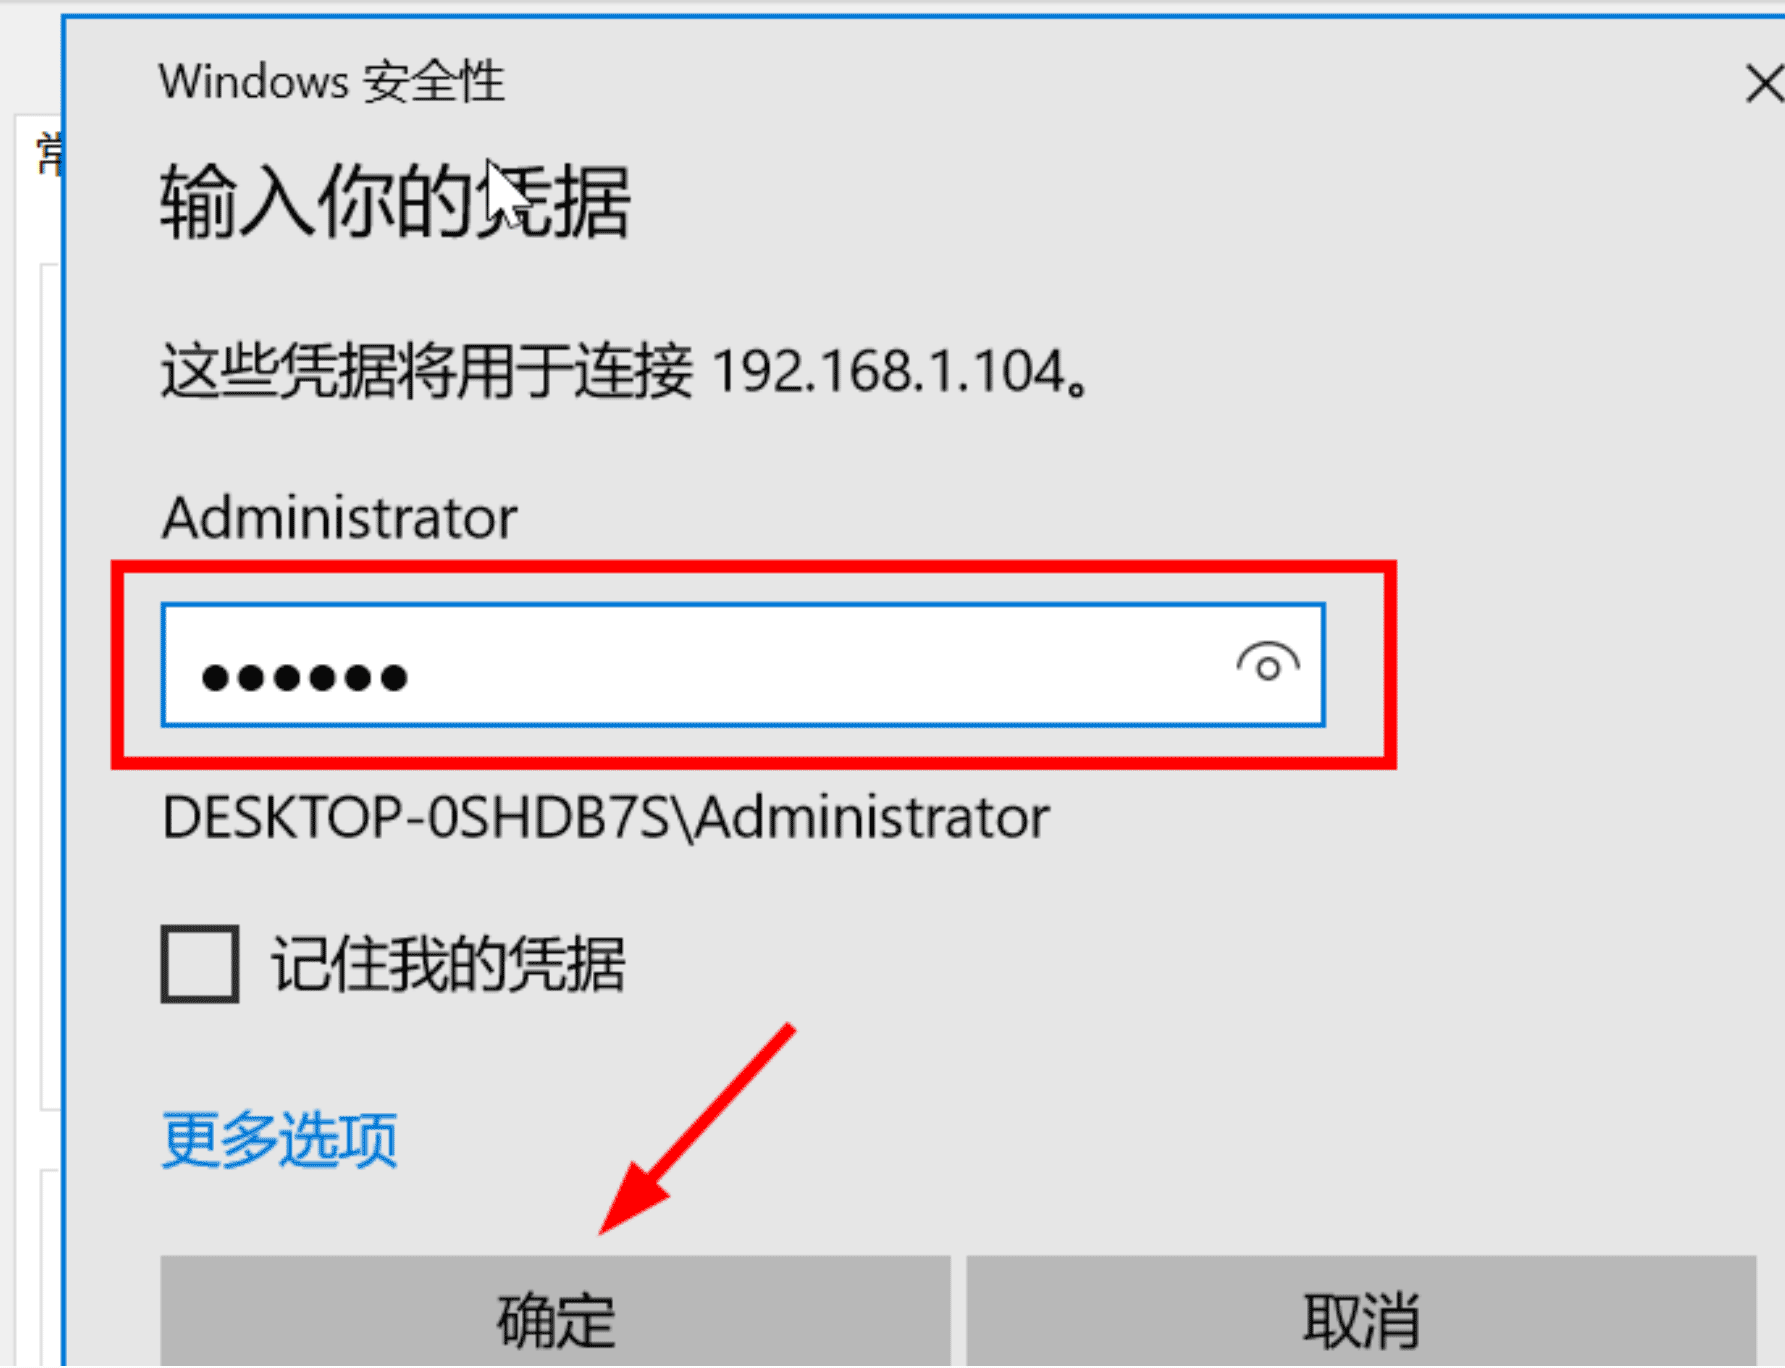
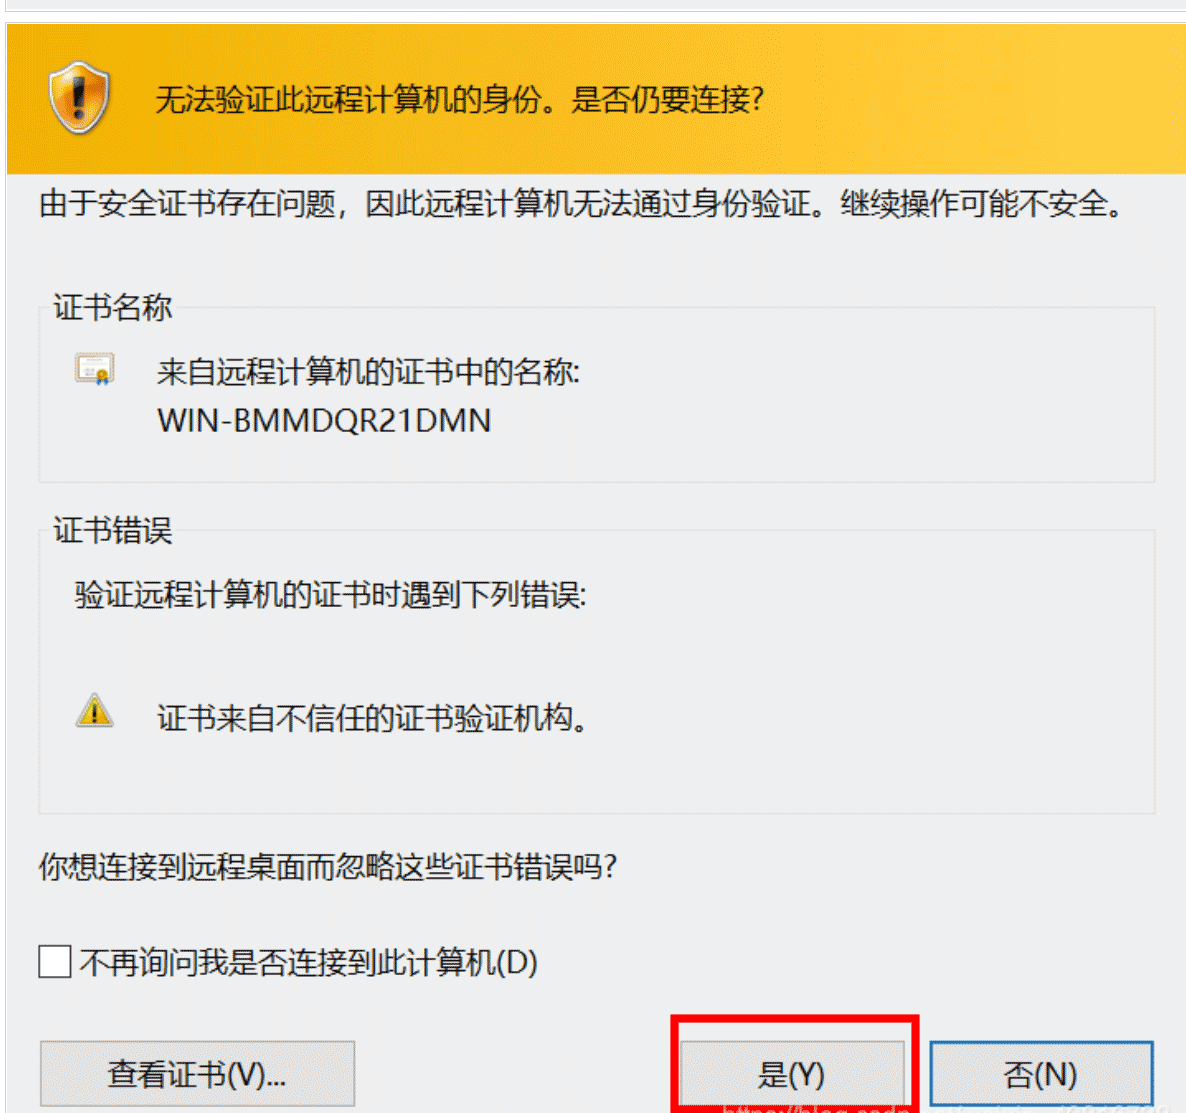
输入服务器端的主机名以及密码。登录即可
三、解决多用户登录的问题
1、添加远程桌面授权服务
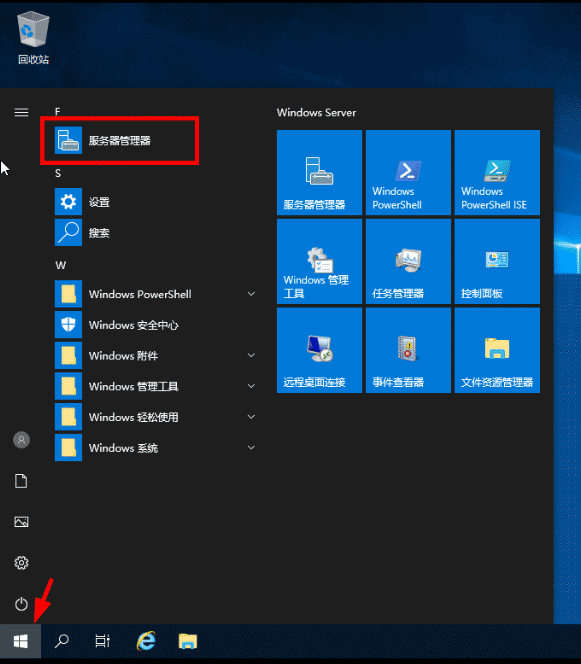
第一步:【服务器管理】 - 【添加角色和功能】打开添加角色和功能向导窗口,选择【基于角色或给予功能安装】。
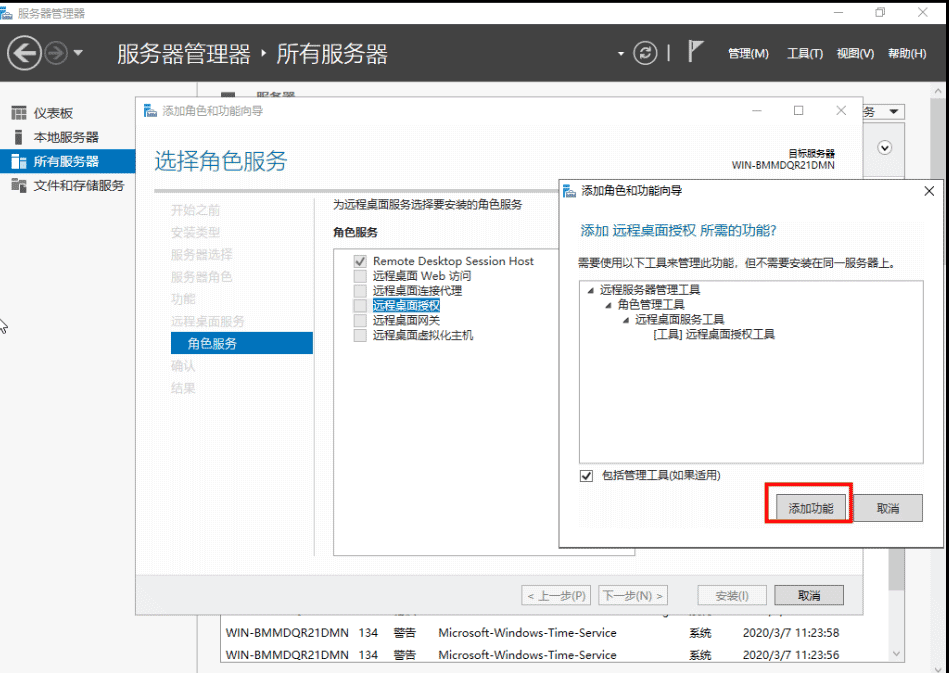
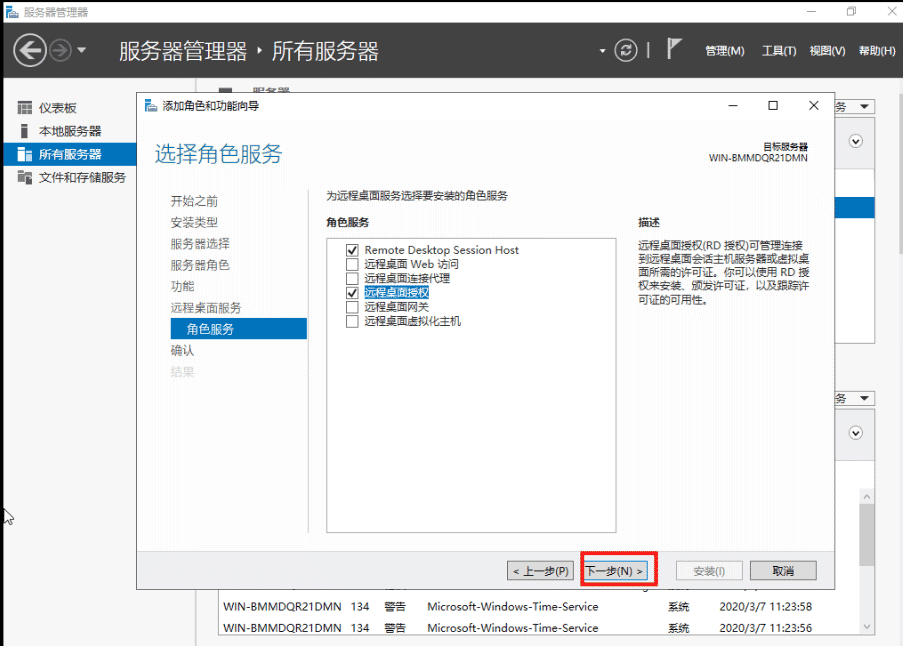
第二步:添加远程桌面会话主机和远程桌面授权功能。


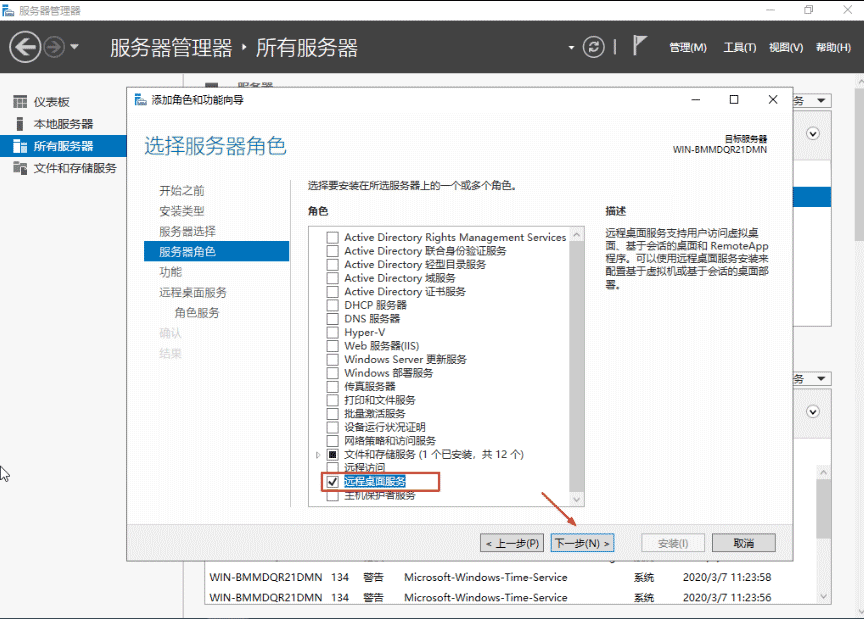
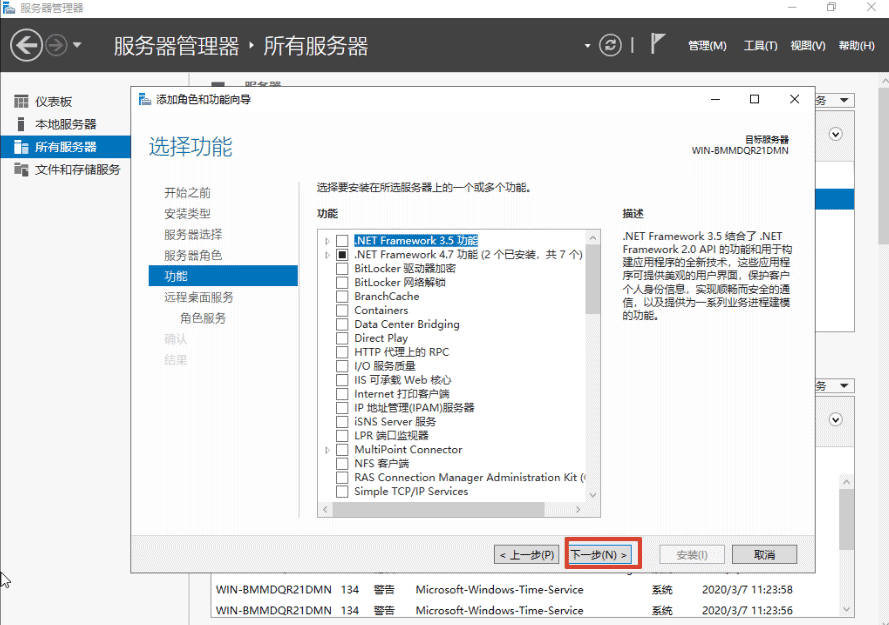
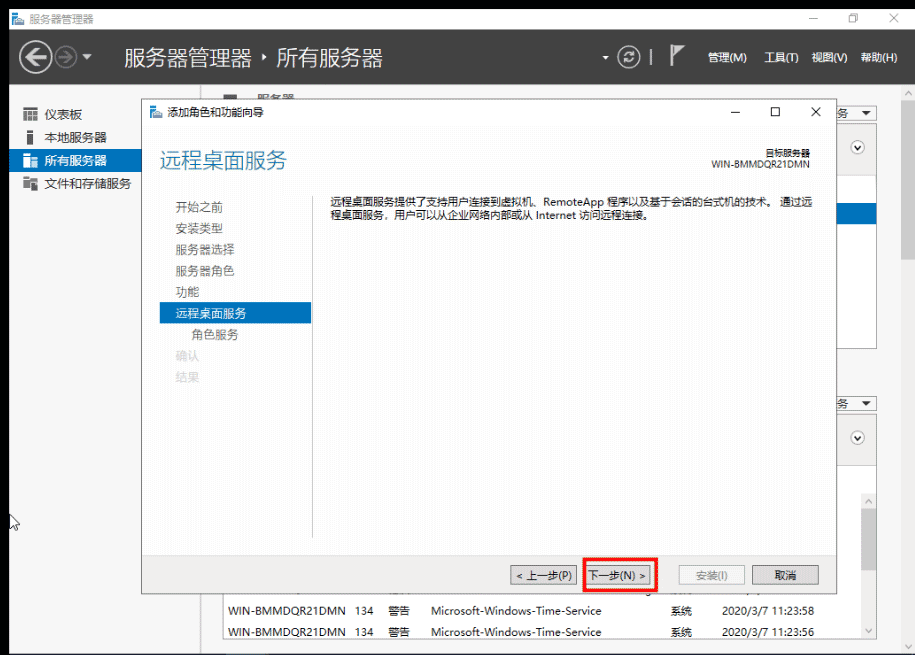
选择“桌面会话主机”和“远程桌面授权 ”,在弹出的窗口中点击“添加功能”,点击下一步
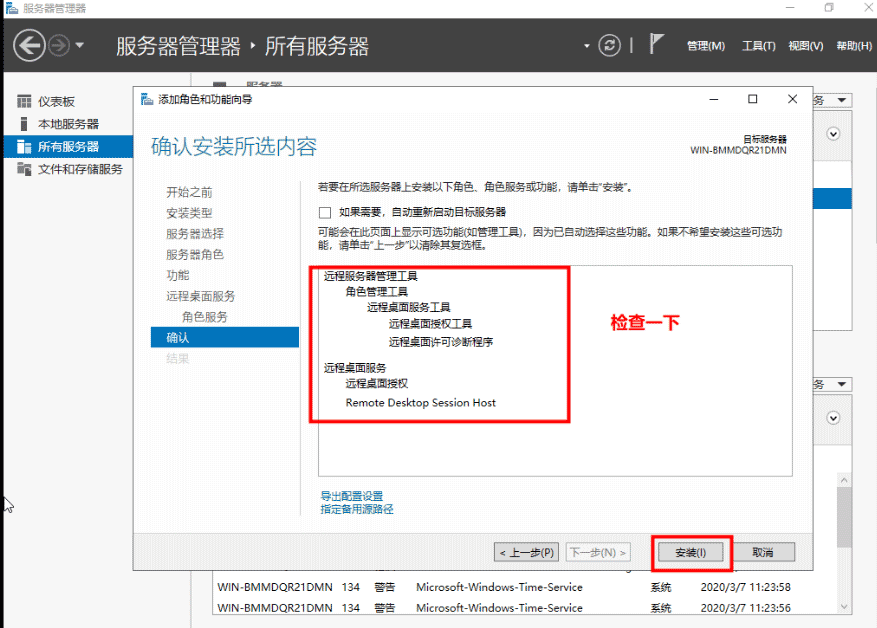
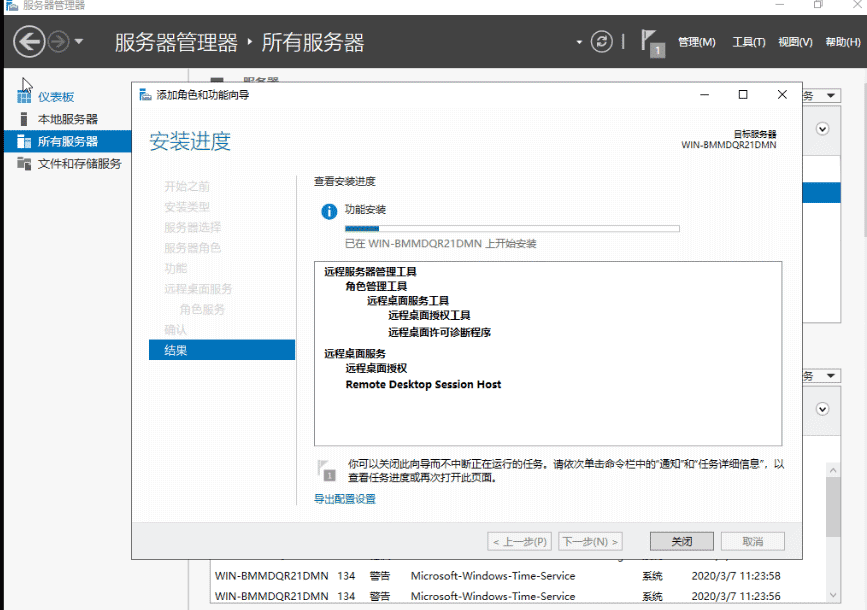
在以下界面选择安装 ,安装完成后,出现以下界面提示需重启服务器,在下面界面上点击关闭然后重启计算机

以上配置完成后即可使用多于2用户同时登陆,但使用期限为120天、web申请激活码
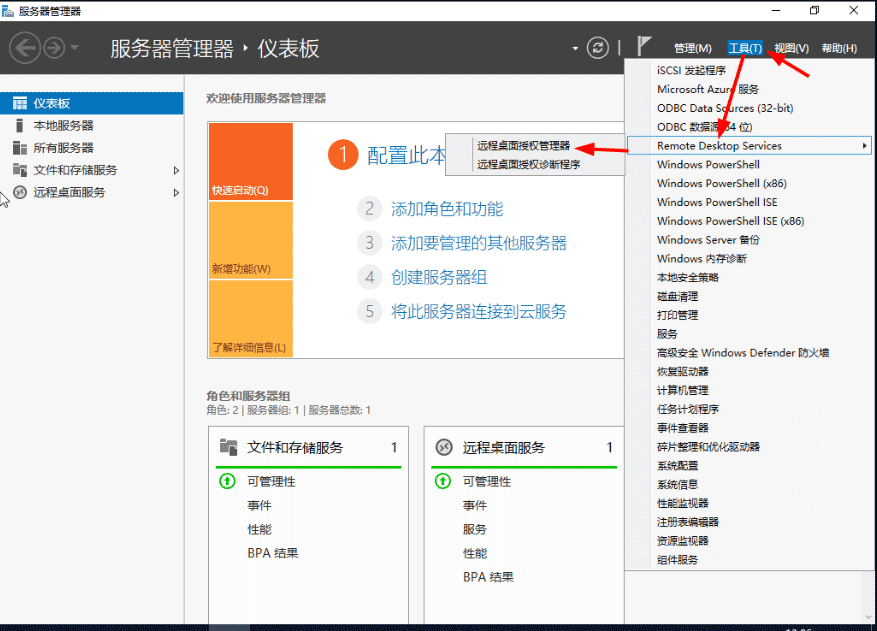
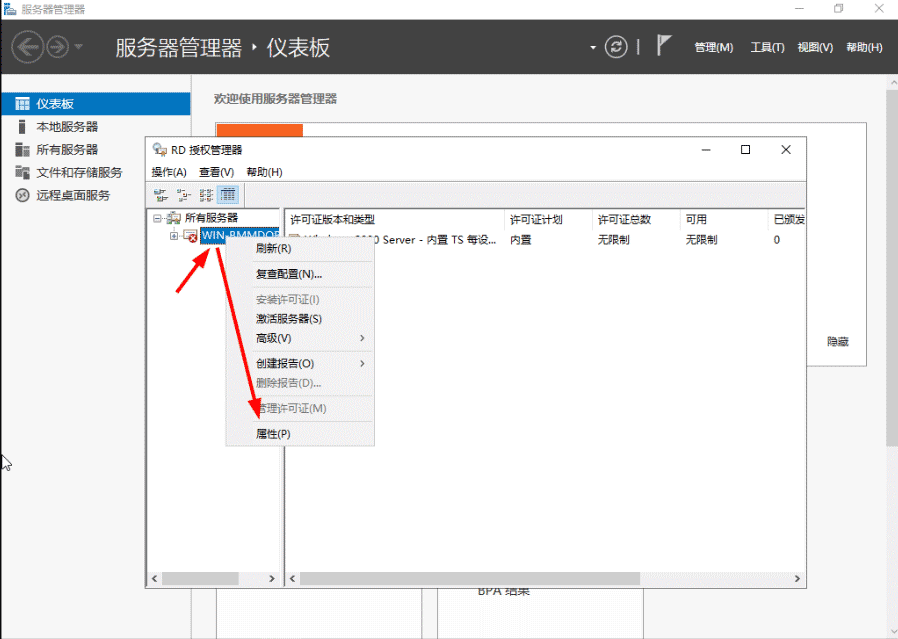
在【服务器管理器上】点击【工具】–》【Remote Desk service】 -->> 【远程桌面授权管理】,打开远程桌面授权管理器,选择未激活的服务器,右击选择属性。
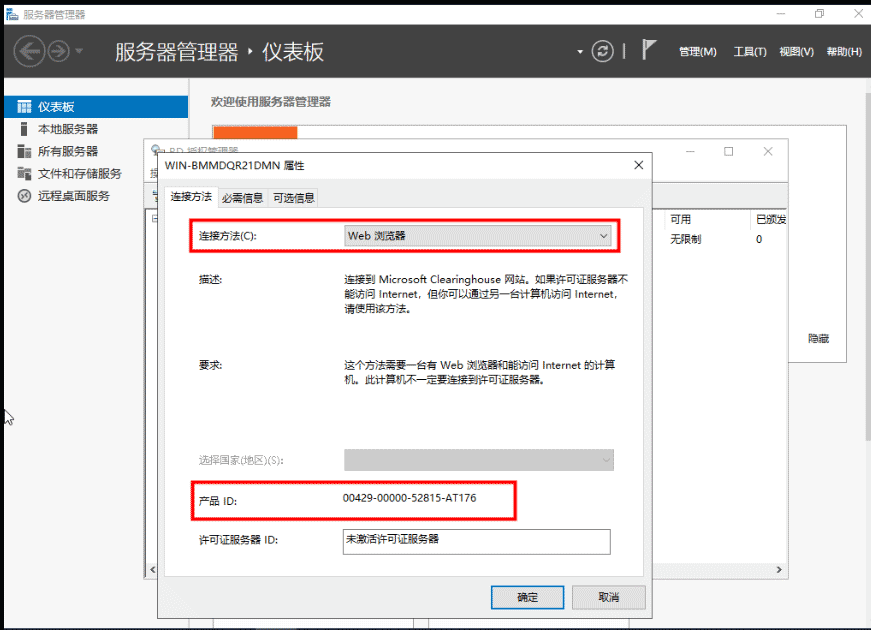
在属性对话框中,连接方法选择“Web浏览器”,记下对话框中出现的产品ID(00429-00000-52815-AT176),在获取服务器许可证时,需在网页上注册此ID。注意:如果终端服务器授权中没有服务器,请选择连接,然后输入本机服务器IP地址。
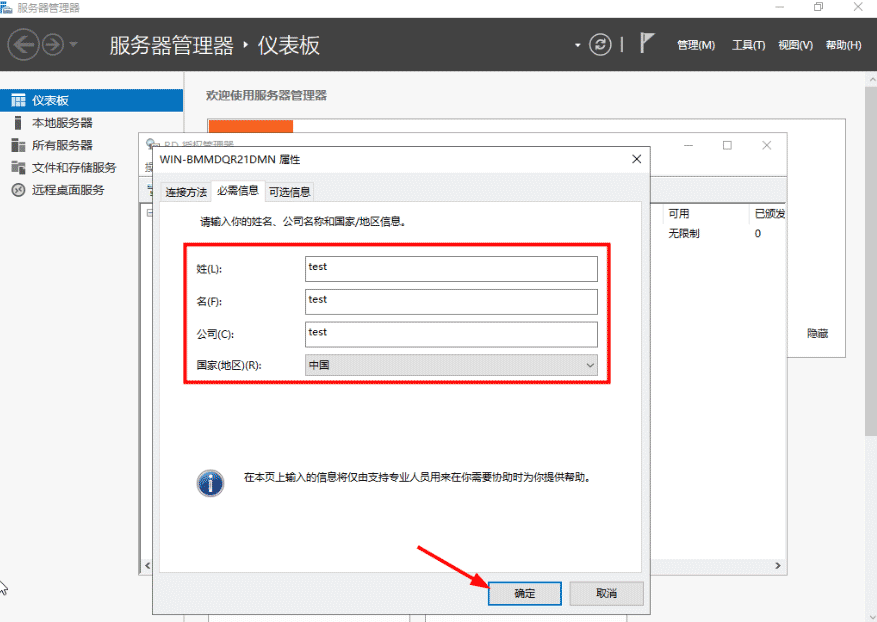
选择“必需信息”,按下图所示填写:
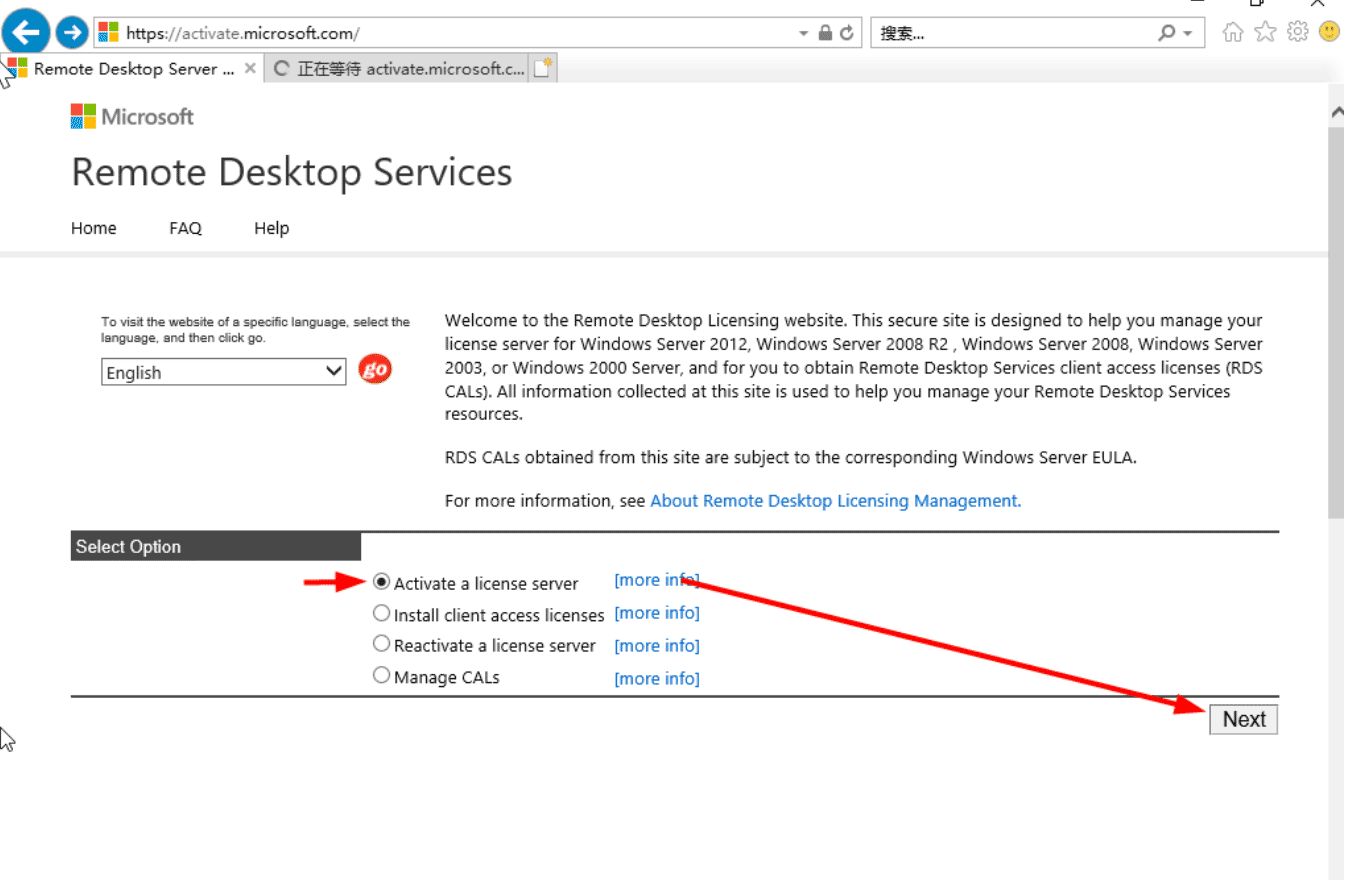
在Internet Explorer浏览器地址栏中输入https://activate.microsoft.com,点击GO ,开始注册并获取服务器许可密码向导。确保已选中“启用许可证服务器”项后单击"下一步"按钮。
参考连接:
windows server 2019 服务器搭建的方法步骤(图文)