win64bit环境下Git安装和TortoiseGit详细使用教程【基础篇】
在 Windows 上安装 Git 也有几种安装方法。 官方版本可以在 Git 官方网站下载。 打开 http://git-scm.com/download/win,下载会自动开始。 要注意这是一个名为 Git for Windows 的项目(也叫做 msysGit),和 Git 是分别独立的项目;更多信息请访问 http://msysgit.github.io/。
另一个简单的方法是安装 GitHub for Windows。 该安装程序包含图形化和命令行版本的 Git。 它也能支持 Powershell,提供了稳定的凭证缓存和健全的换行设置。 稍后我们会对这方面有更多了解,现在只要一句话就够了,这些都是你所需要的。 你可以在 GitHub for Windows 网站下载,网址为 http://windows.github.com。
环境:win8.1 64bit
安装准备:
首先你得安装windows下的git msysgit1.9.5
安装版本控制器客户端tortoisegit tortoisegit1.8.12.0 [32和64别下载错,不习惯英文的朋友,也可以下个语言包]
一、安装图解:

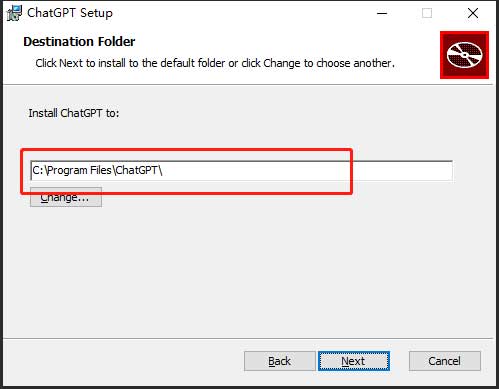
先安装GIT【一路默认即可】
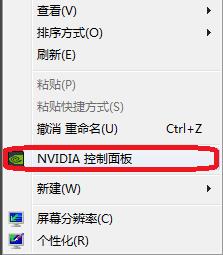
安装好git以后,右键,会发现菜单多了几项关于GIT的选项

2.安装tortoisegit【一路默认即可】
安装好以后,右键,会发现菜单多了几项关于tortoisegit的选项

到此,安装算完成了,相比tortoiseSVN,安装完tortoiseGIT不需要重启电脑。
接下来是使用tortoiseGIT
二、图解使用tortoiseGIT
这里只是做一些最基本的功能的演示:
创建版本库,提交(commit)文件,推送(push)文件,更新文件,创建分支。
简介:git属于分布式版本控制器,其实每个人的电脑都是一个完整的版本库;比如两个人在局域网写一个项目,那么这两个人的电脑里面都是一个完整的项目,当有新的代码出现的时候,直接push给对方即可。当然人多的时候,又不在局域网里面,不可能push给每一个人,git的解决方案是用一台电脑当做集中的版本库,大家把新代码都push到上面去,要得时候在pull到自己电脑上。国外比较著名的就是github了,国内的oschina也广为人知。
创建一个版本库
创建一个文件夹GitDemo,然后 右键--Git Create repository here...


此处不用勾选Make is Bare

确定后,在GitDemo文件夹下回多一个.git文件夹【电脑要设置为显示隐藏文件夹】
此文件夹,尽量不要乱修改或删除。
2.创建一个文件,然后提交(commit)到版本库[这个操作可以在离线状态操作]

2.1选择Git Commit->"master"

2.2填写message,勾选要commit的文件,然后点击OK。会在弹出一个窗口点击close即可。

3.然后在program中添加一个新的方法method。当文件代码改变,那么文件会显示为一个红色感叹号

4.将新增的代码,提交到版本库中,参考2.1和2.2步。
5.查看日志

在日志中,文件更改的信息,都很清楚。

6.将代码推送(push)到云端,例如:github、oschina上面
6.1:在oschina上新建一个项目,进入oschina-->Git@OSC-->新建项目

点击创建项目,下图的红框就是项目的URL了

6.2将电脑得代码push到云端。
右键-->tortoiseGit-->push

设置好URL,确定。然后开始push,输入用户名,输入密码就OK了

输入用户名,后面还要输入密码,然后等待成功。

6.3成功后,我们去oschina上看看push的项目吧

7.git还有个特别好用的功能,分支。
发现问题:你代码写了很多,运行OK;但是突然想加个新功能进去,这个功能你也不知道能否正常运行,而且修改过程中,除了新加代码和文件进去,还会修改以前的代码。要是万一失败,修改回来也是一种很麻烦的事情。这种时候很多人就用备份方式。来看看git是怎么优雅的处理这个问题的。
git的处理方式:当你想加一个新功能进去的时候,你可以新建一个分支,例如名字叫newfunction,然后在分支中把新功能加上去,如果OK,将代码合并到master分支上,如果新功能失败,切换回master分支上来,在newfunction写的代码,又全看不到了。
[ps:master是新建项目的主分支]
7.1新建一个分支,右键-->tortoiseGit-->Create Branch

右键,你会发现当前的分支为你新建的newfunction分支了

7.2接下来,就开心新增加你的功能;我们再proprame.txt中不仅增加了show方法,还修改了metho方法

7.3提交我们的代码,此时我们发现这个新功能不行,存在很多漏洞等等问题。我们想回到之前的代码。怎么办呢?

7.4为了回到之前的项目,我们直接切回master分支。
先来看看现在的文件内容,新加的和修改的都在。

然后我们切换到master分支,右键-->tortoiseGit-->Switch/Checkout
选择master即可,然后确定

再来看看program中的代码是否回到了从前呢?

无论是修改,还是添加,都没影响到复原。这就是分支的作用。这个功能是不是让你省去了很多工作量呢。