wps页面边框线怎么设置 wps调整页面边框大小和宽度的技巧
Word文档可以帮助用户们快速的整理自己的文档资料等等,但是也有不少的用户们在询问wps怎么调整页面边框大小和宽度?用户们可以直接的在word文档你找到页面选项来进行操作就可以了。下面就让本站来为用户们来仔细的介绍一下WPS Word文档调整页面边框宽度的方法吧。
WPS Word文档调整页面边框宽度的方法
1、我们在电脑中点击打开WPS软件,然后在WPS页面中点击打开一个文字文档。
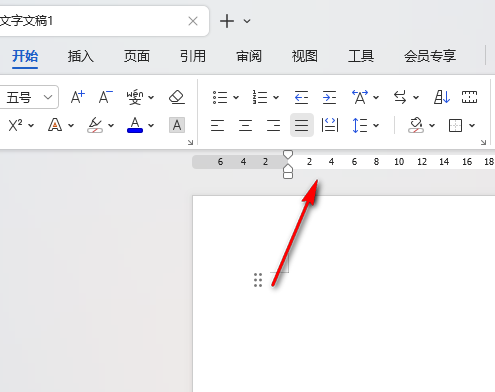
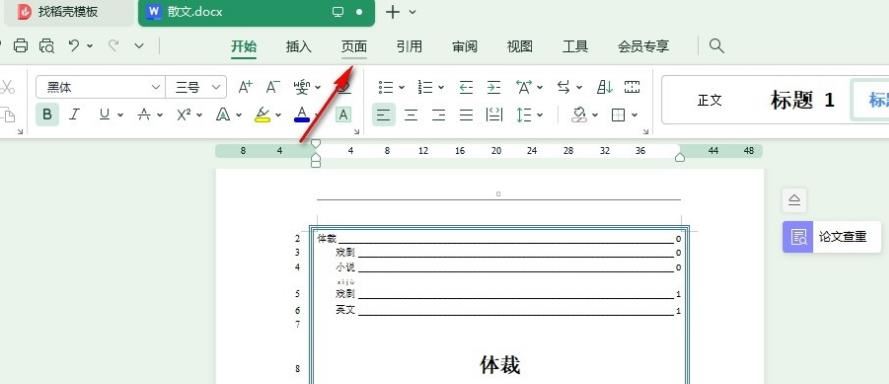
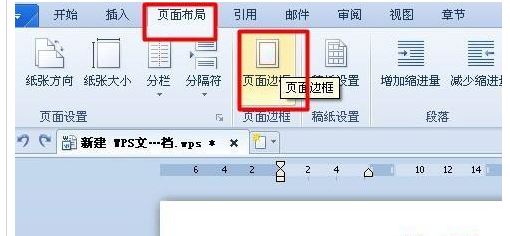
2、打开文字文档之后,我们在文字文档的编辑页面中先点击打开“页面”工具。
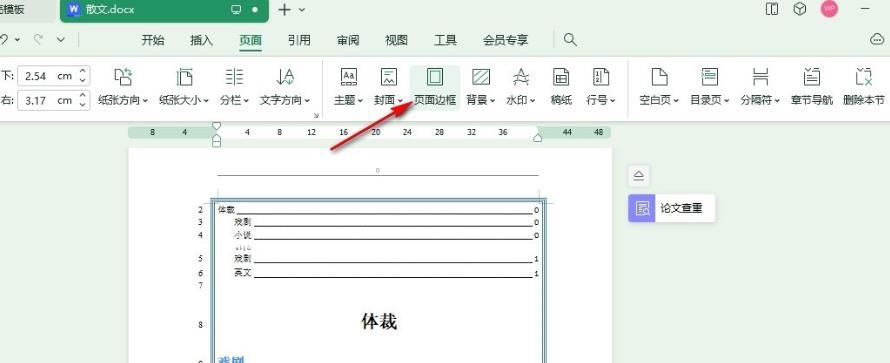
3、打开“页面”工具之后,我们在其子工具栏中找到“页面边框”工具,点击打开该工具。
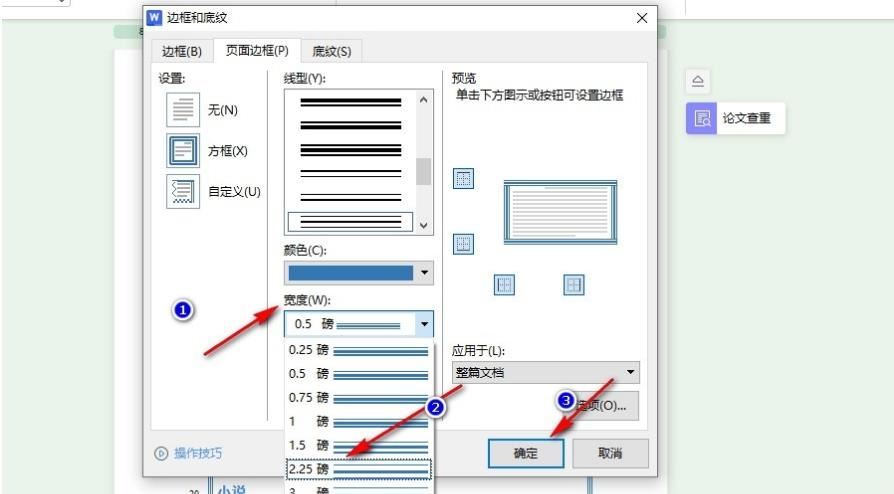
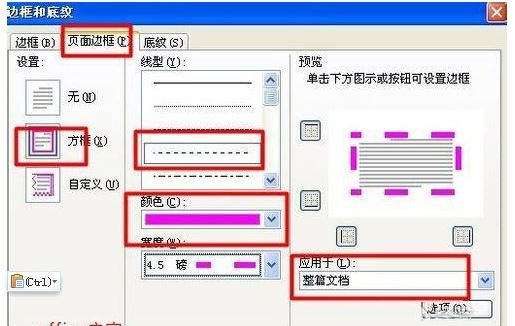
4、打开页面工具之后,我们在弹框中找到“宽度”选项,打开该选项,然后在下拉列表中选择一个新的宽度,最后点击“确定”选项即可。
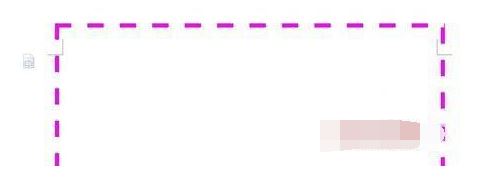
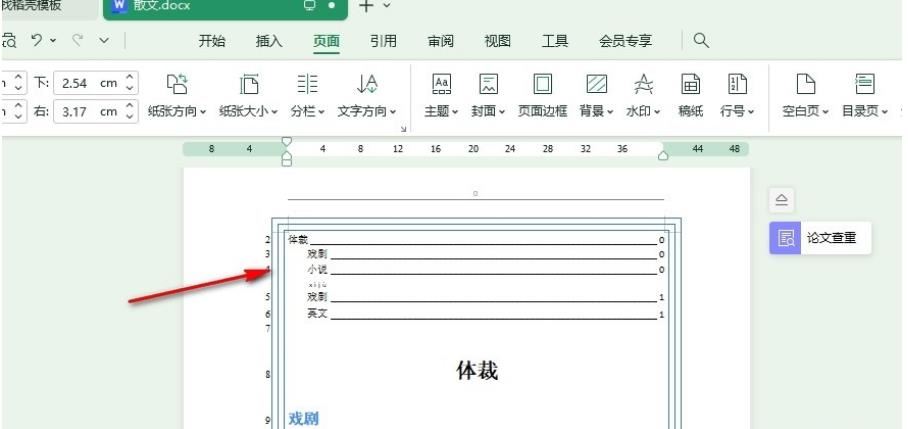
5、设置完成之后,我们回到文档页面中就能看到被更改宽度大小的页面边框了。
wps文档如何调整外边框
1、打开一个新的WPS文字文档,选择页面布局选择,在选项下有一个页面边框选项。
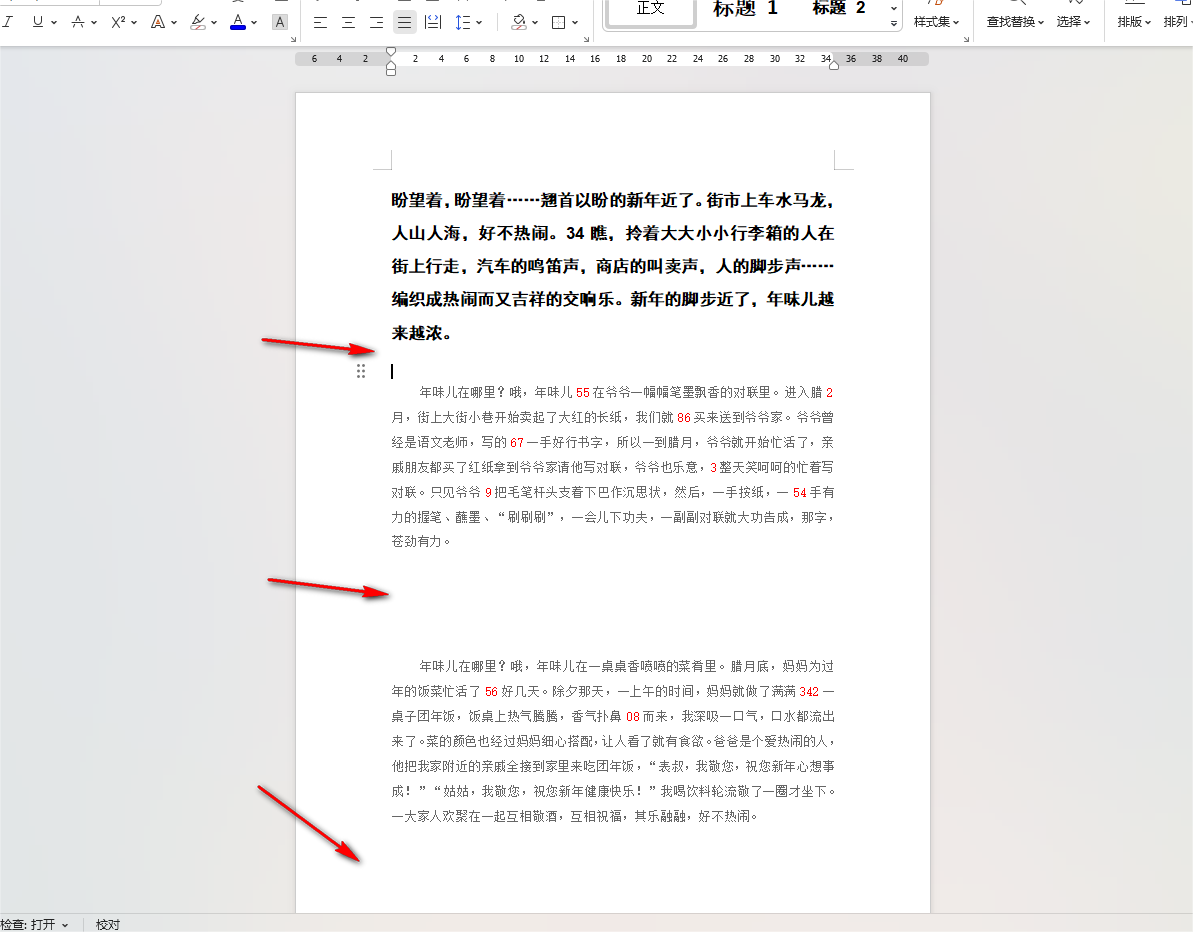
2、点击页面边框,就会进入页面边框设置页面,选择页面边框选项卡,选选择设置为方框,选择线型,颜色。磅数。
3、在页面边框选项卡中点击选项按钮,进入选项设置页面。
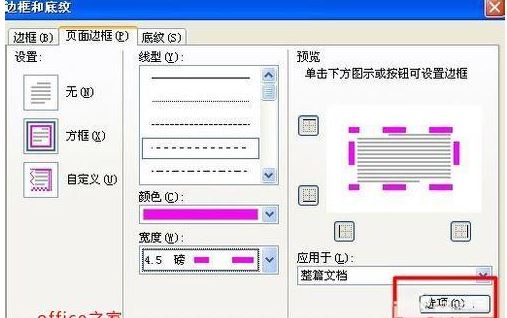
4、在选项设置页面中我们可以设置距正文的设置,以及勾选掉环绕页眉和环绕页脚。点击确定返回上一层。
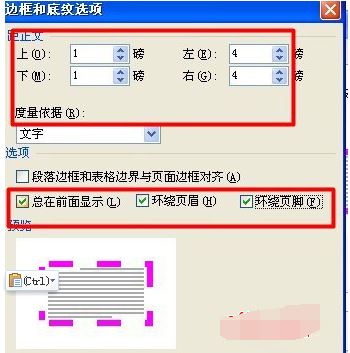
5、设置完成后效果如图所示。