gpedit.msc找不到文件的解决方法,亲测有效!
Gpedit.msc找不到文件的怎么办?Gpedit.msc是用于打开Windows系统组策略的命令程序,缺少它系统会弹出“Gpedit.msc找不到”、“Gpedit.msc打不开”等提示,那么对于这一问题应该如何解决呢?下面我们一起来看看小编带来的两种解决方法。
方法一:
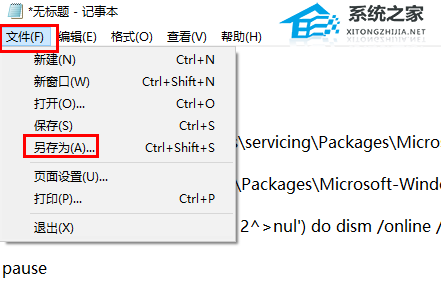
1、首先按下快捷键“win+r”打开运行,输入:notepad。

2、之后可以进入记事本,输入代码:
- 01@echo off
- 02pushd "%~dp0"
- 03dir /b %systemroot%\Windows\servicing\Packages\Microsoft-Windows-GroupPolicy-ClientExtensions-Package~3*.mum >gp.txt
- 04dir /b %systemroot%\servicing\Packages\Microsoft-Windows-GroupPolicy-ClientTools-Package~3*.mum >>gp.txt
- 05for /f %%i in ('findstr /i . gp.txt 2^>nul') do dism /online /norestart /add-package:"%systemroot%\servicing\Packages\%%i"
- 06pause
@echo off
pushd "%~dp0"
dir /b %systemroot%\Windows\servicing\Packages\Microsoft-Windows-GroupPolicy-ClientExtensions-Package~3*.mum >gp.txt
dir /b %systemroot%\servicing\Packages\Microsoft-Windows-GroupPolicy-ClientTools-Package~3*.mum >>gp.txt
for /f %%i in ('findstr /i . gp.txt 2^>nul') do dism /online /norestart /add-package:"%systemroot%\servicing\Packages\%%i"
pause
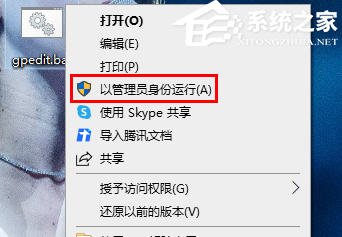
4、在保存的gpedit.bat记事本中右击选择“以管理员身份运行”。
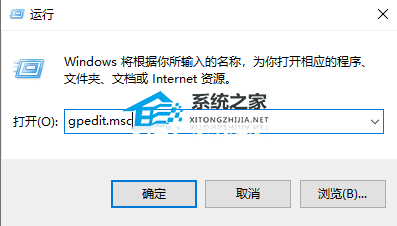
5、等到处理完成了之后,按下“win+r”打开运行,输入代码:gpedit.msc就好了。
方法二:
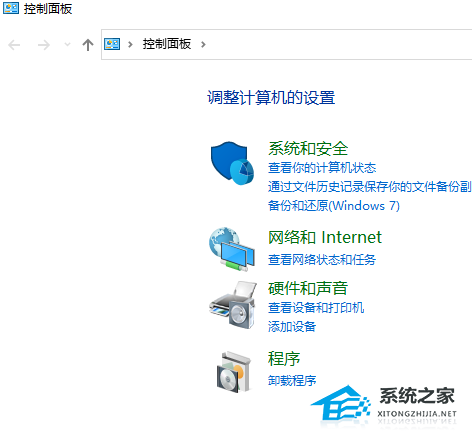
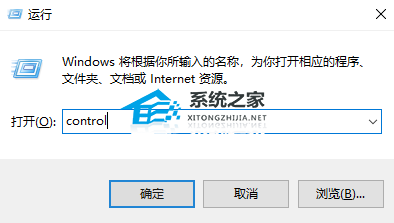
1、首先按下快捷键“win+r”打开运行,输入control。
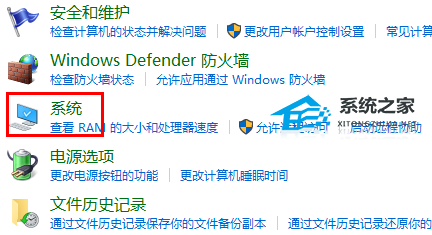
2、然后选择里面的“系统和安全”。

3、再点击下面的“系统”。
4、在系统右侧选择“高级系统设置”。

5、随后点击任务栏中的“高级”。
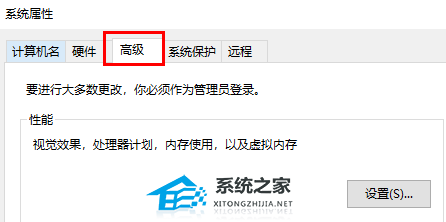
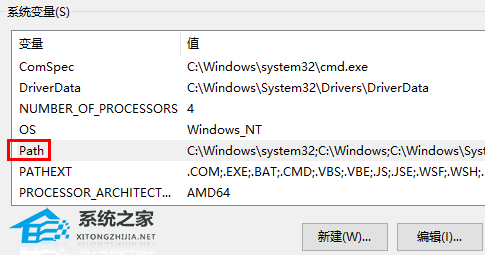
6、再去点击下面的“环境变量”。

7、最后将下面环境变量下方的“path”中的变量修改为:%SystemRoot%\system32;%SystemRoot%;%SystemRoot%\system32WBEM即可。