Win10双屏电脑主屏副屏设置方法_Win10双屏设置主屏教学
Win10双屏电脑主屏副屏设置方法。有的用户会在自己的电脑上去设置双平面的显示,这样在操作电脑的时候可以更加的方便。很多小伙伴不知道怎么去进行主屏副屏设置的方法,那么接下来我们就一起来看看以下的具体操作方法教学吧。
操作步骤
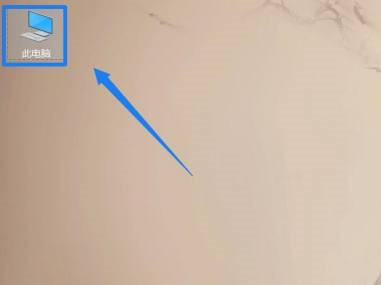
1、在桌面空白处大鼠标右键,选择显示设置。

2、在弹出的页面选择高级显示设置。

3、如果显示只有一个显示器可以鼠标单击检测按钮,就能看到两个显示器了。

4、这时出现两个显示器,选中你要设为主显示的显示器对应的数字标签(1或2)。

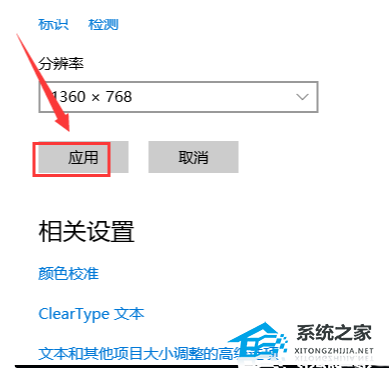
5、鼠标勾选“使之成为我的主显示器”,然后单击应用按钮即可。