全新亲民价RGB"光污染"360水冷散热器开箱测评
作为一个合格的DIY玩家,对于超频这个玩法相信都不会陌生。不过超频除了要有块好主板、好体质的CPU外,一个好的散热器也是必备。所以强大的水冷、风冷也是很多玩家追求的目标。比如我,就比较喜欢水冷散热器。一方面是喜欢光污染,水泵以及冷排风扇上的RGB灯光能满足需求;其次是一些大尺寸风冷散热器因为重量,会让主板形变(别问,问就是泪)。
然而,很多小伙伴都觉得水冷散热器太贵,和风冷比完全没有性价比。事实上,以360冷排为例,京东的价格一般是从599到1300不等;当然还有败家之眼加持的ROG水冷,价格达到了2299,这样看来性价比的确不高。
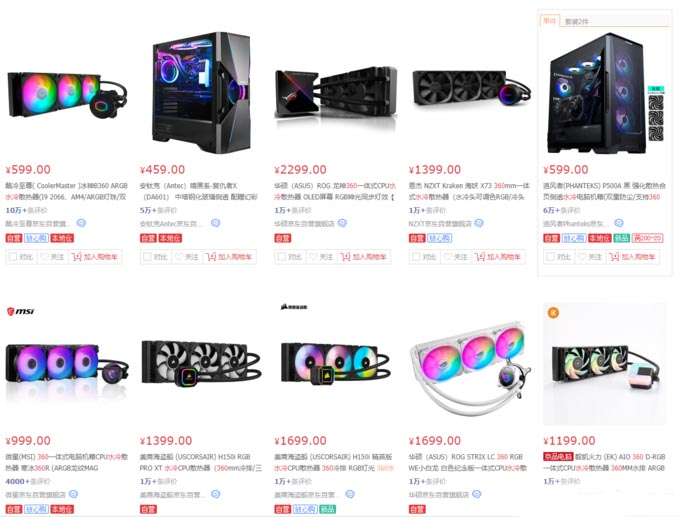
其次通过价格来搜索,目前最便宜的360冷排是ID-COOLING,价格不到400元,但很遗憾的是阉割了光污染。那市面上有没有既有RGB又有性价比的360冷排呢?抛开“捡垃圾”买二手这个操作,我比较推荐这款——超频三巨浪360 Pro,目前价格在400出头,性价比非常不错。
开箱:
超频三巨浪360 Pro的外包装个头很大,包装也是一如既往的超频3风格,正面是实物渲染图,边边角角则写了该水冷的一些亮点。
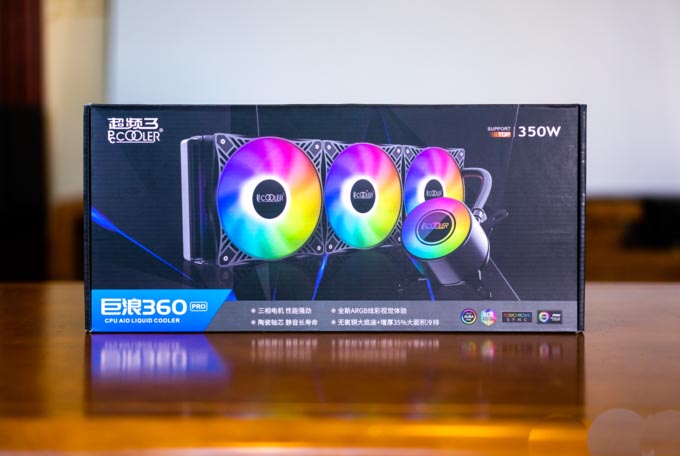
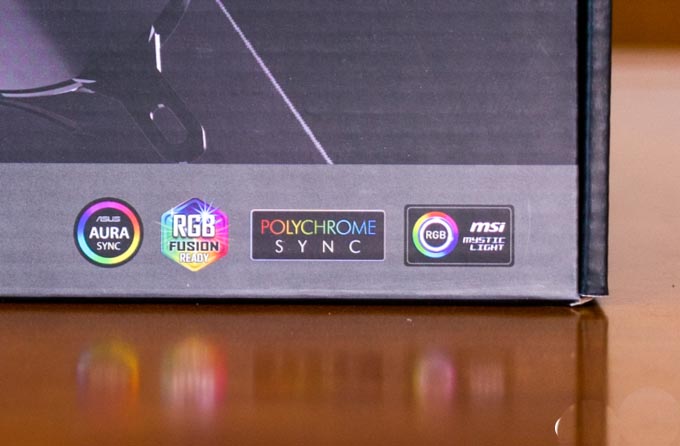
右下角则表示支持各种主板的RGB光污染。说实话,如果没有光污染,装冷排的确没啥意思。
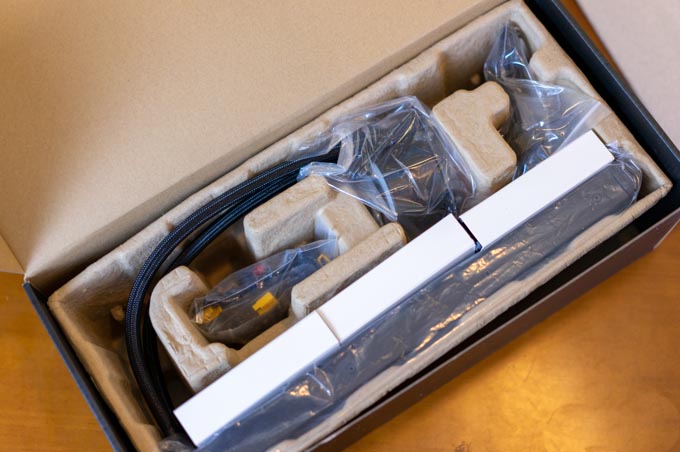
打开包装,布局合理,内部保护得还不错。
超频三巨浪360 Pro开箱全家福:为了适配Intel和AMD多平台,附件的确也比较多。
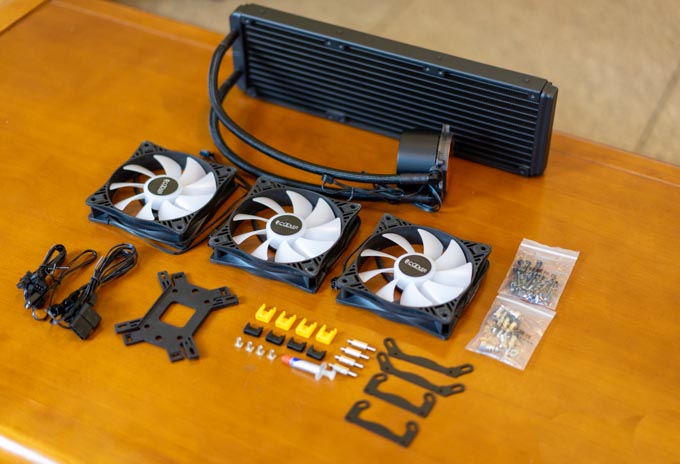
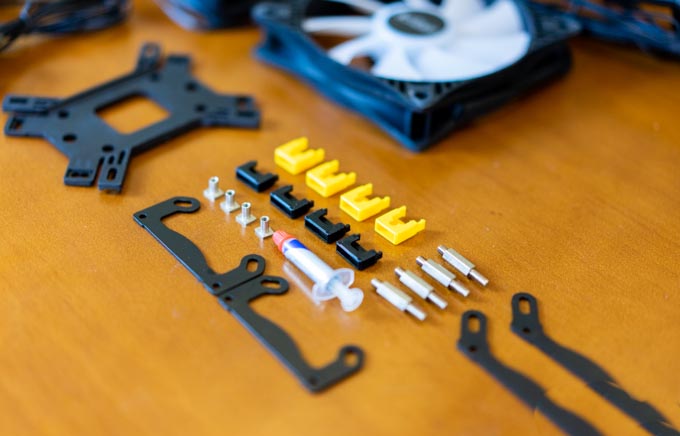
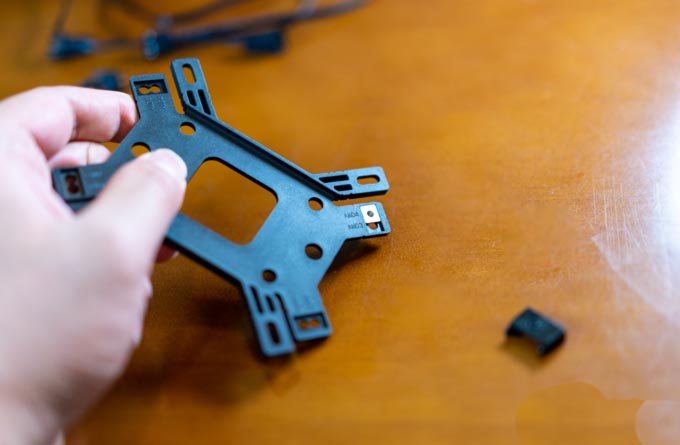
比如底座卡口采用了分离式设计,黑色的是AMD使用的,黄色的是Intel使用。
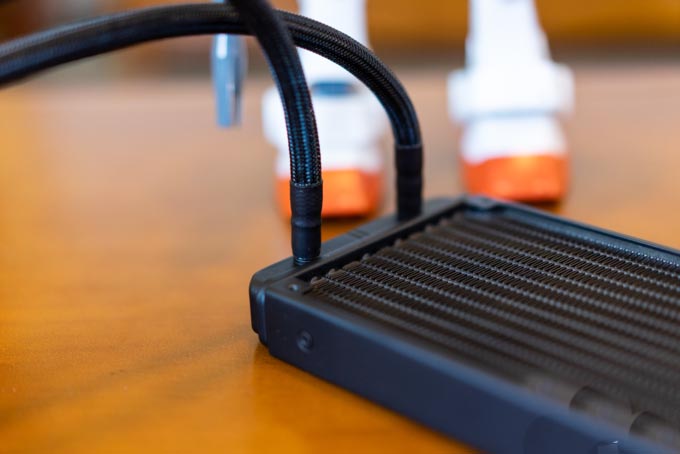
冷排的尺寸很大,比起我的高达MEGA还要高一些,我这台RX-78-2的高度为37cm,而超频三巨浪360 Pro冷排的高度达到了39.3cm。而水冷管也达到了近40cm,方便在一些大尺寸的机箱中走线。

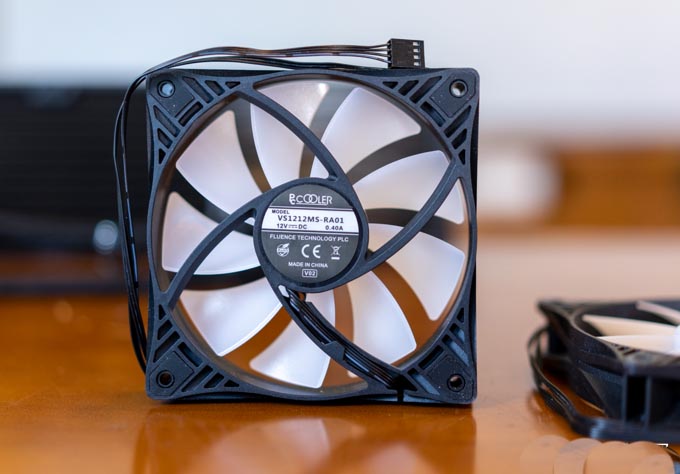
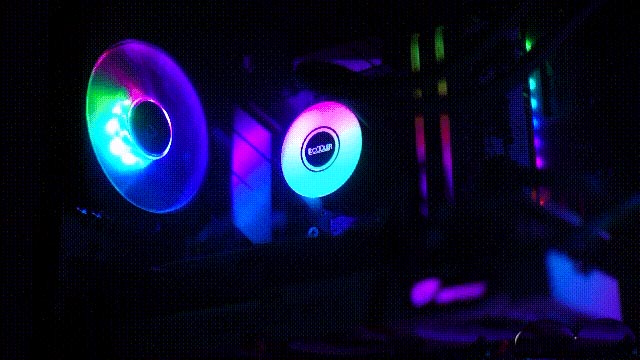
超频三巨浪360 Pro的风扇是自家出品,规格是12V 0.4A,转速为800~1600RPM,四边都用了橡胶缓冲。官方表现三只组合在一起火力全开可以达到65.4CFM。

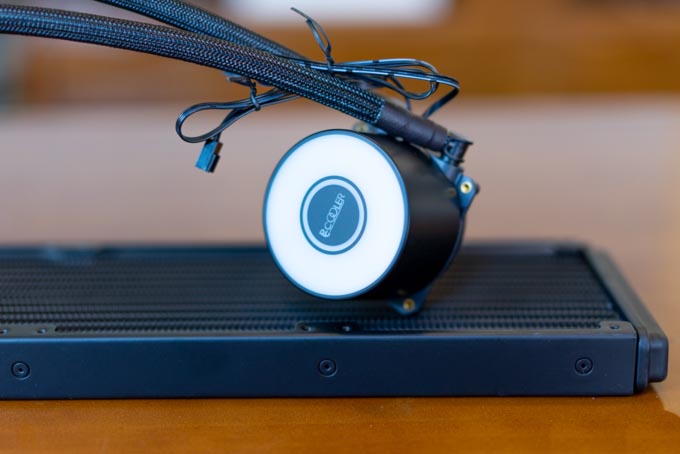
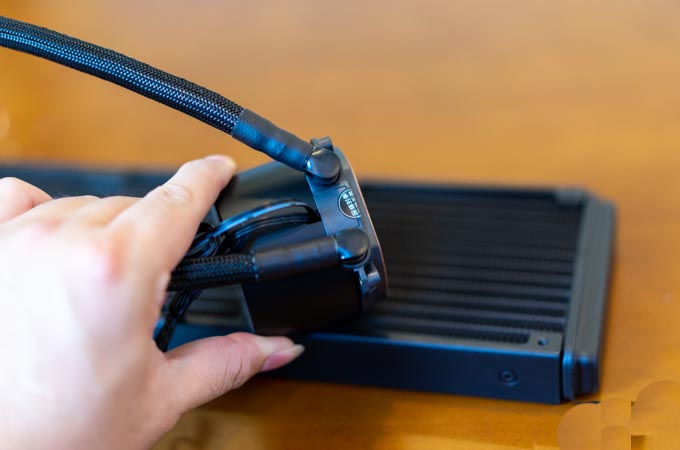
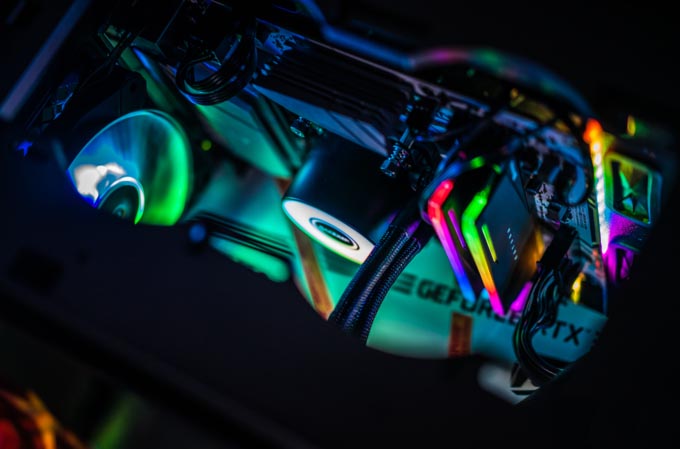
水泵的做工也还不错,中间是RGB发光单元。官方也表示采用了石墨轴承、陶瓷轴芯,三相电机设计,可以快速将热量传递给冷排进行释放,转速为2600RPM。
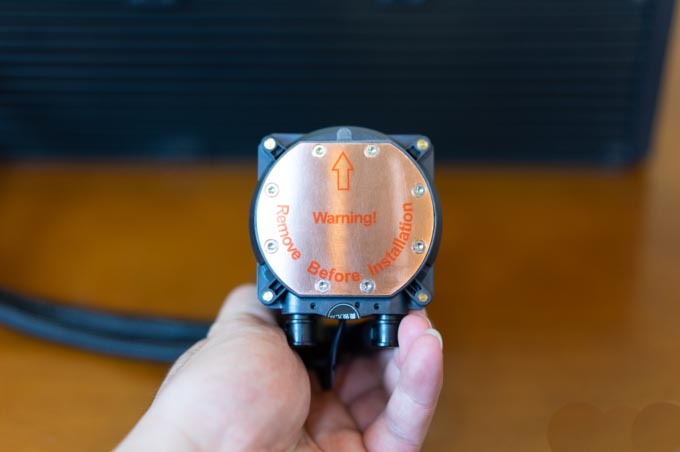
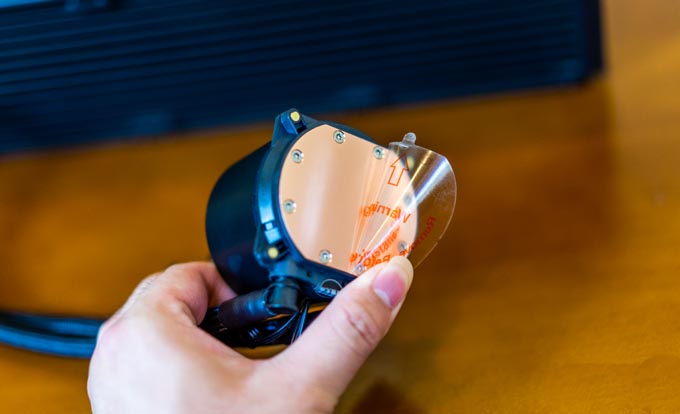
水泵的底座采用了无氧铜材质,尺寸很大,可以覆盖市面上绝大多数CPU,并且还进行了抛光作业,能更加快速的将CPU的热量传递到水冷液中。
水冷管的部位也采用了编织网+热缩管进行覆盖,并且水泵的水管还可以左右移动,安装时更省心。
安装:
有人的小伙伴会觉得水冷安装麻烦,实际上就前期的准备工作麻烦一点,真要安装起来我觉得比一些风冷要容易,毕竟有的风冷安装非常反人类,一不小心就“鲜血淋漓”(这里不针对任何品牌)。
下面我就简单展示下超频三巨浪360 Pro的安装过程。第一步是给冷排安装风扇,这里主要提前把风扇的排线整理好,最好是骑缝对齐,后期走线也比较方便。

随后是安装底座。这里要说一下,超频三巨浪360 Pro底座使用了塑料材质,可能有些人觉得没有金属靠谱,但实际上底座的作用只是起到一个固定作用,只要够结实就没问题。
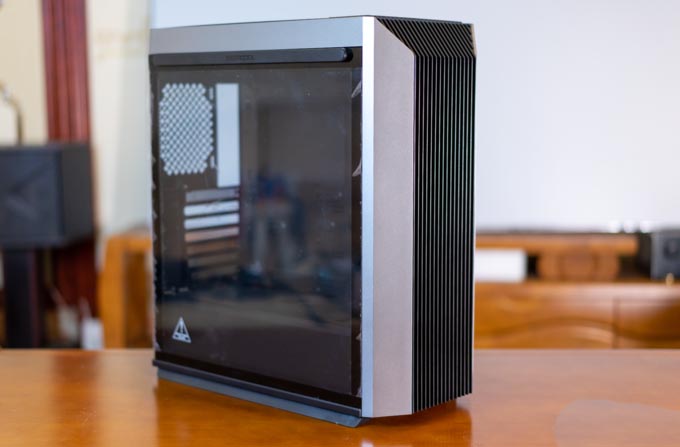
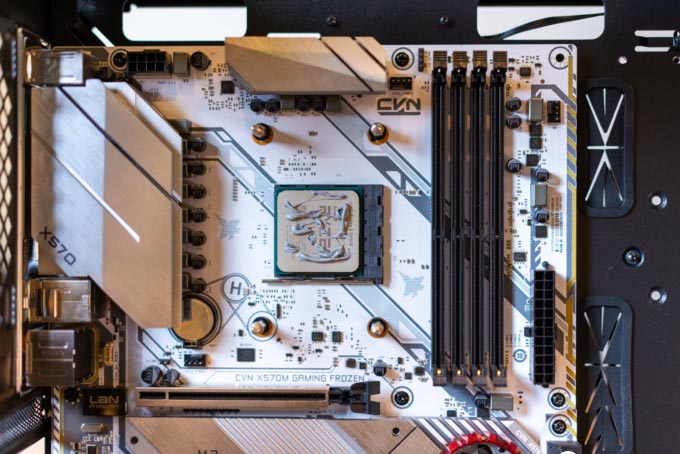
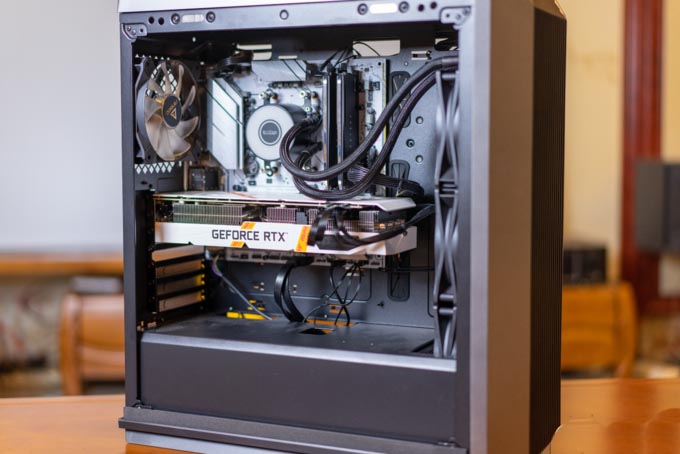
随后就是提前给机箱安装主板、电源。我这次用的主板是七彩虹 CVN X570M GAMING FROZEN V14,机箱则是九州风神CL500。
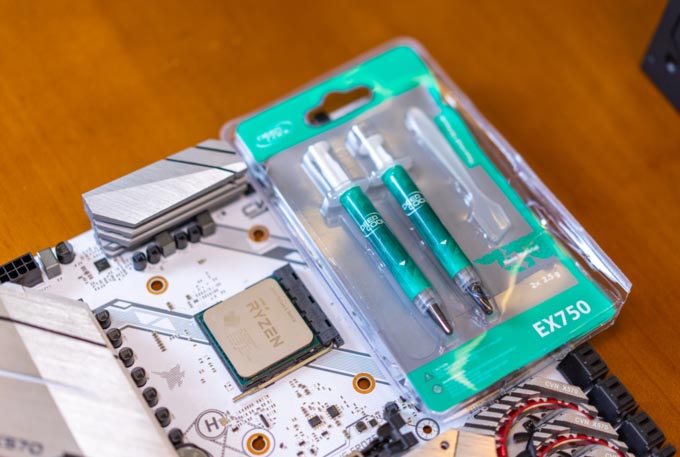
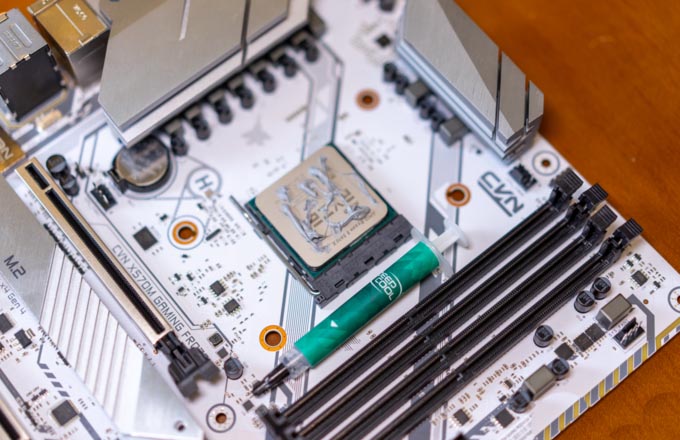
硅脂用上了九州风神的EX750,上次买了一个套装一直用到现在,表现还不错。比起我之前一直使用的信越7783更好涂抹。九州风神也表示这个硅脂是对标信越7921,导热系数为6.2w/m.k。
安装好主板后就可以安装水冷底座了。

随后再将水冷头安装好。这里有个小技巧:安装水冷头的时候,确定好位置先不着急上螺丝,可利用水泵的底座将CPU上的硅脂均匀涂抹开了,比牙签更好用,也不会浪费硅脂。虽然有人说硅脂这玩意越薄越好,可我都是每次装机都是均匀的涂满。

随后就是安装冷排,这时候就要注意冷排上风扇的排线。好在九州风神CL500预留孔很多,风扇的走线完全不用担心。
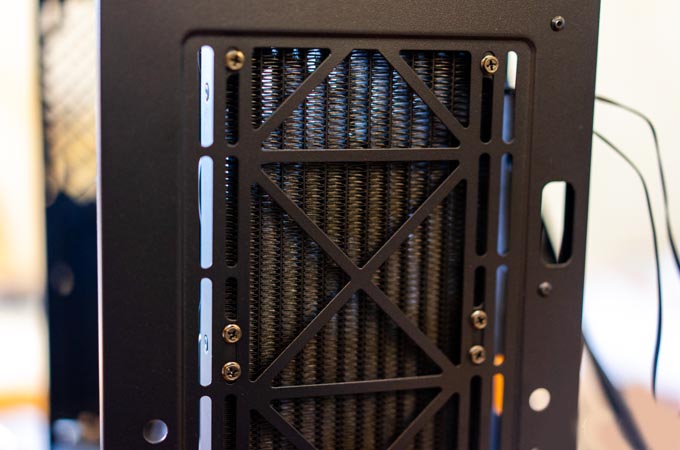
冷排的安装方式也格外简单,就直接拧螺丝就行,一共12颗。这里还要提一下超频三巨浪360 Pro的冷排采用了PPS过水部件,没有采用橡胶分流片设计,耐高温、不易变形,且散热表现也更出色。
安装完成的状态。整体装机时间花费了大概30分钟左右,其中水冷的安装并不算太麻烦。
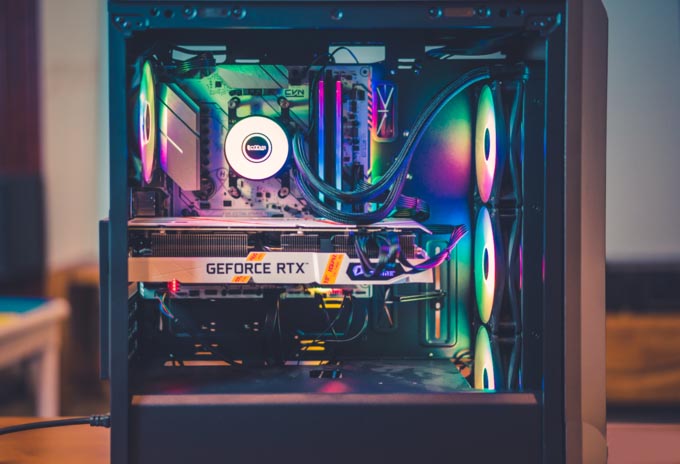
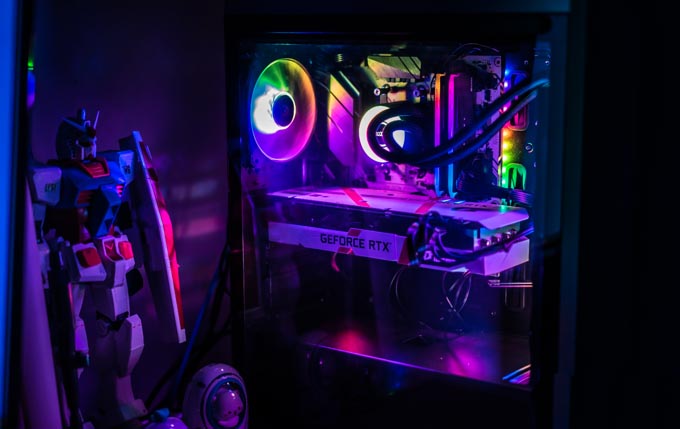
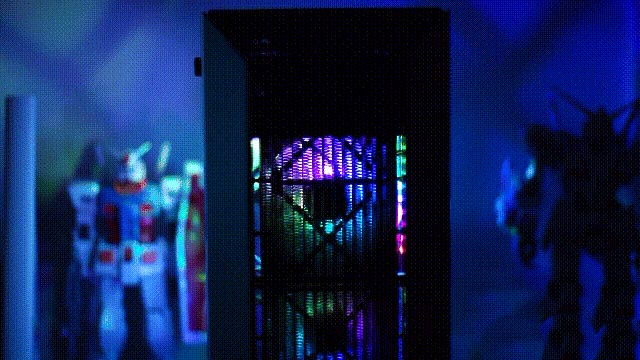
点亮后的状态,可以看到RGB的灯效还是非常炫酷的。前置风扇、水冷头、主板以及后风扇的灯管都同步了,遗憾的是内存没有打通七彩虹的RGB协议,暂时还无法调节。
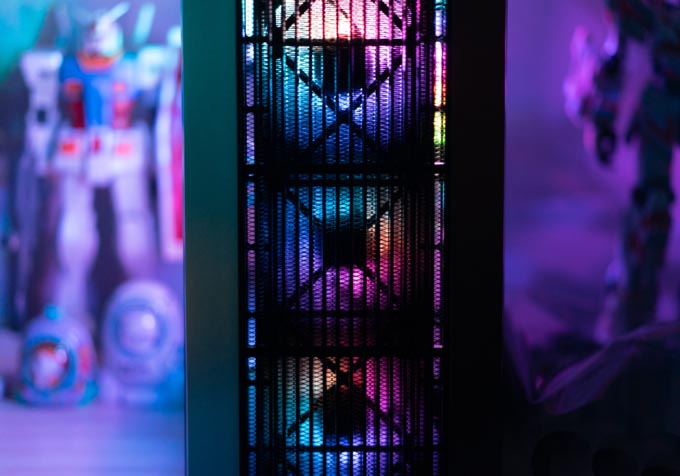
也不用担心最下面的风扇进不了风,机箱不但留了足够的位置,还可以将机械硬盘的热量也带出机箱之外。
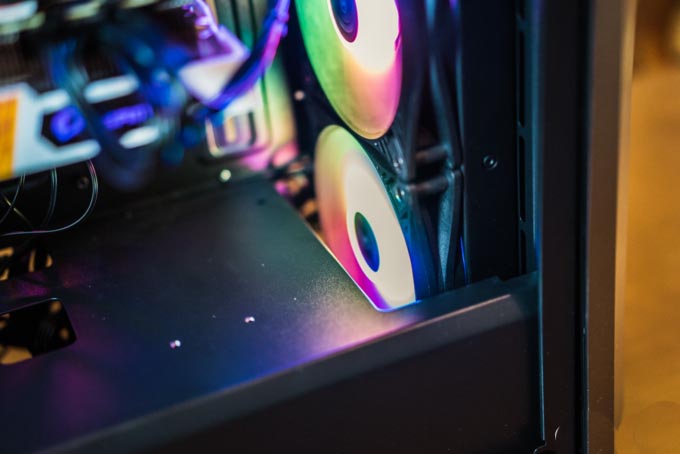
夜晚不开灯的RGB效果,感觉还是非常Nice的。
如果内存RGB光也能同步上,那这光污染就完美了。可惜现在内存涨价,我也就懒得换了。
机箱从正面看过去,RGB的灯效也同样非常酷炫。
性能测试:
测试的平台为
CPU:AMD锐龙R5 5600X(全核4.7GHz)
内存:安钛克武士刀DDR4 8GB*2 3200MHz
硬盘:三星980 Pro 500GB(PCIe 4.0)
显卡:七彩虹RTX3060 ultra w oc
主板:七彩虹X570M GAMING FORZEN
散热器:超频三巨浪360 Pro
先说明一下,平时我都是用AIDA64软件来测试温度,但不知道是七彩虹主板还是软件的问题。主要表现在,不管怎么使用,CPU的温度始终最高30℃,而核心温度还比较正常。所以这次就以核心温度才参考。比如待机的时候(室温为20℃),超频三巨浪360 Pro的加持下,5600X的CPU核心温度为38℃。
打开OCCT跑了下标准测试,其实也就是模拟日常游戏等一些使用,CPU的核心温度在51℃左右,也比较正常。
下面进行单烤FPU,分别用OCCT和AIDA64检测温度,也可以看到AIDA64是有多么不准!
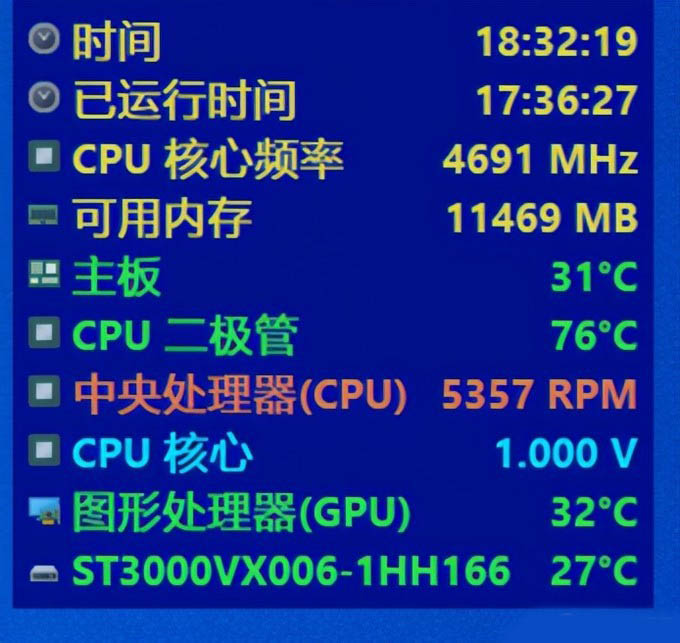
如AIDA64显示,主板温度为31℃、CPU二极管为76℃,CPU风扇转速达到了5375RPM,最好玩的是全核4.7GHz,而CPU的电压才1V,非常不可思议。我在BIOS设置的是1.275V。
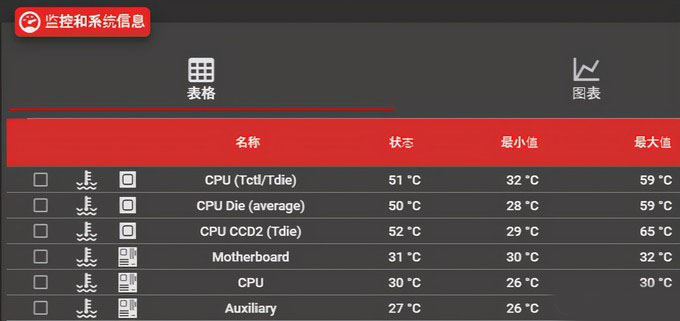
OCCT监控这边显示还算正常,比如CPU的核心温度为76℃,但是AUXTIN1和2居然达到了110℃以上,这也表示北桥的温度达到了110℃,有些不可思议。

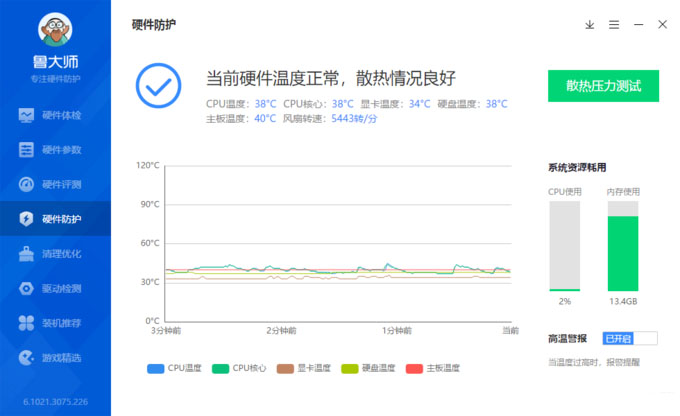
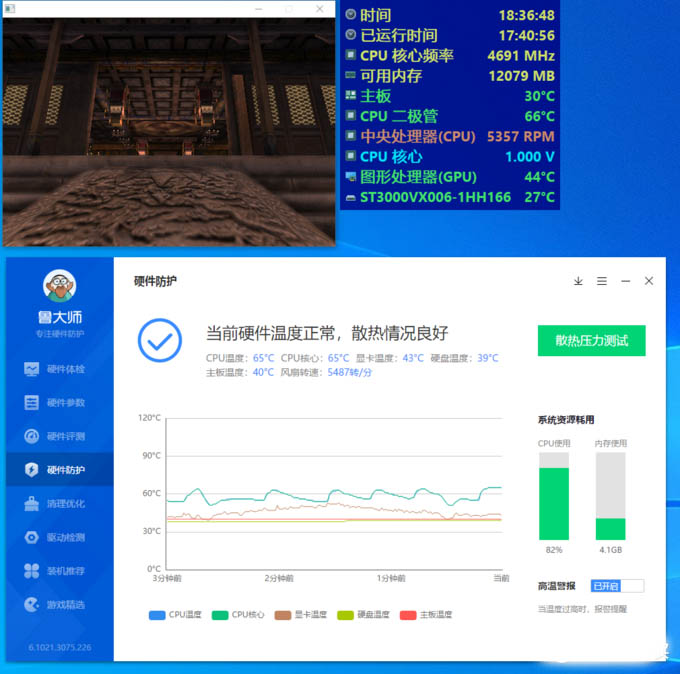
最后再来个鲁大师,跑了快20分钟,显示CPU的温度为65℃。
因此,我得出结论:全核4.7GHz、1.275V电压的AMD 5600X能被超频三巨浪360 Pro完美压制住,无论是日常使用还是游戏体验都完全没压力。当然,超频三巨浪360 Pro也不是什么毛病都没有,风扇满载的时候噪音还是有点大,建议小伙伴用的时候将风扇转速控制好。