Win7右下角红X不能上网怎么办?
win7系统是微软最为经典的一款操作系统,而不少用户在使用电脑的时候都会选择使用win7系统。但是不少用户在重装了win7之后发现电脑右下角的网络显示红x不能上网,这要怎么办呢?下面小编就带着大家一起看看吧!
操作方法:
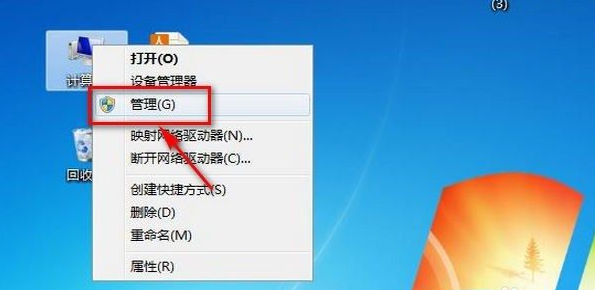
1、右击“计算机”图标,点击“管理”。
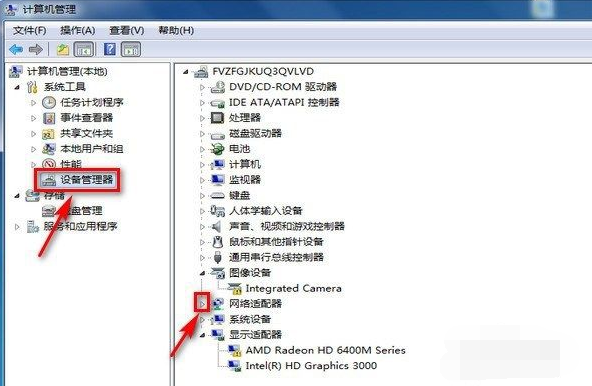
2、点击“设备管理器”,然后点击“网络适配器”前面的三角形。
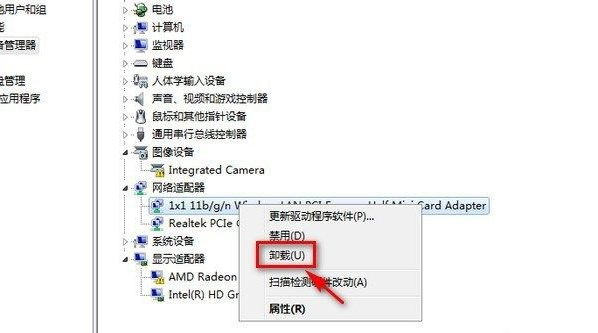
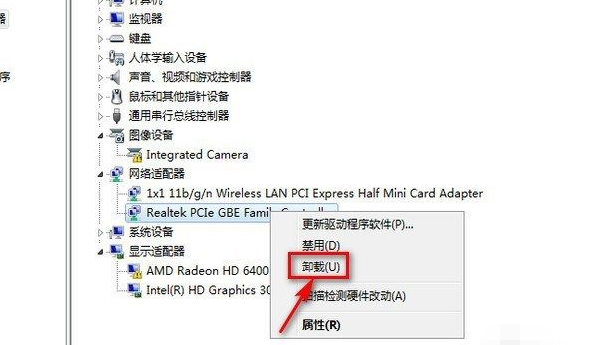
3、右击第一个驱动,点击“卸载”。
4、选中“删除此设备的驱动软件程序”前的方框,点击“确定”。

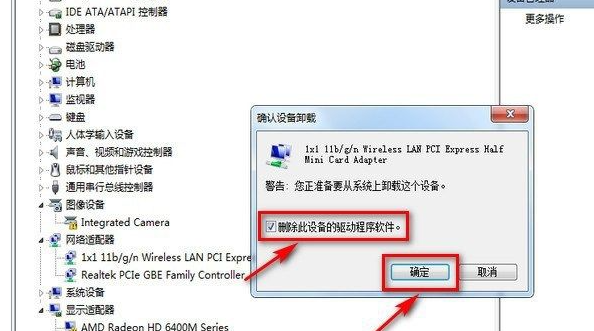
5、右击第二个驱动,点击“卸载”。
6、选中“删除此设备的驱动软件程序”前的方框,点击“确定”。
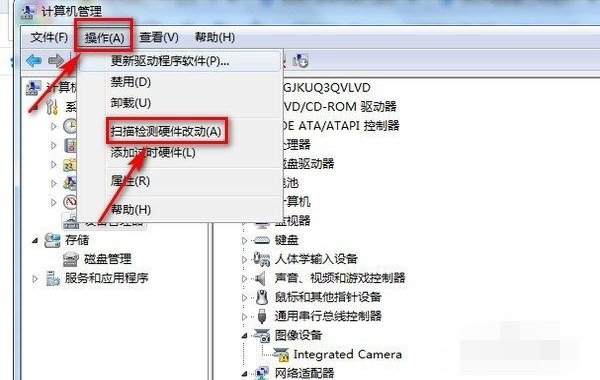
7、点击计算机管理窗口中的“操作”,点击“扫描检测硬件改动”,完成设置即可修复。
以上便是win7右下角红x不能上网的解决方法,希望能帮到大家。