DBeaver连接hive的超详细图解
目录
- DBeaver 简介
- 使用DBeaver连接hive
- (1)配置Maven仓库
- (2)配置hive驱动
- (3)创建hive连接
- (4)连接测试
- 总结
DBeaver 简介
dbeaver是免费和开源(GPL)为开发人员和数据库管理员通用数据库工具。易用性是该项目的主要目标,是经过精心设计和开发的数据库管理工具。免费、跨平台、基于开源框架和允许各种扩展写作(插件)。它支持任何具有一个JDBC驱动程序数据库。它可以处理任何的外部数据源。
使用DBeaver连接hive
(1)配置Maven仓库
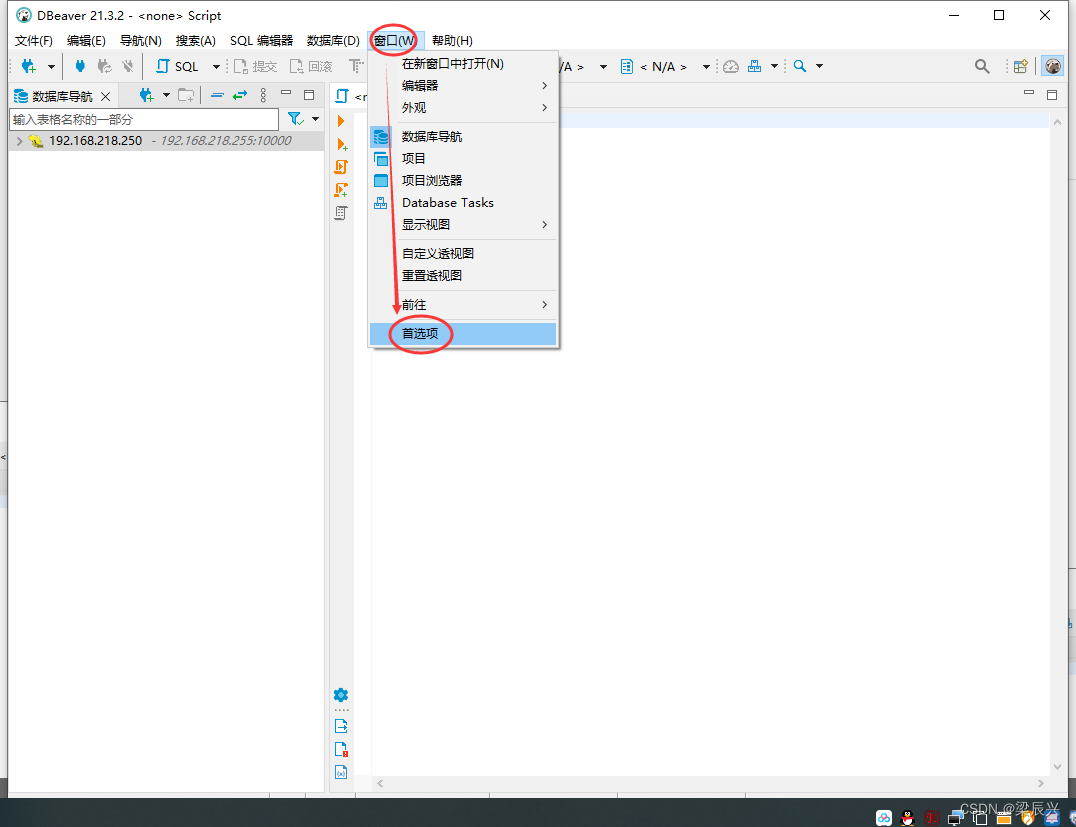
1.单击【窗口】,再单击【首选项】
2.添加华为云的仓库,添加完成后,将其移动到最上面,然后单击【应用】按钮,再单击【应用并关闭】按钮
id:repo.huaweicloud.com #随你设置
name:repo.huaweicloud.com #随你设置
URL:https://repo.huaweicloud.com/repository/maven/

(2)配置hive驱动
1.单击【数据库】—【驱动管理器】

2.选择【Hadoop】——【Apache Hive】——单击【编辑】按钮

3.单击【库】——单击【添加工件】


3.选择你的版本【hive_jdbc】,单击2.1.0
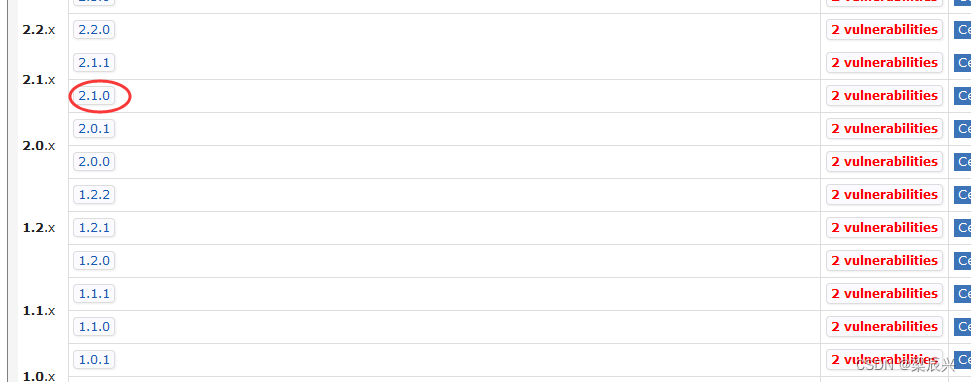
选择Gradle (Short),将下面的内容拷贝到剪贴板
// https://mvnrepository.com/artifact/org.apache.hive/hive-jdbc
implementation 'org.apache.hive:hive-jdbc:2.1.0'

4.将剪贴板的内容粘贴到Maven Artifact——Dependency Declaration下,单击【确定】按钮

(3)创建hive连接
1.启动dbeaver,单击【文件】,单击【新建】(快捷键ctrl + n)

2.在弹出的【选择向导】对话框中选择【数据库连接】,单击【下一步】按钮

3.在弹出的【创建新连接】对话框中选择【Hadoop/Bigdata】,选择【Apache Hive】,单击【下一步】按钮

4.配置相关信息后,单击【完成】按钮

(4)连接测试
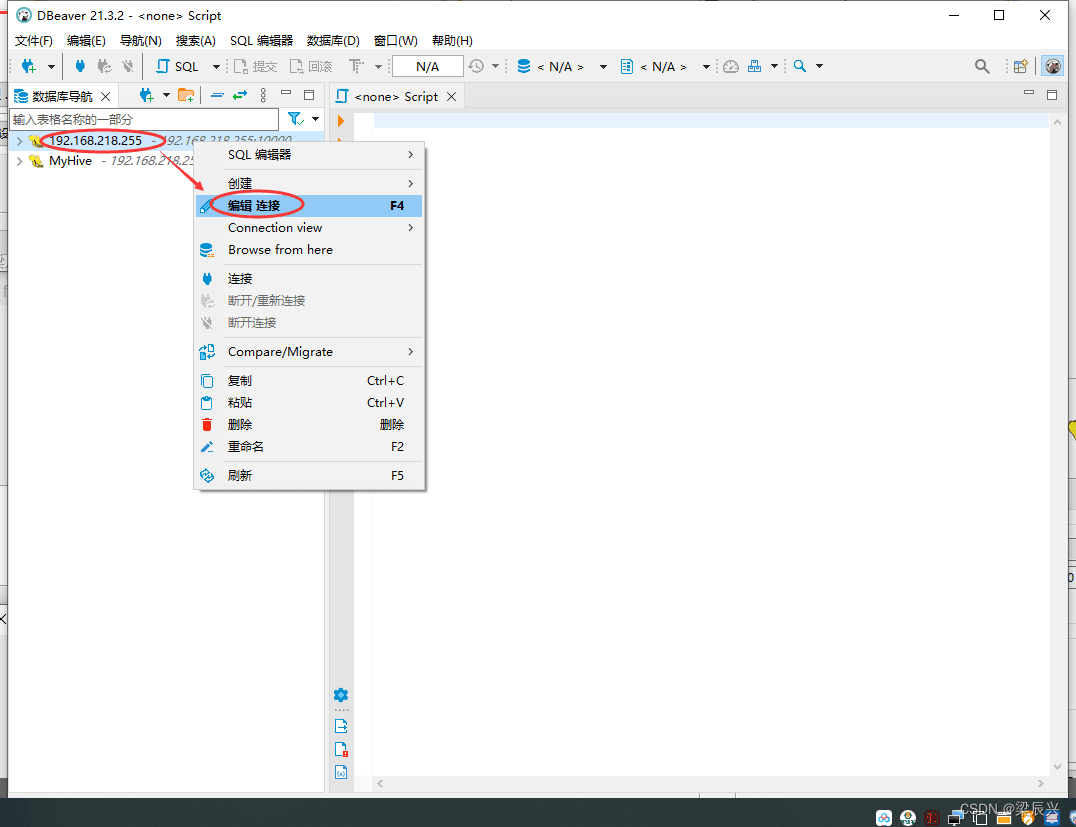
1.右击刚建好的连接,单击【编辑连接】,快捷键F4
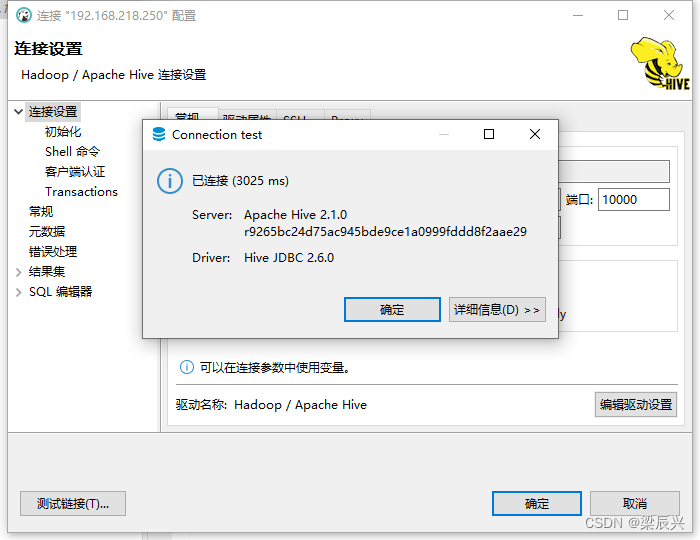
2.单击【连接测试】按钮

3.测试连接成功
总结
到此这篇关于DBeaver连接hive的文章就介绍到这了,更多相关DBeaver连接hive内容请搜索电脑手机教程网以前的文章或继续浏览下面的相关文章希望大家以后多多支持电脑手机教程网!