MongoDB卸载安装的详细安装教程
目录
- 01 卸载
- 1、 sc stop MongoDB
- 2、 sc delete MongoDB
- 3、 然后再是软件卸载,数据库删除
- 02 MongoDB安装
- 02::01 MongoDB安装
- 1、安装
- 02::02 配置MongDB
- 1、配置环境变量
- 2、在你安装的MongDB目录下新建两个目录db和log
- 3、在 MongoGB 中新建配置文件 mongod.conf(与 bin 目录同级)
- 4、将mongodb安装为服务
- 5、启动服务
- 6、验证
- 总结
01 卸载
管理员权限进入cmd
停掉服务
1、 sc stop MongoDB
删除服务
2、 sc delete MongoDB

3、 然后再是软件卸载,数据库删除
点击你之前的安装包


删除完毕!!!
02 MongoDB安装
02::01 MongoDB安装
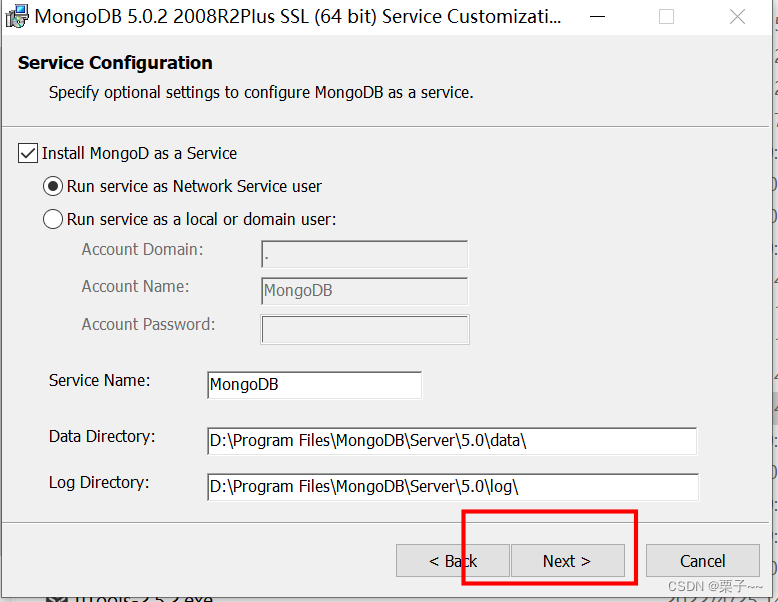
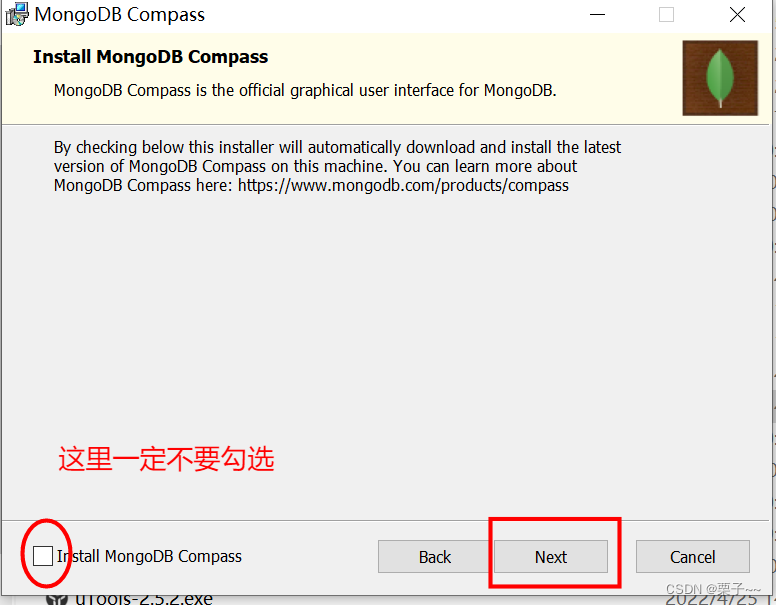
安装的时候,有个地方需要注意一下,就是不要勾选 Install MongoDB Compass。
这是安装官方的可视化工具,即不好用官网下载也非常缓慢。
下载地址:https://www.mongodb.com/try/download/community
点击后它会自动监测适合你电脑的MongoDB的安装版本,你下载就行。
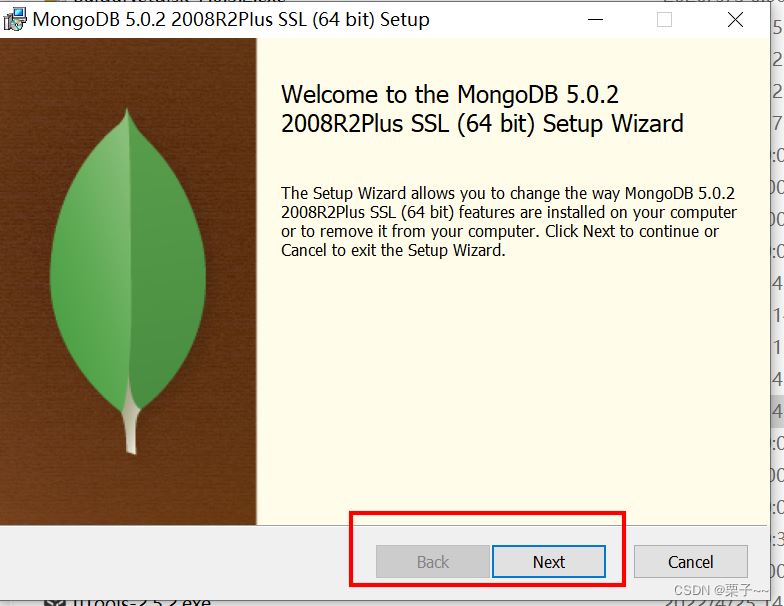
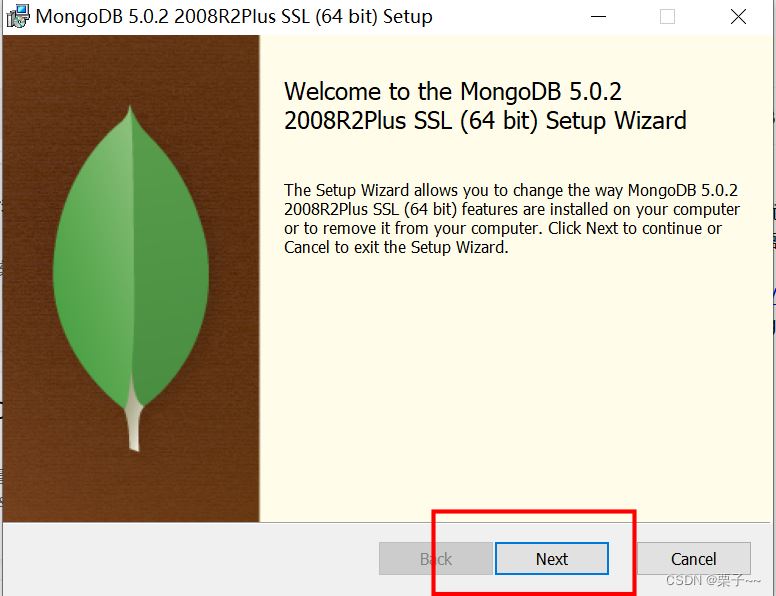
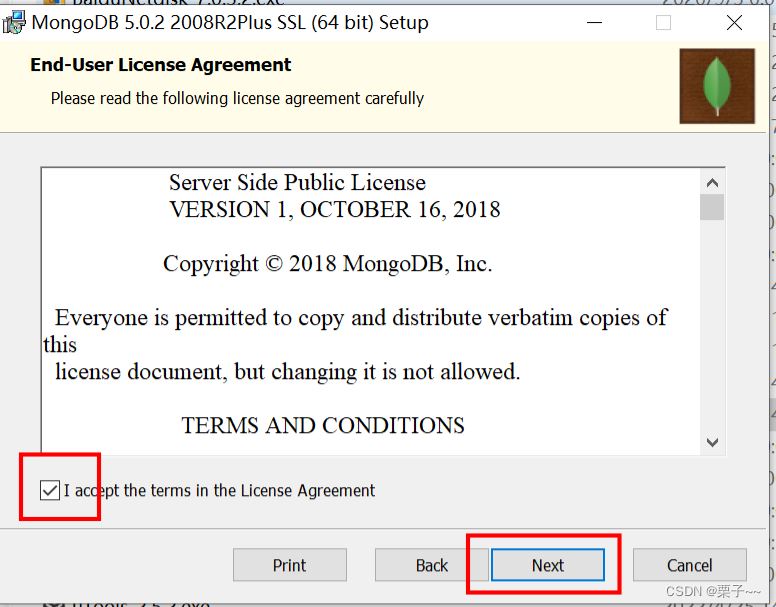
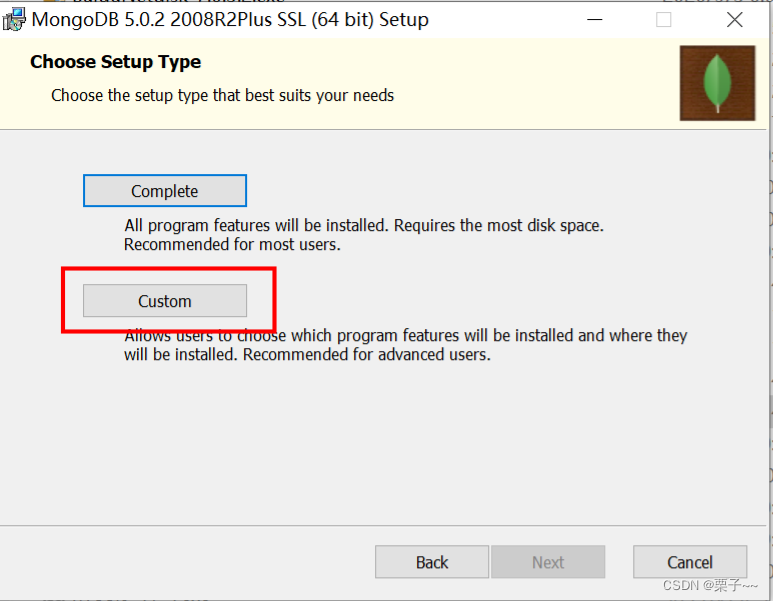
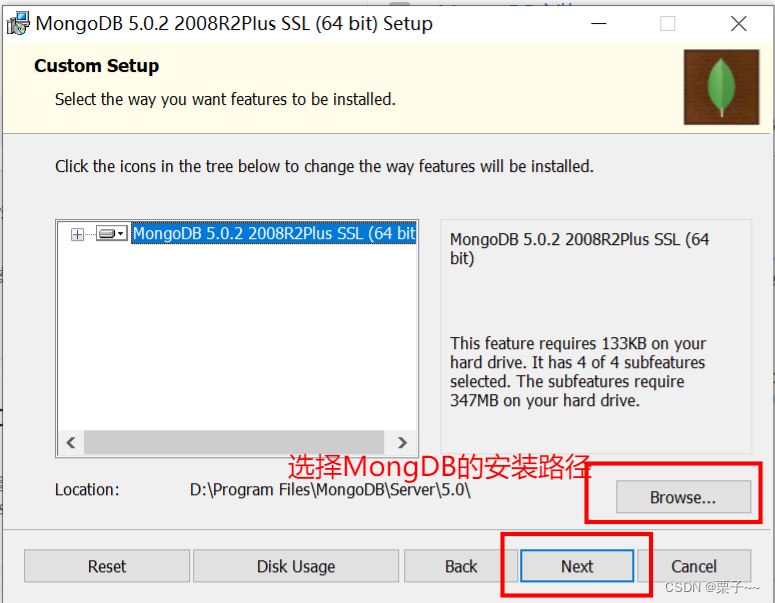
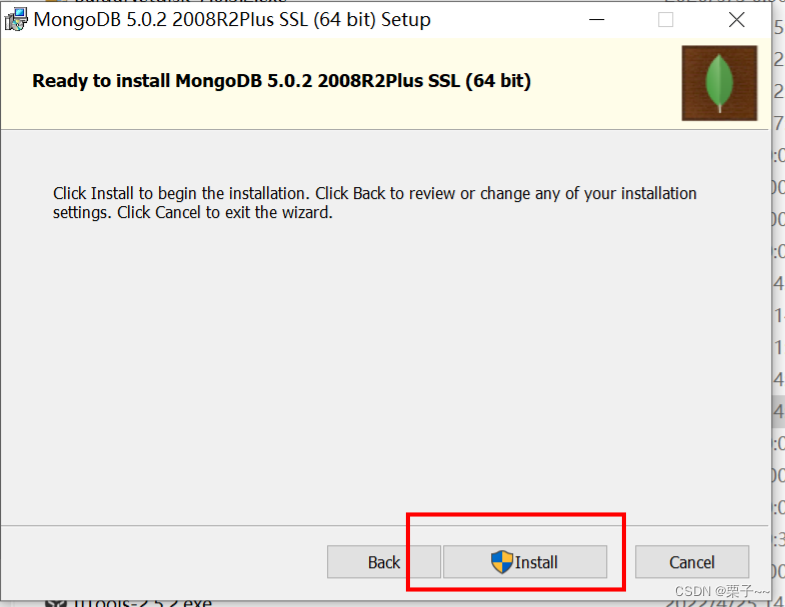
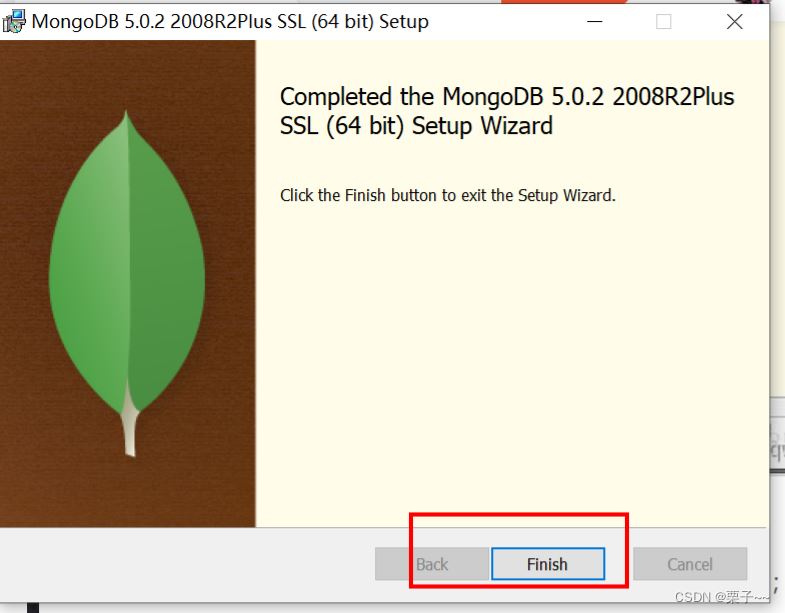
1、安装
看下面图安装就行:
双击安装包:
02::02 配置MongDB
1、配置环境变量
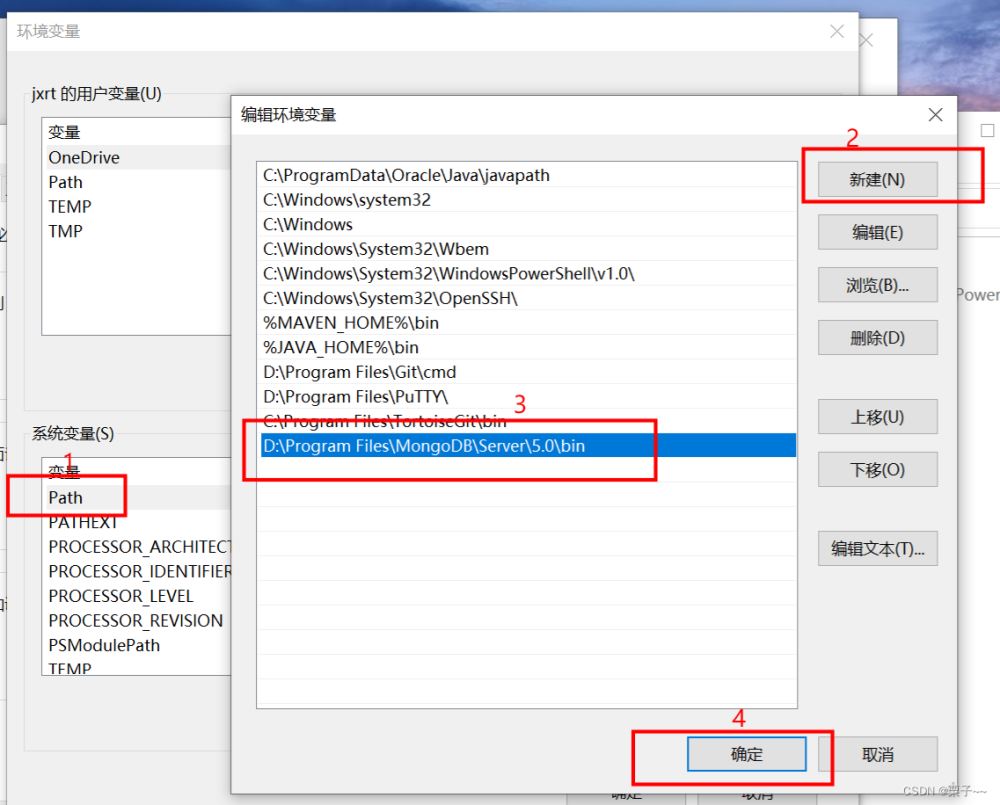
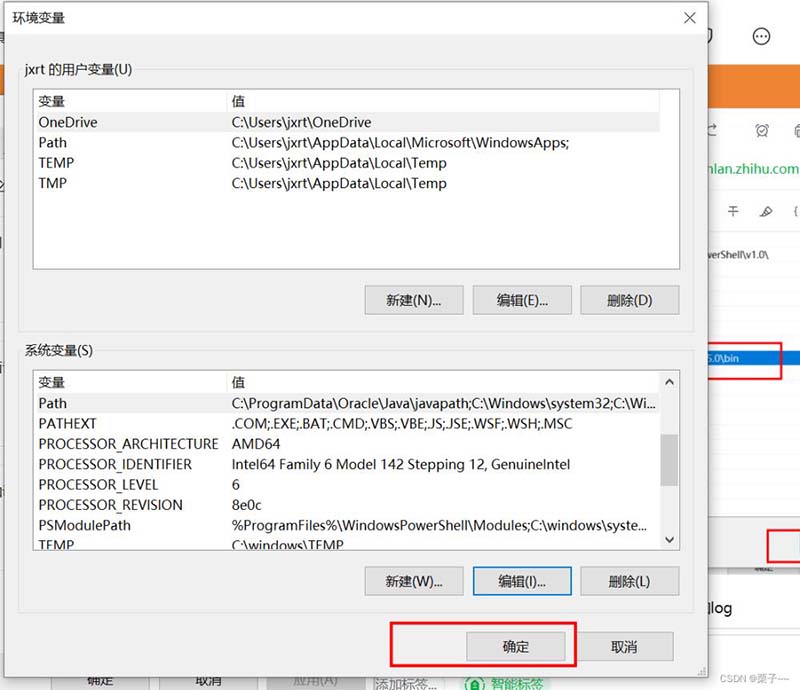
验证:输入mongo

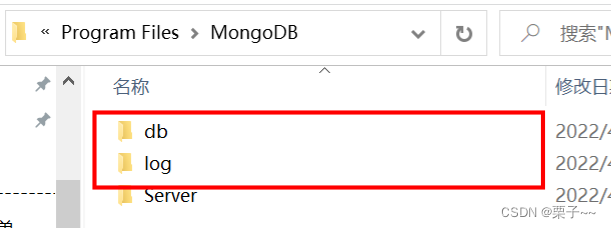
2、在你安装的MongDB目录下新建两个目录db和log
3、在 MongoGB 中新建配置文件 mongod.conf(与 bin 目录同级)
#数据库数据存放目录
dbpath=D:\Program Files\MongoDB\db
#数据库日志存放目录
logpath=D:\Program Files\MongoDB\log\mongo.log
#以追加的方式记录日志
logappend=true
#端口号默认为27617
port=27017
#开后用户认证
auth=false
#mongodbj所绑定的ip地址
bind_ip=0.0.0.0
#启用日志文件,默认启用
journal=true
#这个选项可以过滤掉一些无用的日志信息,若需要调试使用请设置为false
quiet=true
#不允许全表扫描
notablescan=false
4、将mongodb安装为服务
mongod --config “D:\Program Files\MongoDB\Server\5.0\mongod.conf” --install
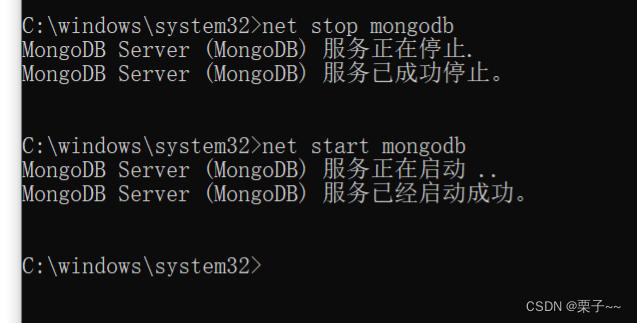
5、启动服务
先关闭在启动
net stop mongodb
net start mongodb
6、验证
输入http://127.0.0.1:27017/

表示启动成功!!!
总结
到此这篇关于MongoDB卸载安装的文章就介绍到这了,更多相关MongoDB卸载安装内容请搜索电脑手机教程网以前的文章或继续浏览下面的相关文章希望大家以后多多支持电脑手机教程网!