debian 9.4 安装教程 linux系统debian9.4图文详细安装步骤
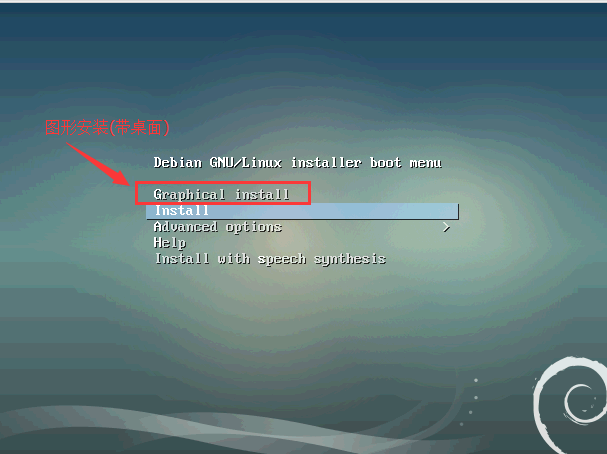
我们这里选择install安装,不装桌面,因为是做服务器,装桌面没意义。
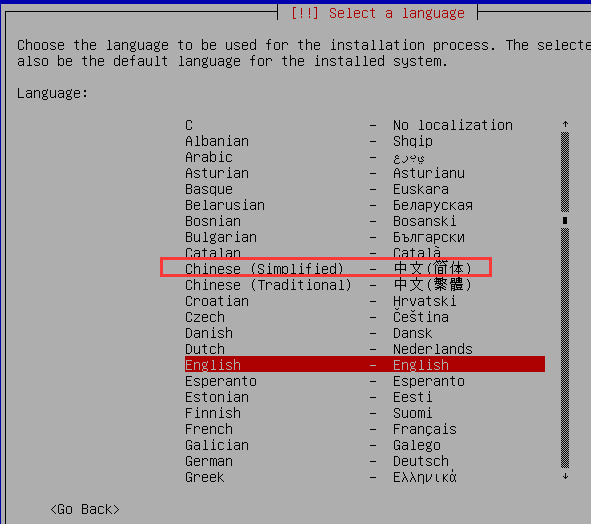
我们这里选择装英文版,你也可以装中文版本。

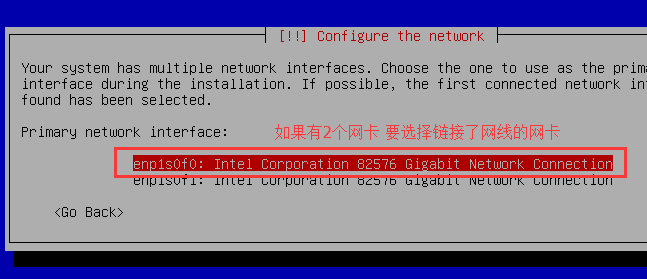
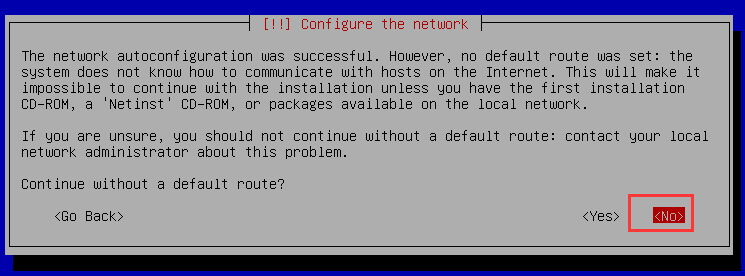
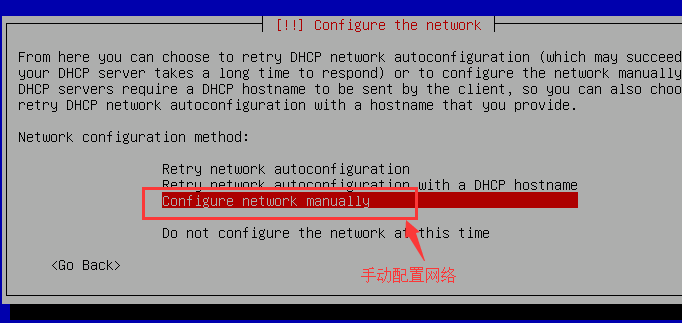
手动配置网络

设置ip
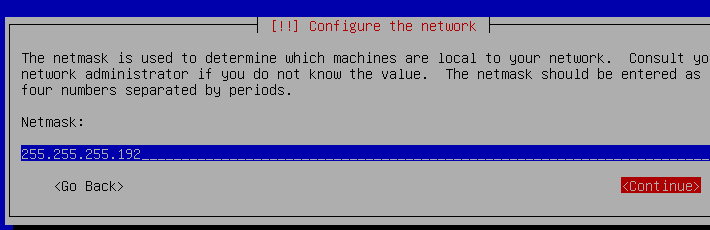
设置 子网掩码
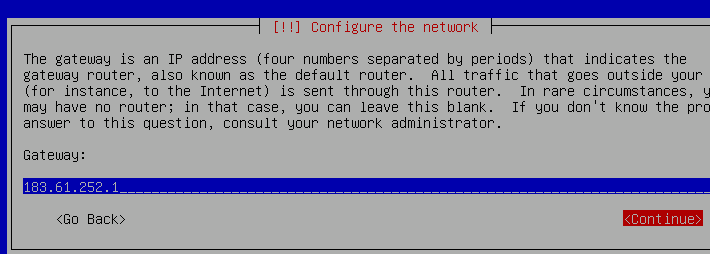
设置网关
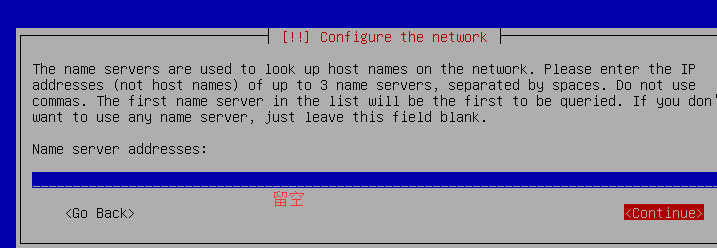
名称服务器地址留空

计算机名称随便写
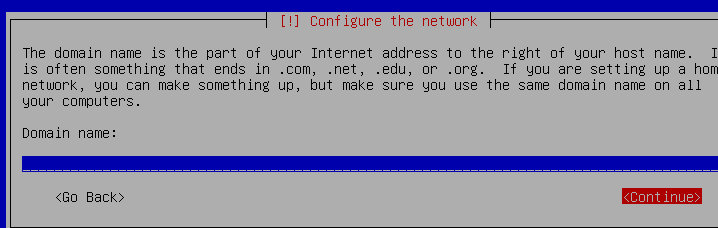
域名称
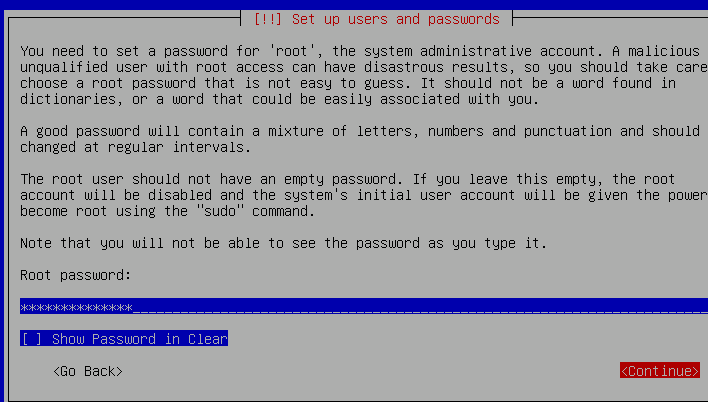
设置root密码

重复设置一下root密码
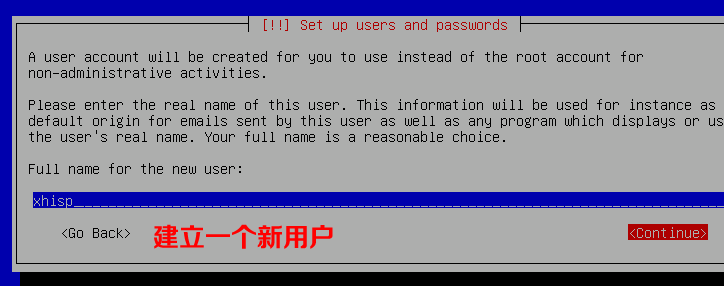
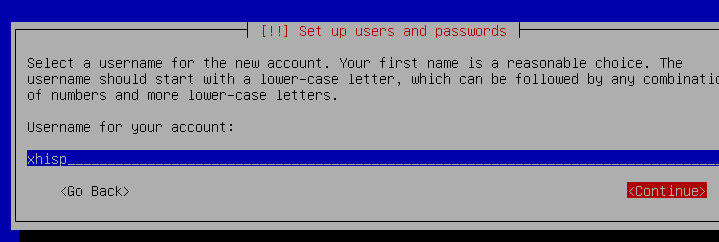
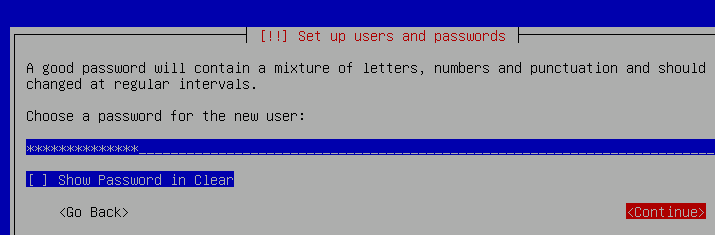
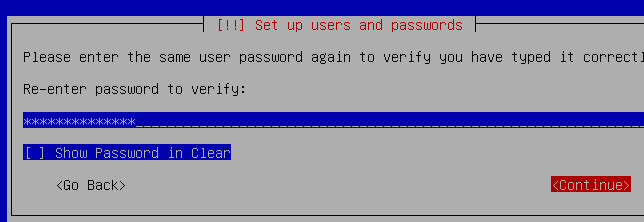
新建一个新用户
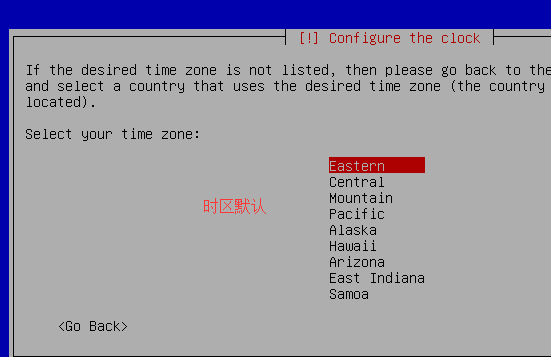
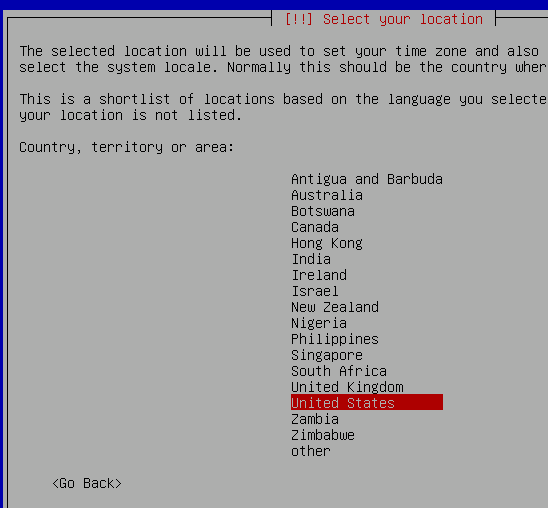
时区默认就可以了
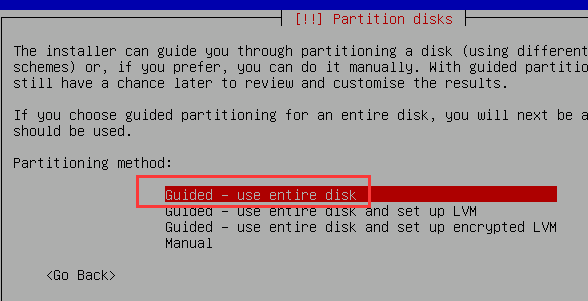
硬盘分区
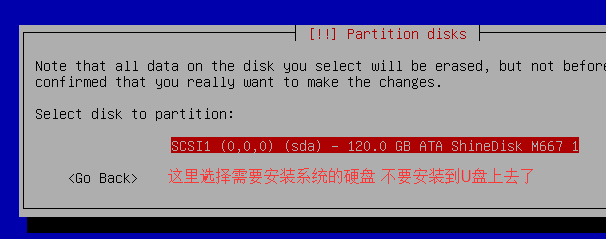
这里选择需要安装系统的硬盘,不要安装到U盘上了,一定要看准磁盘大小
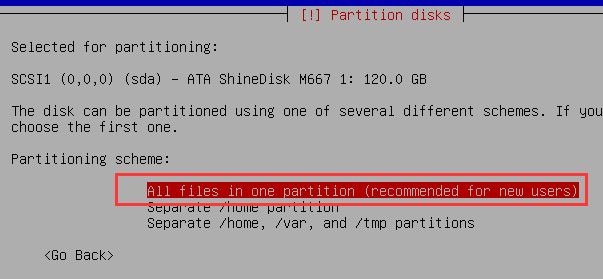
选择 所有文件放一个磁盘分区上,新用户推荐
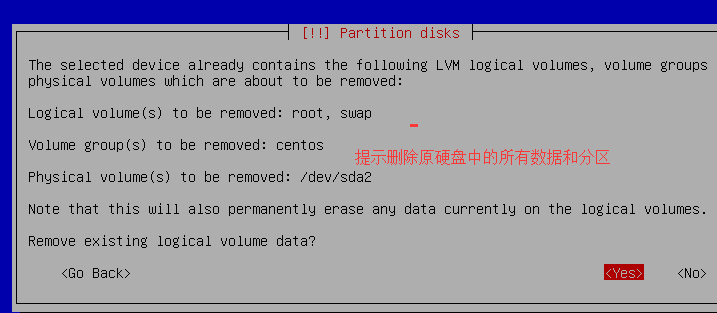
提示删除原硬盘中的所有数据与分区

完成分区与将修改写入到磁盘
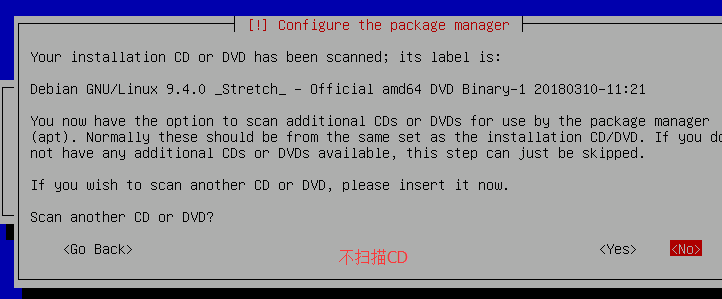
不扫描CD
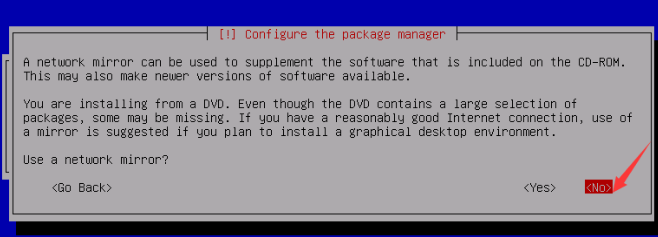
选择 否 (不使用网络镜像)

选择 NO 统计软件包流行度的。会定期上报本机安装了哪些软件包。
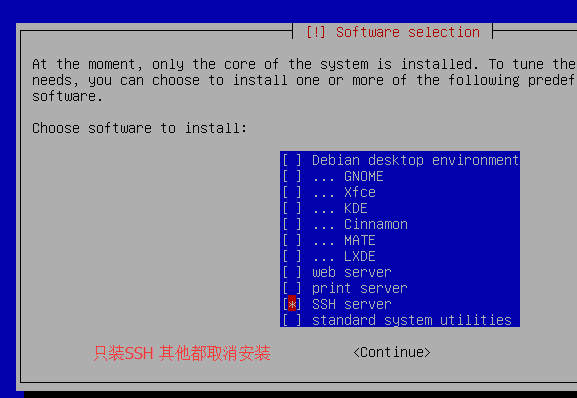
只选择SSH 其它都取消安装
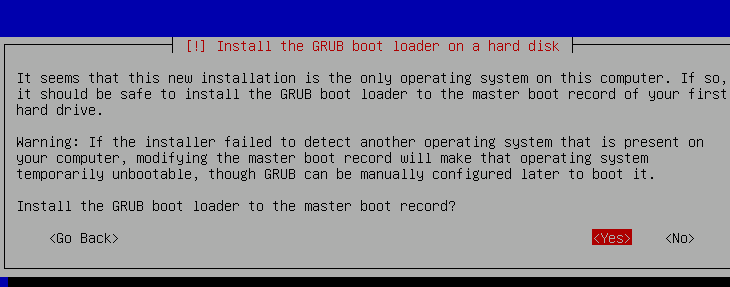
选择是
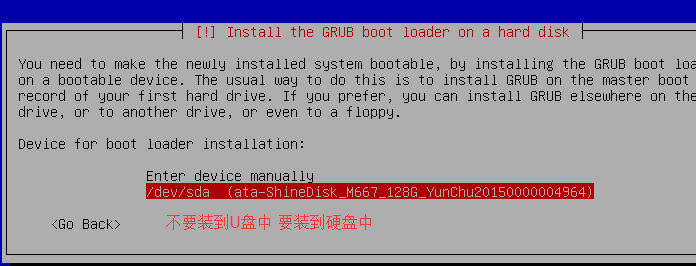
不要安装到U盘中,要安装到硬盘中
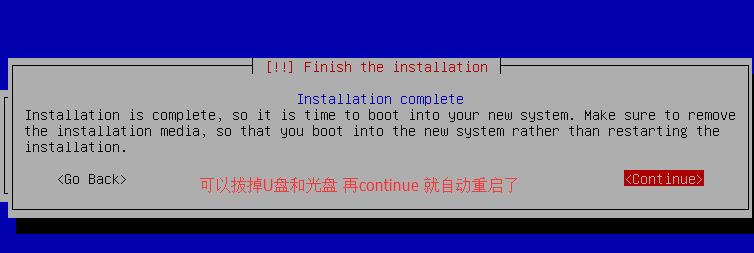
可以拔掉U盘与 光盘 再continue 就自动重启了
查看设置IP地址、网关的文件/etc/network/interfaces
参考:
auto lo
iface lo inet loopback
allow-hotplug enp1s0f0
iface enp1s0f0 inet static
address 183.61.252.25/26
gateway 183.61.252.1
设置服务器dns的文件/etc/resolv.conf
不设置服务器里不能解析域名
参考:
nameserver 114.114.114.114
nameserver 8.8.8.8
重启网络service networking restart
userdel -f 需要删除用户(比如上面建立的用户,也可以不删除,建议删除上面建立的没什么用途的用户)
输入root和密码,进入系统,修改
/etc/ssh/sshd_config
文件里面的#PermitRootLogin … 为PermitRootLogin yes
如果不修改root用户就无法SSH连接服务器
再执行命令systemctl reload sshd.service或reboot重启使得修改生效