windows 7下FTP服务器构建教程
本文实例为大家分享了FTP服务器构建图文教程,供大家参考,具体内容如下
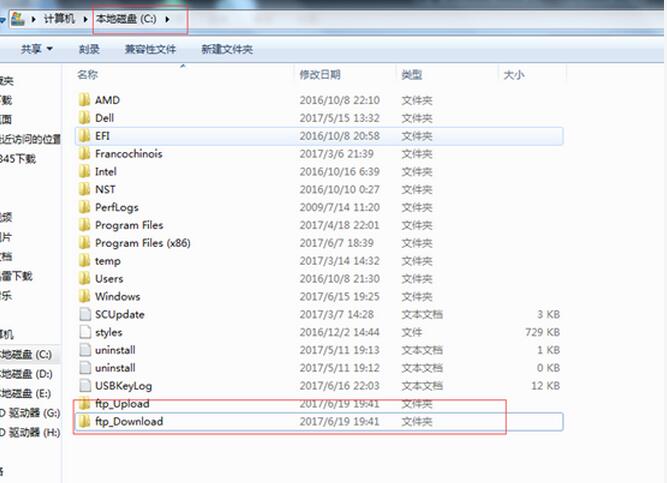
首先我们在C盘建立两个文件夹,用于发ftp的上传和下载
其次我们找到控制面板>程序>打开或关闭windows功能

进入后找到Internet 信息服务>FTP服务器>确定!

选中后按确定进行安装,会出现正在更新windows功能

我们打开”管理”配置ftp
首先右键网站,选择添加ftp站点

Ip地址选择自己电脑的可用ip

这里可根据自己的需求进行更改

更改后选完成即可
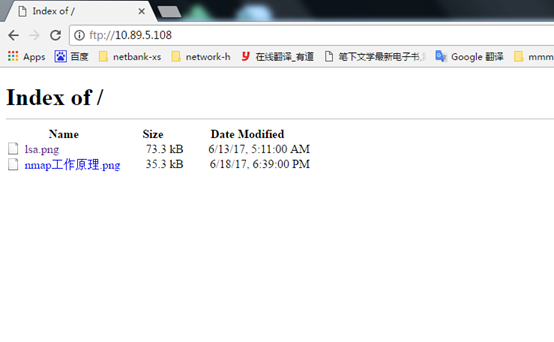
配置完成后我们来进行验证
在浏览器上输入ftp://ip地址
会出现

我们输入密码
ftp服务器创建完成.
我们打开cmd视图连接ftp服务器

我们查询一下

接下来我们下载
定向下载目录进行下载:

然后上传文件

上传和下载可通过软件实现


