Windows?Server?2019?Web服务器之IIS的安装与基本配置
目录
- 4. 安装 IIS 服务器
- 5. IIS 的基本配置
- 5.1 绑定 IP
- 参考资料
4. 安装 IIS 服务器
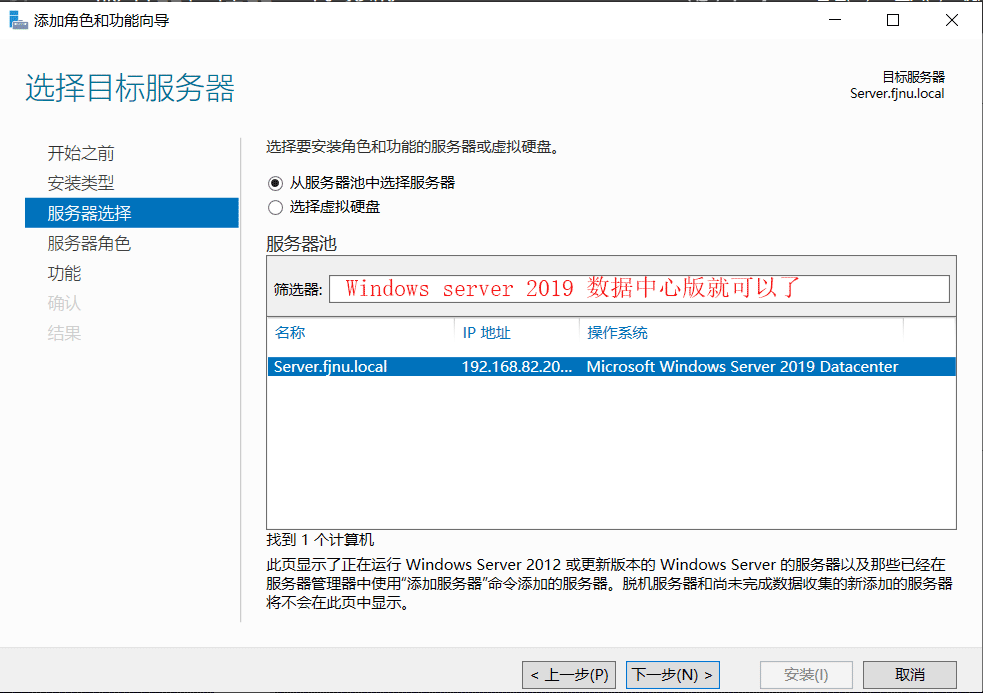
准备工作:选择一台服务器作为WEB-IIS服务器,IP地址为192.168.82.208。
在Windows Server 2019系统中,IIS角色是可选组件,默认情况下是没有安装的。
1)打开【服务器管理器】,单击【添加角色和功能】。

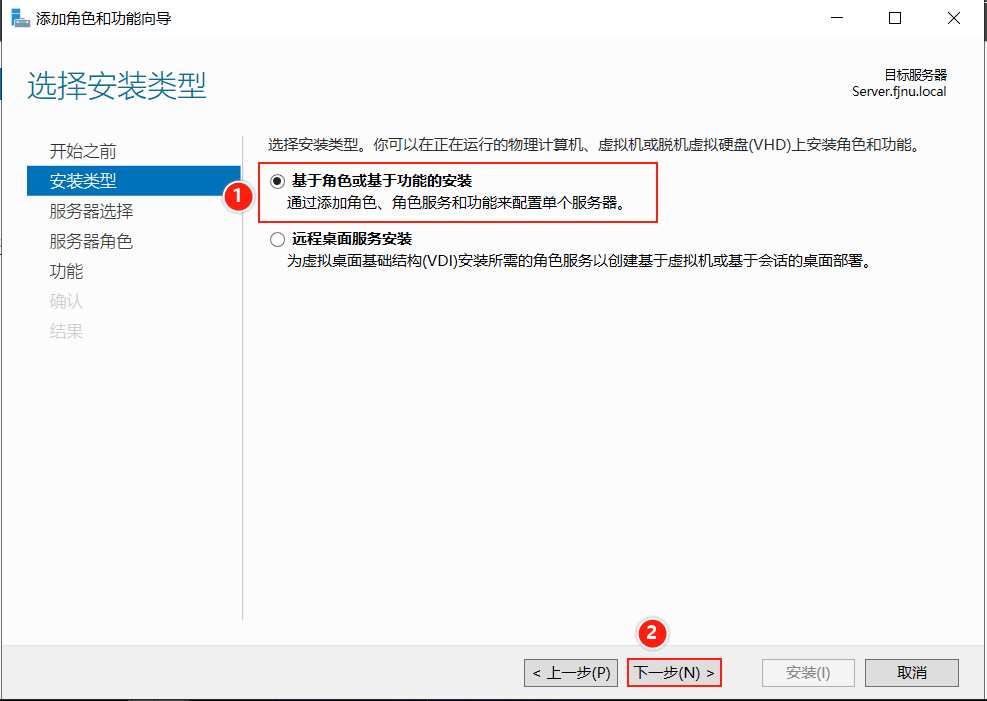
2)默认选择【基于角色或基于功能的安装】,点击【下一步】。
3)默认选项,继续下一步。
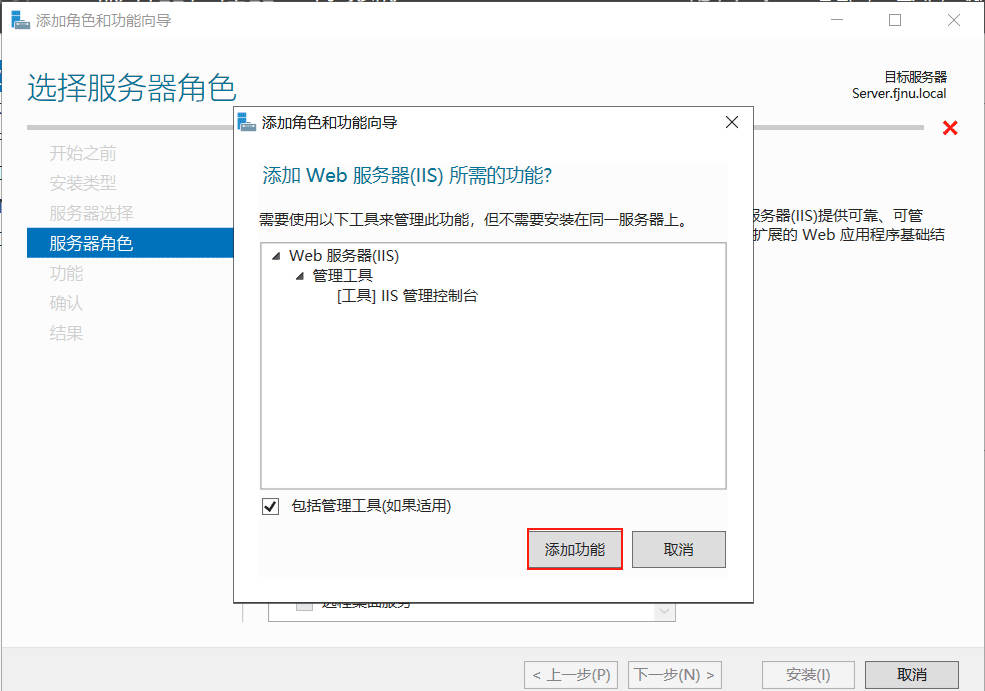
4)进入【服务器角色】页面,点击Web服务器(IIS),在弹出的对话框点击【添加功能】。
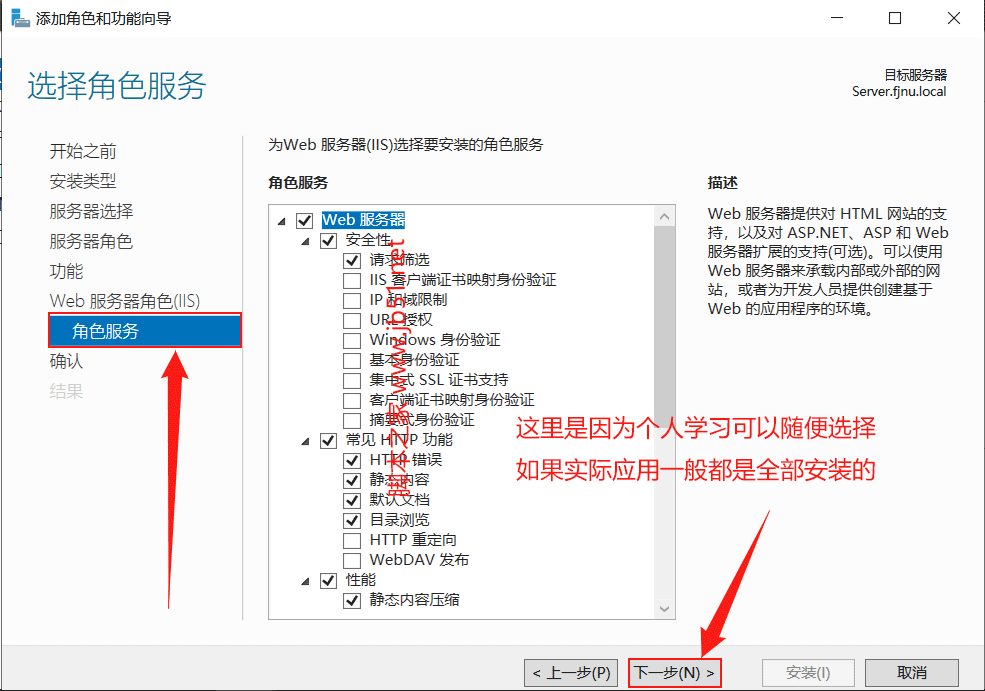
5)默认选项,点击【下一步】,直到角色服务为止。角色服务中有很多选项没有选择,我们暂时不需要用到这些选项,继续点击【下一步】。
6)进入【确认】页面,点击【安装】。

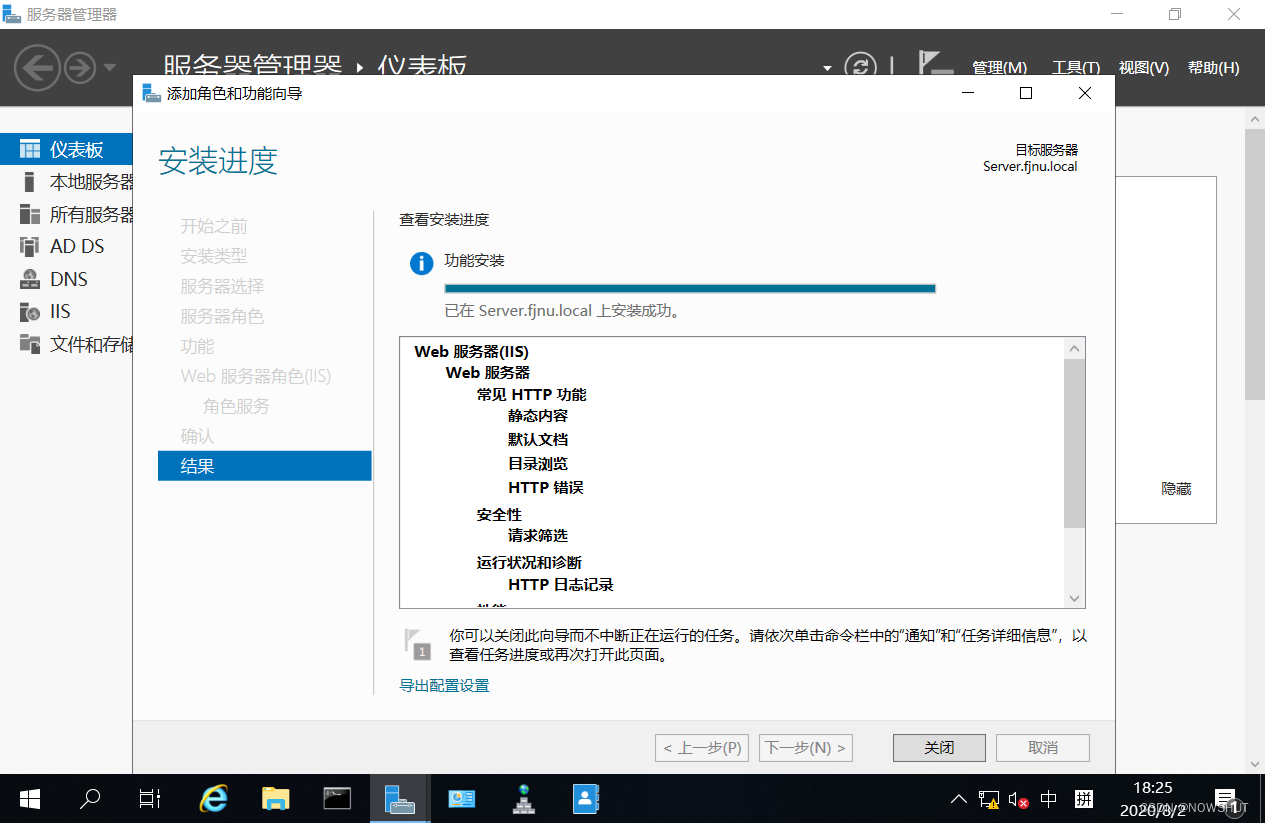
7)进入【结果】界面, 安装过程需要等待一段时间, 安装完成后, 会在进度条下面显示【安装成功】。
5. IIS 的基本配置
5.1 绑定 IP
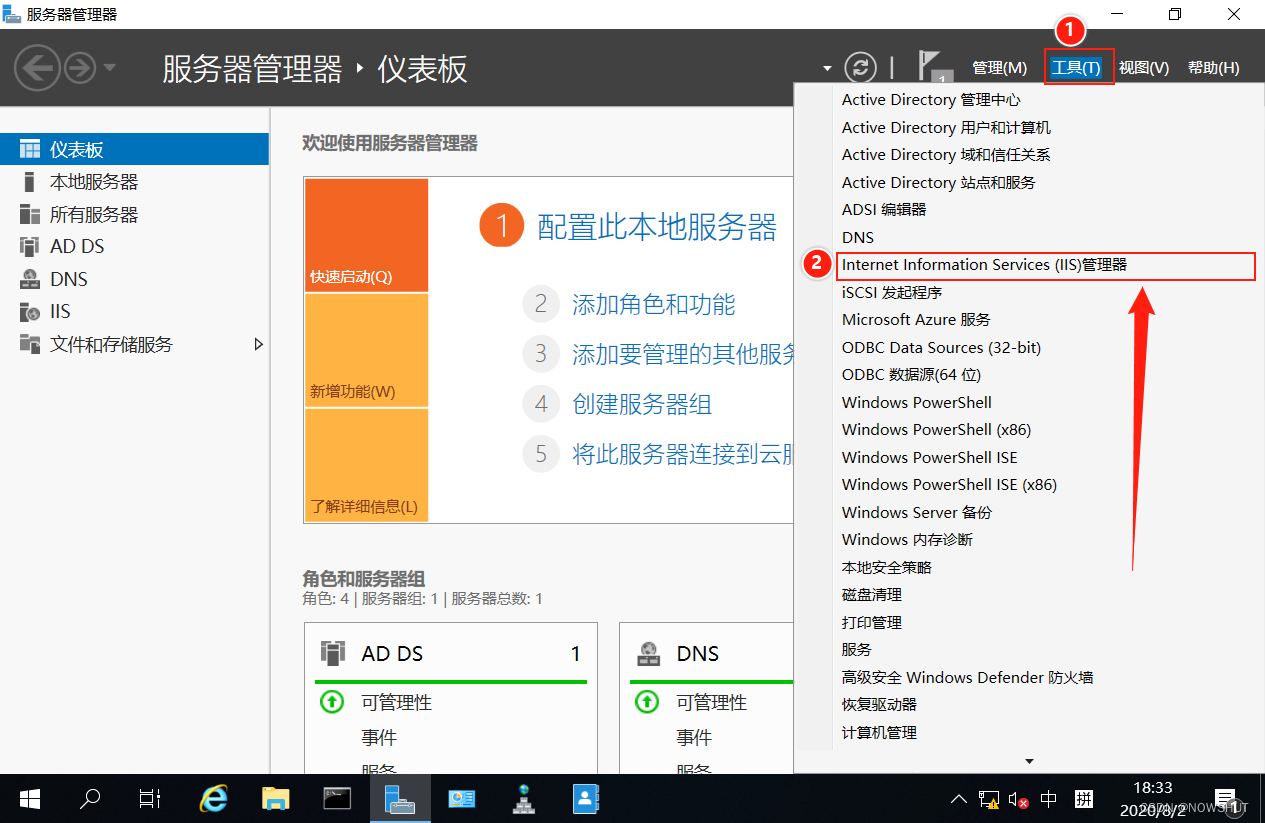
(1)打开【IIS管理器】。
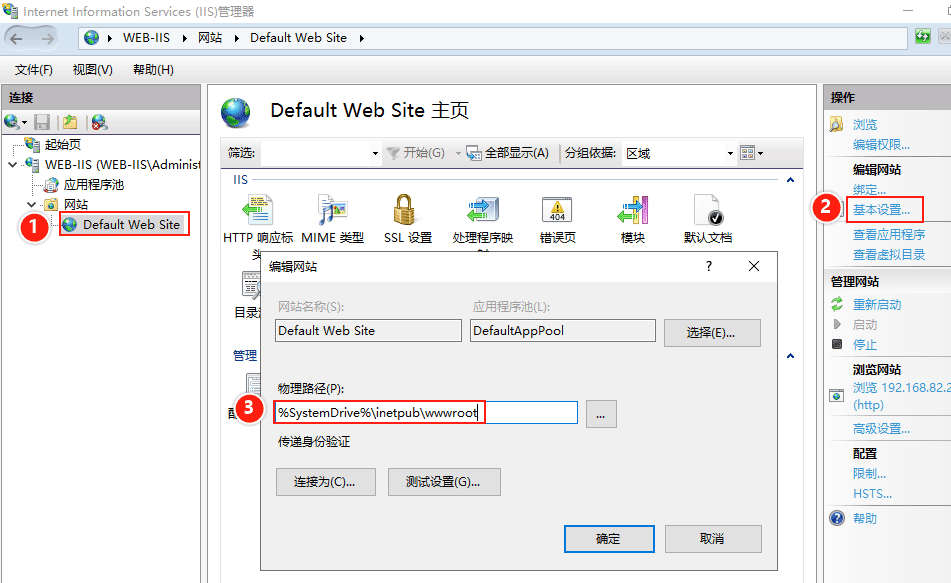
(2)在左边连接栏中,展开左侧的内容,找到【Default Web Site】,右键选择【编辑绑定…】。
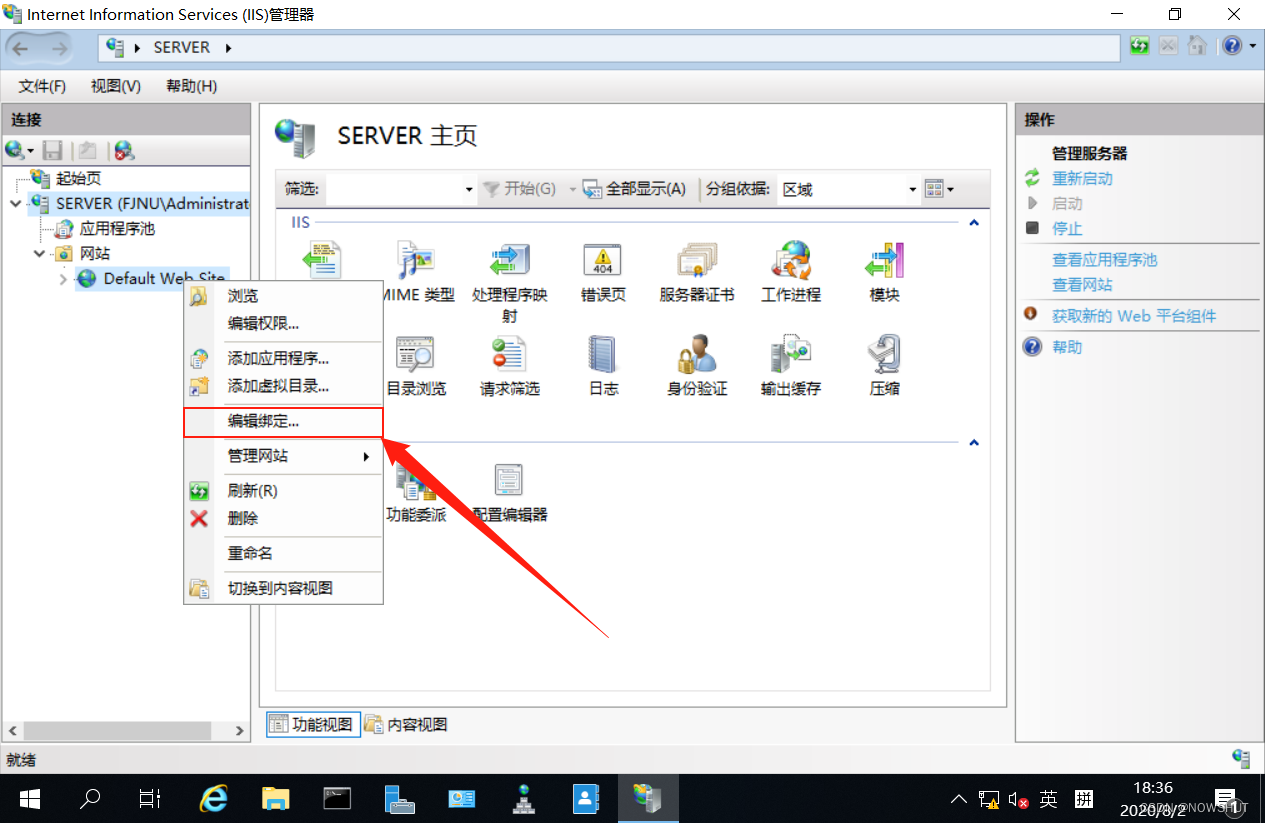
(3)在弹出的【网页绑定】中选中里面的内容,点击【编辑】。

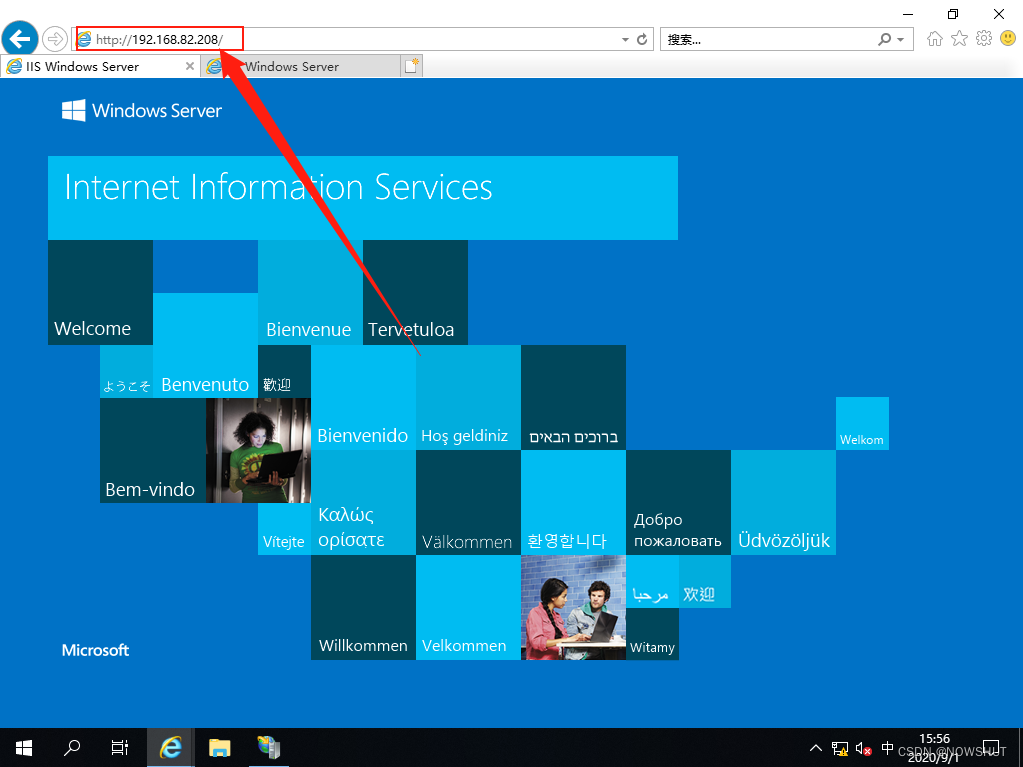
(4)打开【编辑网站绑定】,在IP地址栏中显示为:全部未分配。即用户可以通过该服务器的任意IP地址访问网站。例如可以通过服务器的IP地址:192.168.82.208或者127.0.0.1访问网站。
验证:打开IE浏览器,在地址栏输入http://192.168.82.208
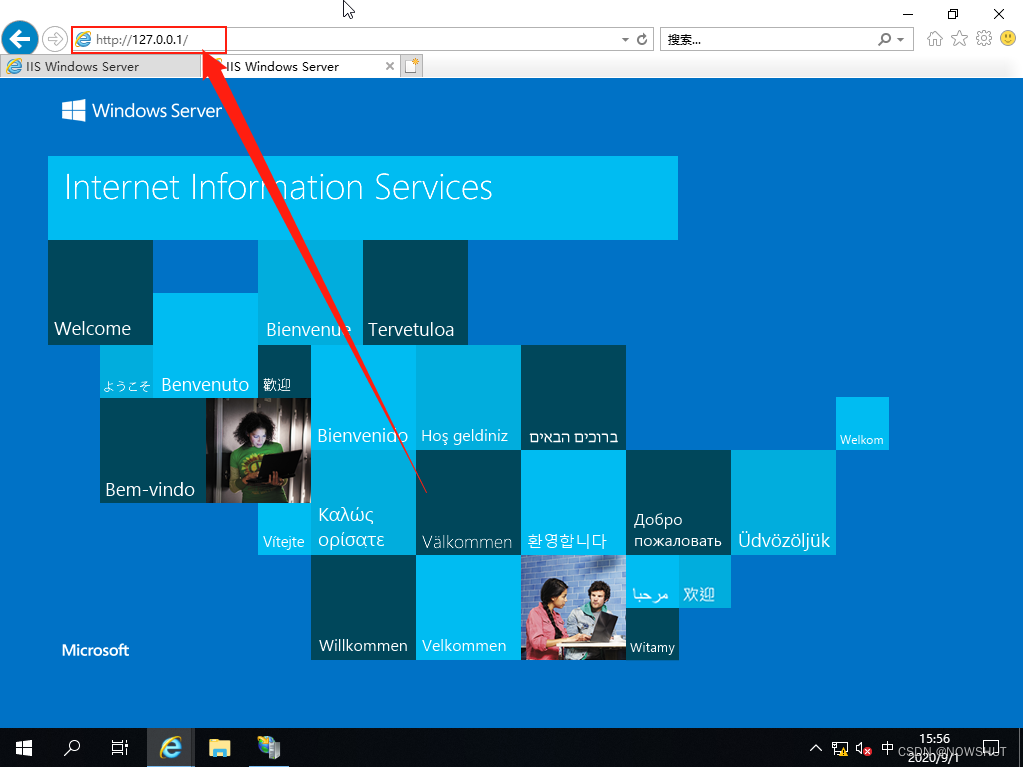
打开IE浏览器,在地址栏输入http://127.0.0.1
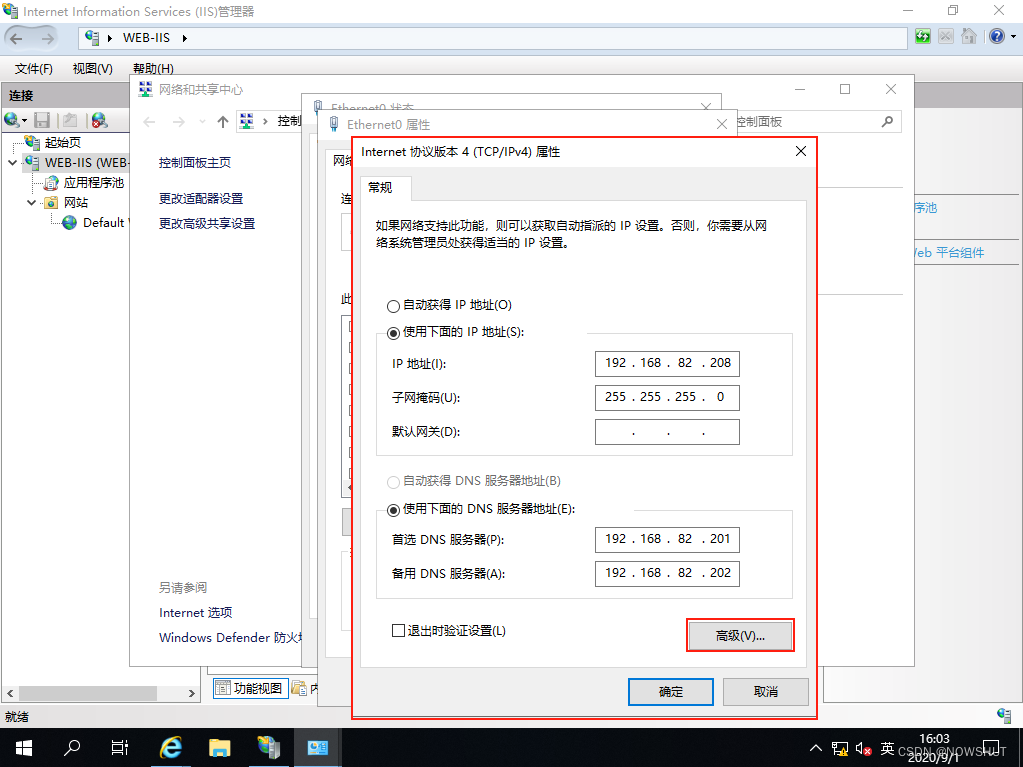
为了做更好的对比,我们在该服务器上设置多个IP地址。在【互联网协议版本4(TCP/IPv4)属性】中选择【高级】
在【IP地址】中选择【添加】,添加
192.168.82.209 , 192.168.82.210 和 192.168.82.211 这三个地址。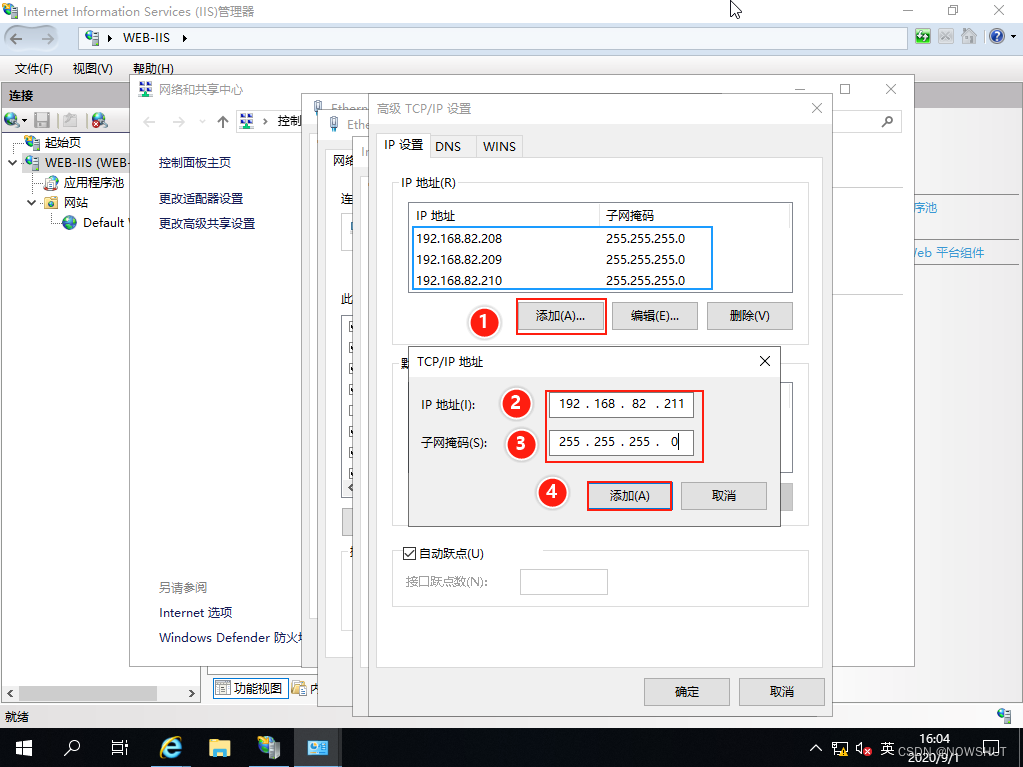
此时,再次打开IE浏览器,在地址栏输入
http://192.168.82.209(5)打开【编辑网站绑定】,将IP地址指定为192.168.82.208,点击【确定】。
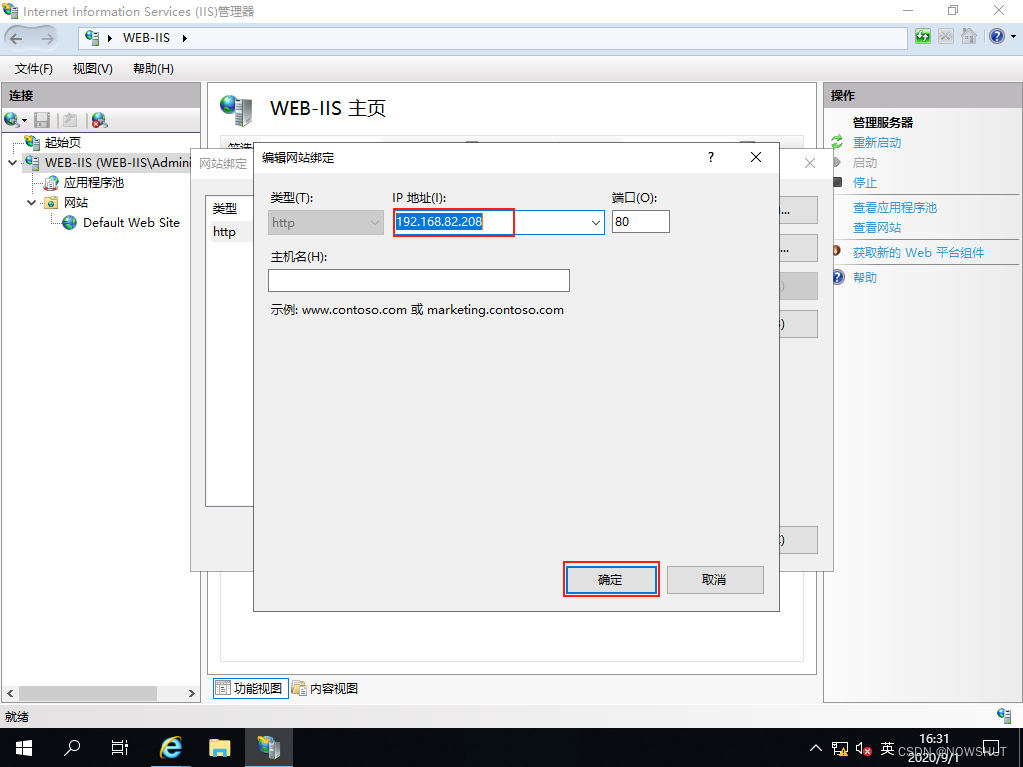
(6)重新启动网站,对【Default Web Site】点击鼠标右键,选择【管理网站】,然后选择【重新启动】

(7)验证网站IP地址唯一性。打开IE浏览器,输入
http://192.168.82.209发现无法打开网页,输入其他地址也是如此。但是输入http://192.168.82.208可以正常打开网站。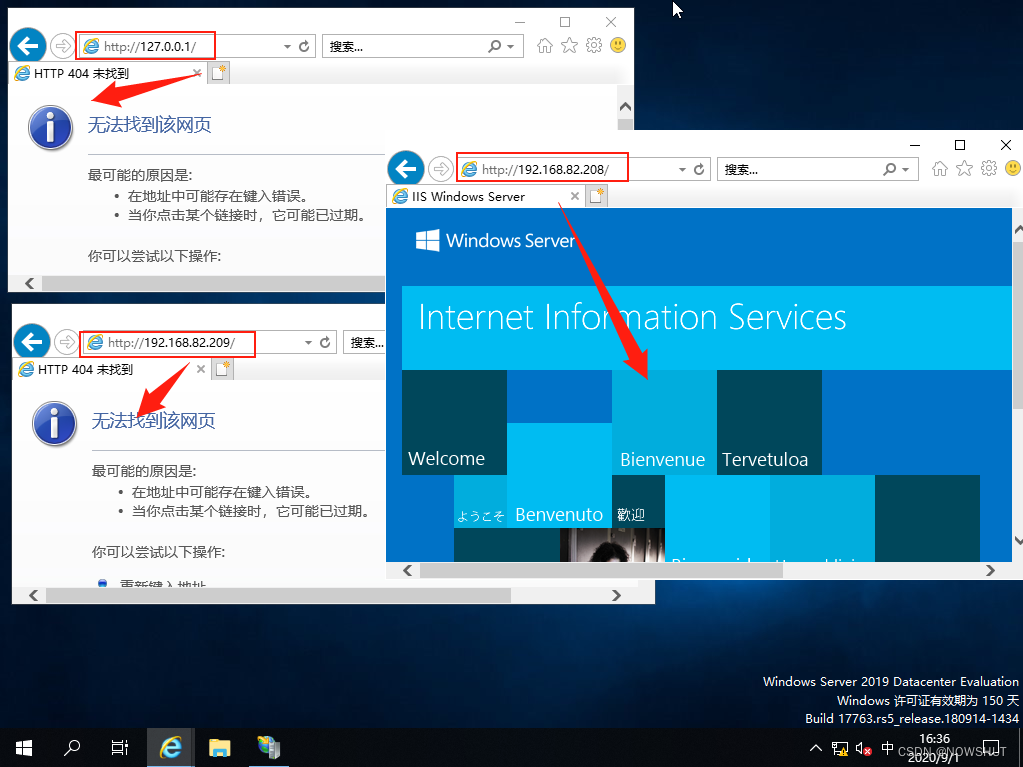
参考资料
Microsoft Docs:IIS Web Server Overview
Microsoft Docs:Internet Information Services (IIS)
这里就是为了大家介绍基础的安装,更复杂的配置可以参考别的位置。
到此这篇关于Windows Server 2019 Web服务器之IIS的安装与基本配置的文章就介绍到这了,更多相关IIS的安装与基本配置内容请搜索电脑手机教程网以前的文章或继续浏览下面的相关文章希望大家以后多多支持电脑手机教程网!