WindowsServer2019 WSUS安装详细步骤图解教程
目录
- 什么是WSUS?
- WSUS有什么作用?
- 0x01 开始部署
- 0x02 部署后任务
- 0x02 部署后任务
- 0x03 设置向导
什么是WSUS?
WSUS是Windows Server Update Services的简称,WSUS支持微软公司全部产品的更新,包括Windwos、Office、SQL Server、MSDE和Exchange Server等内容。
WSUS有什么作用?
通过WSUS这个内部网络中的Windows升级服务器,所有Windows更新都集中下载到内部网的WSUS服务器中,而网络中的电脑都通过WSUS服务器来得到更新。特别在几千人,上万人的环境中这在很大程度上节省了网络资源,避免了外部网络流量的浪费并且提高了内部网络中计算机更新的效率。
0x01 开始部署
服务器管理器 → 添加角色和功能;

开始之前,下一步;

安装类型,选择基于角色或基于功能的安装,下一步;

服务器选择,选择从服务器池中选择服务器,下一步;

服务器角色,勾选Windows Server 更新服务,弹出窗口选择添加功能;

服务器角色,已勾选Windows Server 更新服务,下一步;

WSUS,保持默认,下一步;

角色服务,勾选 WID Connectivity、WSUS 服务,下一步;(WID是WSUS自带的数据库,也可以选择SQL Server)

内容,设置WSUS下载的补丁存放的位置,下一步;

Web 服务器角色(IIS)保持默认,下一步;

0x02 部署后任务
确认,如果需要,自动重新启动目标服务器,安装;

结果,功能开始安装;

结果,功能安装完成;

0x02 部署后任务
服务器管理器 → 通知 → 启动安装后的任务,如下图;

服务器管理器 → 服务配置完成,如下图;

0x03 设置向导
服务器管理器 → 工具 → Windows Server 更新服务;

更新服务 → 服务器名 → 选项 → WSUS服务器配置向导;

开始之前,下一步;

更新改善计划,保持默认也可以去掉勾选,下一步;

上游服务器,选择上游服务器如果没有选择 Synchronize from Microsoft Update,下一步;

指定代理服务器,有代理服务器就填入,没有就下一步;

点击开始连接,可能需要的时间比较久,耐心等待就好。这一步是需要和 Microsoft Update 服务器连接;

和 Microsoft Update 连接通信完成,下一步;这里比较慢。

选择产品,勾选你需要的 Microsoft 产品,下一步;(建议只勾选系统、.net其他的自己看着办)

选择分类,根据需求选择,下一步;

配置同步计划,手动还是自动二选一,下一步;

完成,勾选开始同步,完成;

下一步要做什么,可以看看,完成;

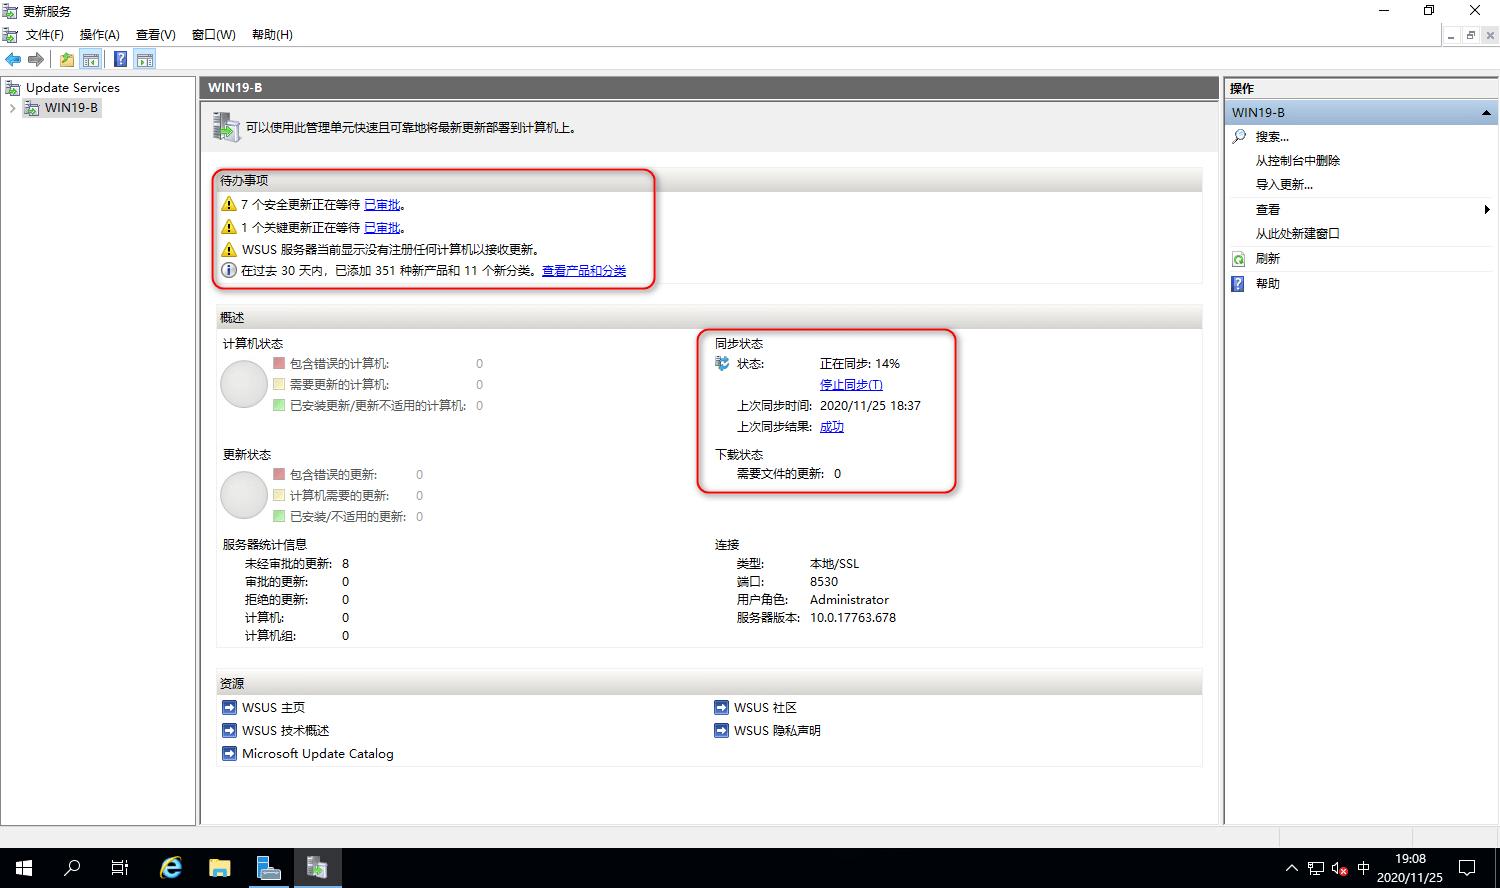
同步更新,但是并没有下载,只是让 WSUS 更新服务器和 Microsoft Update 服务器同步信息,经过审批后才会下载;

有下载,只是让 WSUS 更新服务器和 Microsoft Update 服务器同步信息,经过审批后才会下载;

审批后才会下载;

后才会下载;
至此,教程结束。
到此这篇关于WindowsServer2019 WSUS安装详细步骤图解教程的文章就介绍到这了,更多相关Win2019 WSUS安装内容请搜索电脑手机教程网以前的文章或继续浏览下面的相关文章希望大家以后多多支持电脑手机教程网!


