Windows?IIS服务器安装的超详细教程
目录
- 一、打开服务器管理器
- 二、点击右上角的“管理”
- ?三、点击“添加角色和功能”
- 四、开始之前点击“下一页”,安装类型点击“下一步”,服务器选择点击“下一步”
- 五、服务器角色,滑动选择“web服务器”,展开选择所需要的内容在前边打钩。
- 六、验证安装是否成功
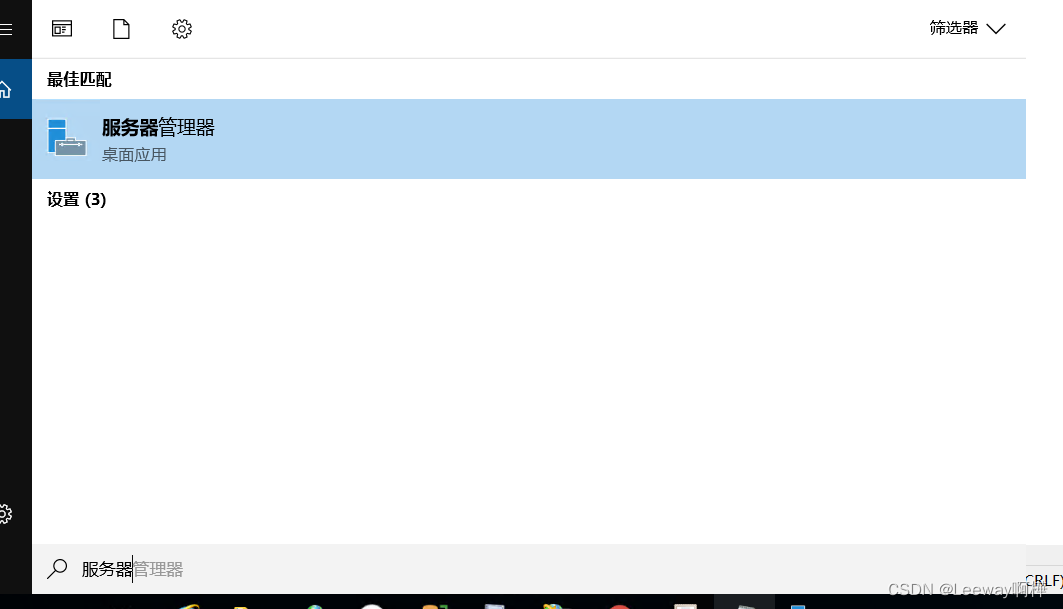
一、打开服务器管理器
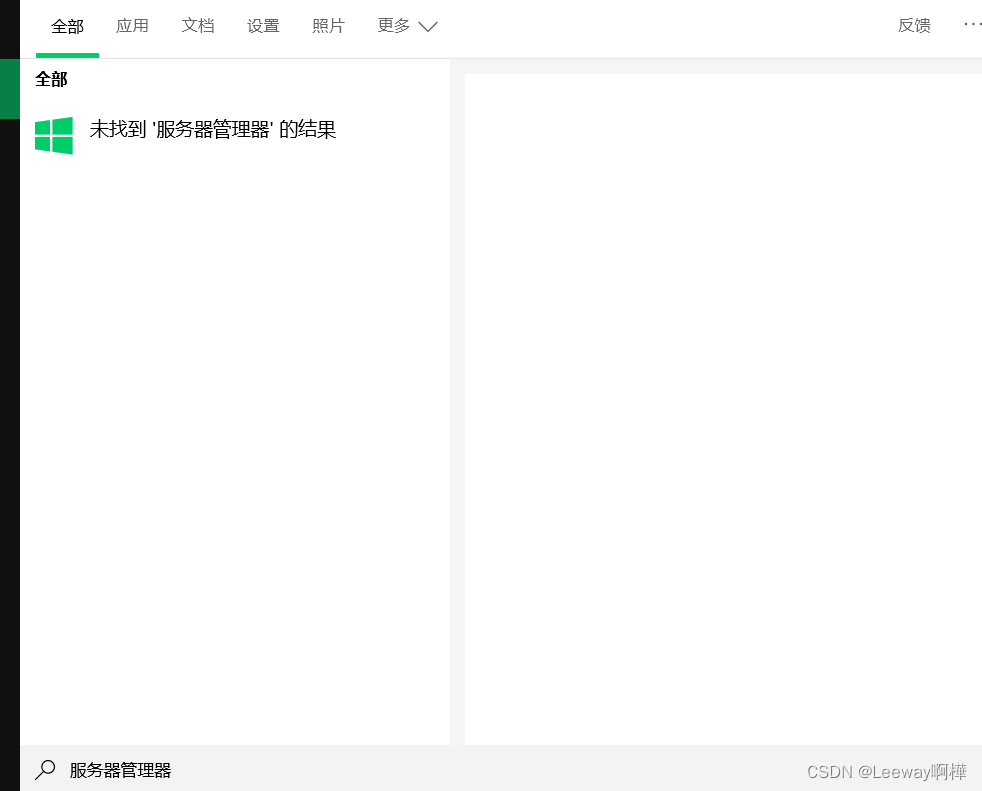
Windows搜索“服务器管理器”,直接进入。找不到“服务器管理器”要怎么办呢?
先不要慌,参考我下一篇文章即可。Windows IIS服务器本地安装的图文教程(超详细)
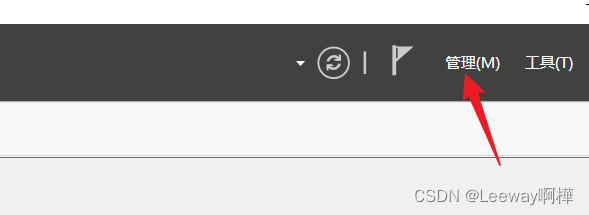
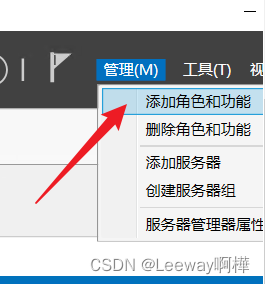
二、点击右上角的“管理”
?三、点击“添加角色和功能”
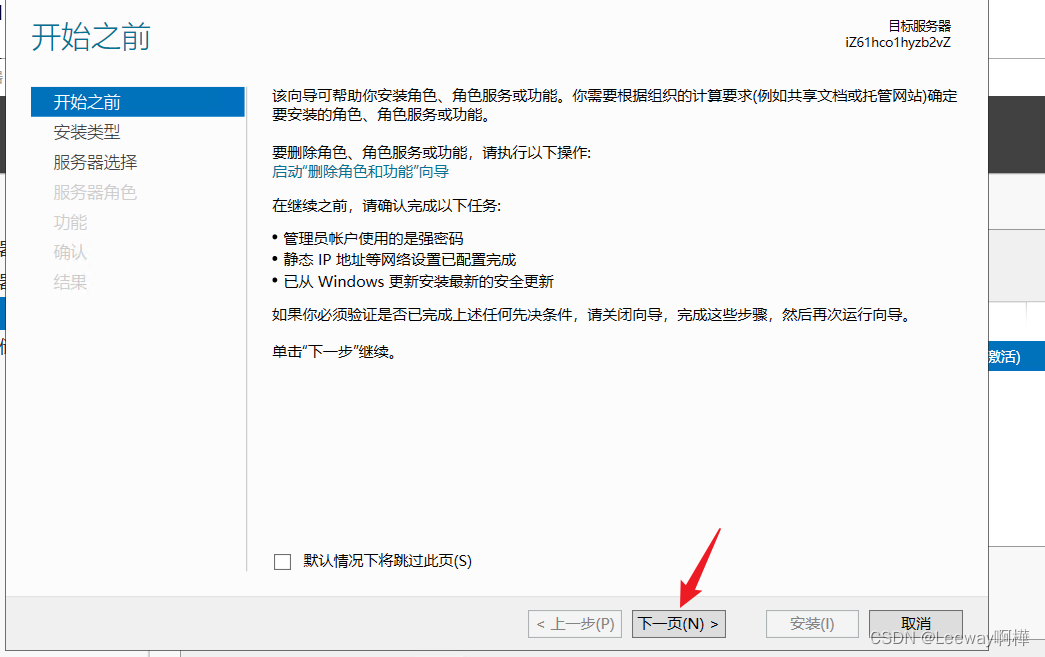
四、开始之前点击“下一页”,安装类型点击“下一步”,服务器选择点击“下一步”

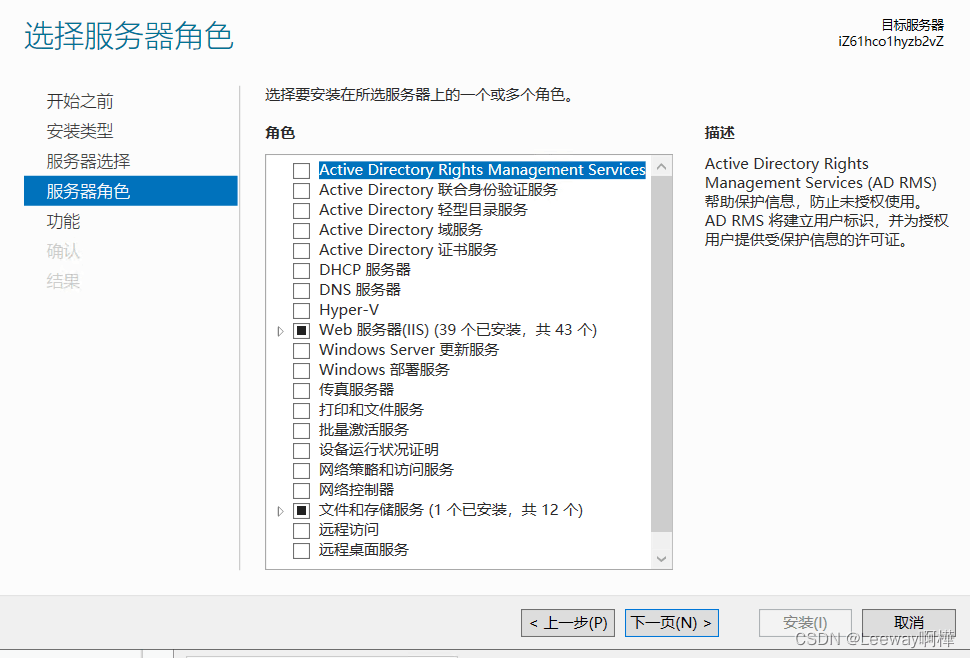
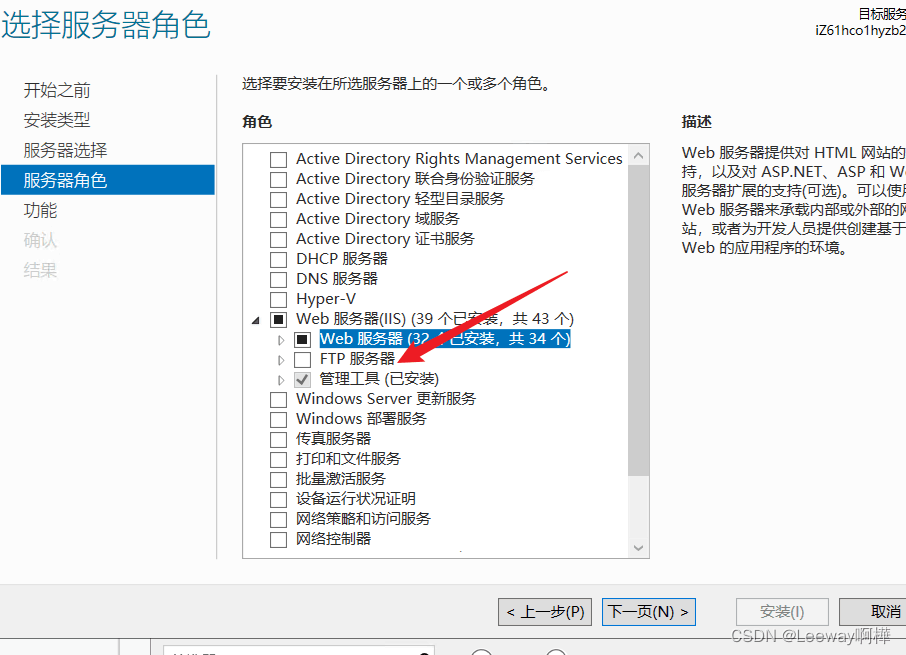
五、服务器角色,滑动选择“web服务器”,展开选择所需要的内容在前边打钩。
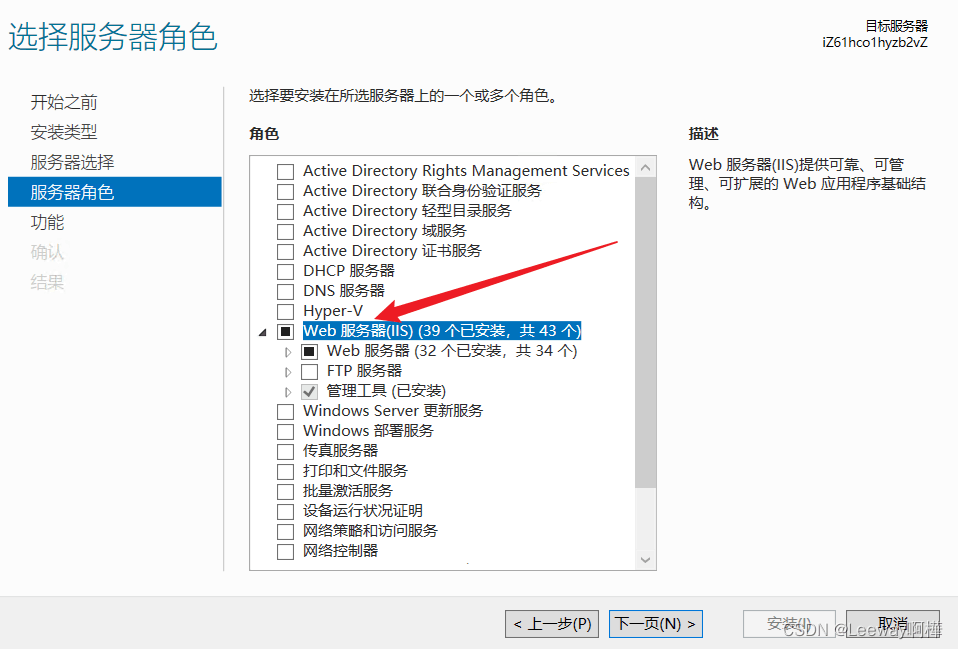
web服务器(IIS)下主要有web服务器,FTP服务器和管理工具三个大类。
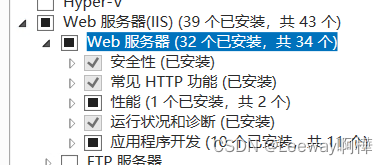
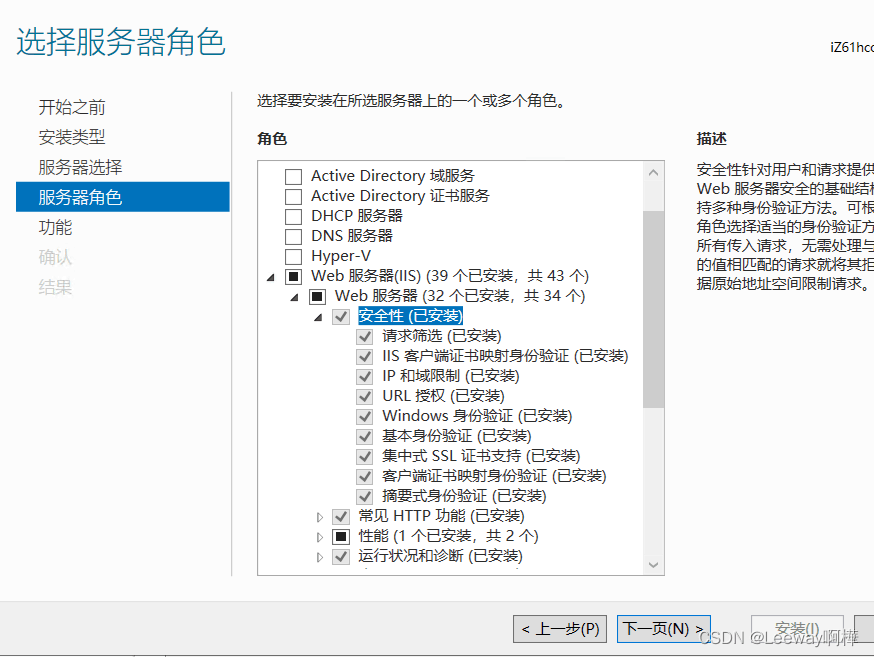
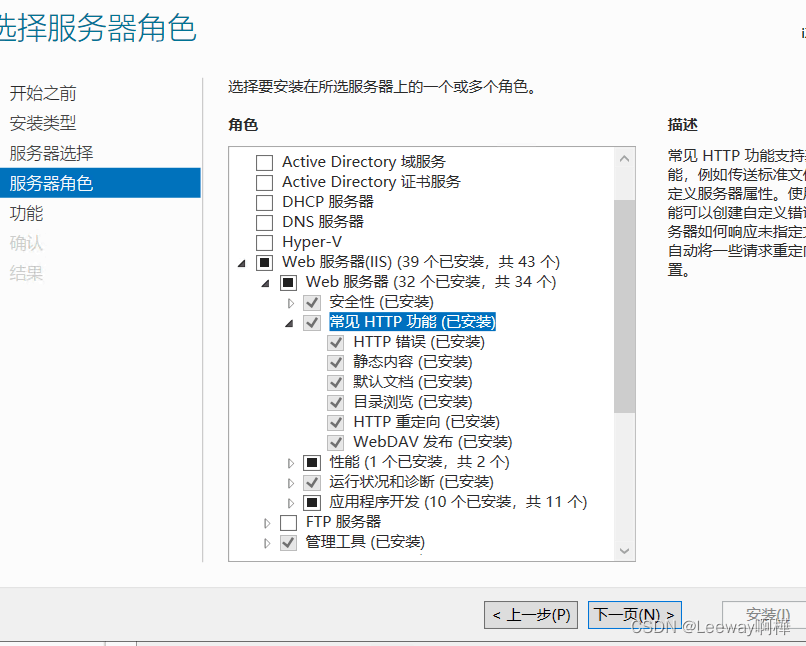
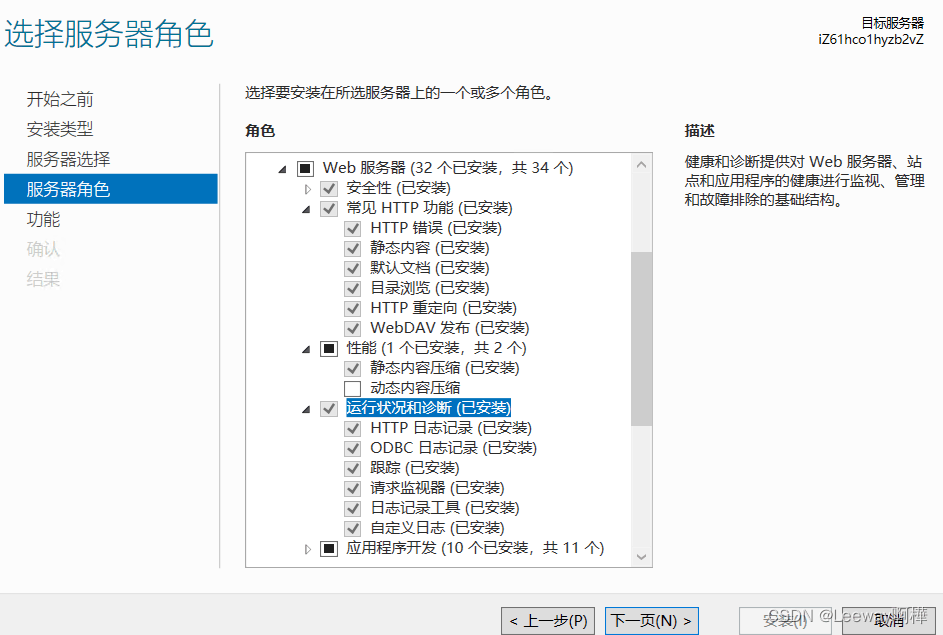
5.1 web服务器下分为安全性、常见HTTP,性能、运行状况和诊断、应用程序开发五个模块
在这里我们要勾选的是:前四个模块的所有(除性能里的动态内容压缩),另外,应用程序开发可根据自身所需进行勾选。
?5.2FTP服务器,暂时不勾选
?5.3管理工具,勾选里边的所有。
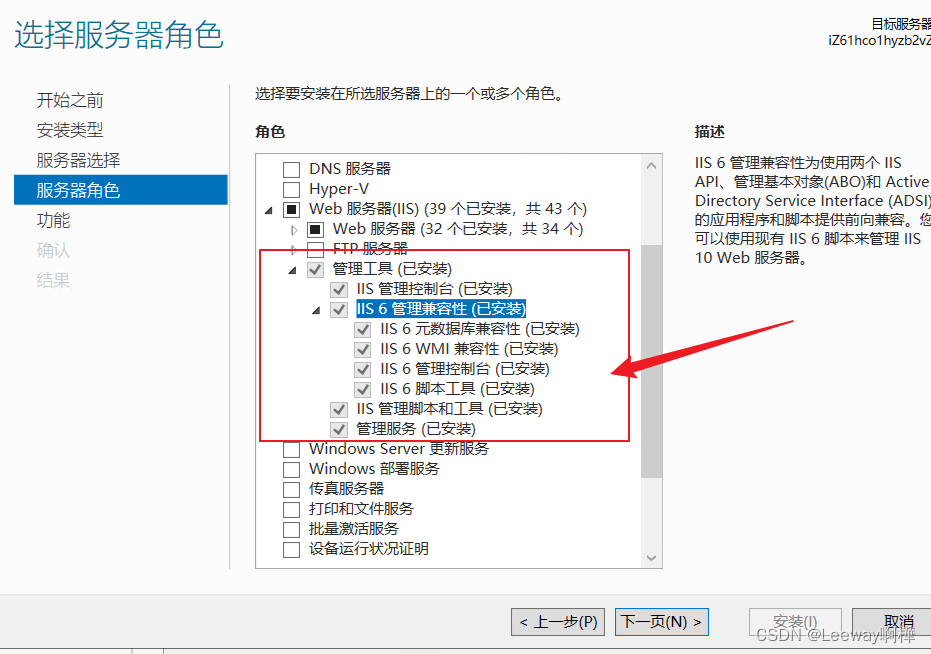
最后点击“安装”。
六、验证安装是否成功
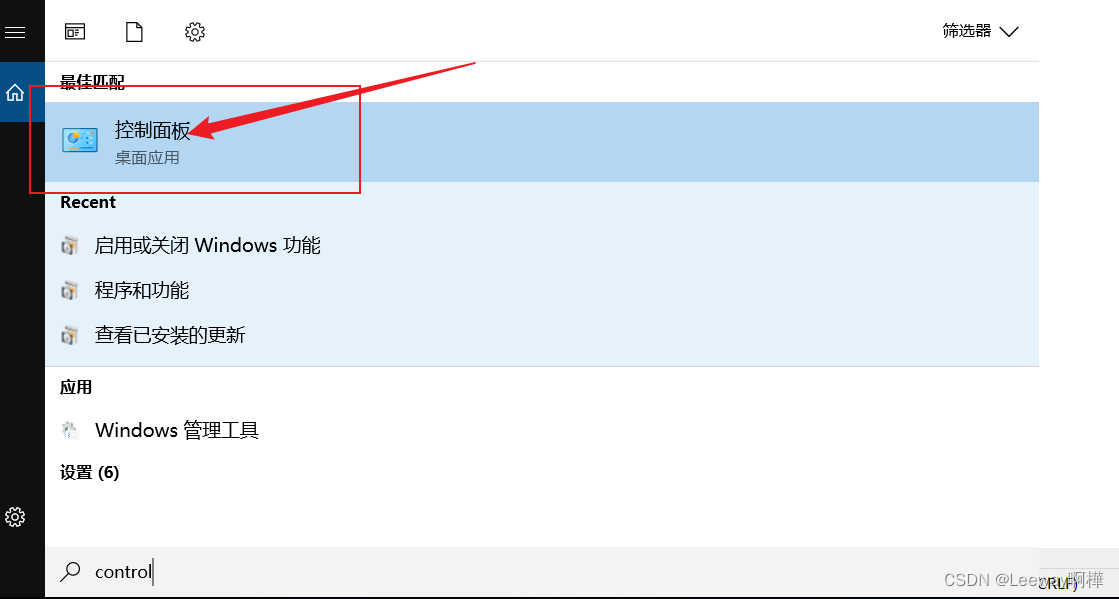
打开控制面板,选择“管理工具”
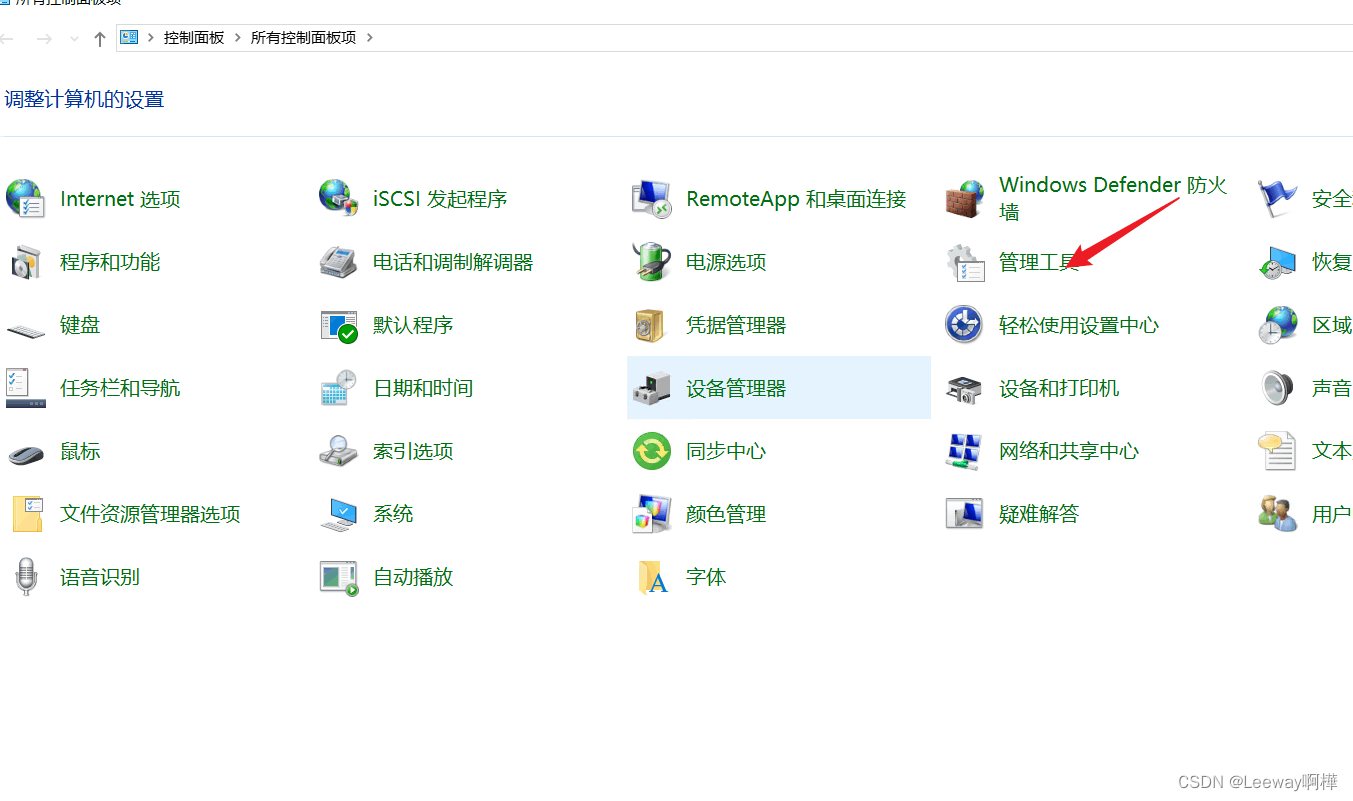
单击进入后找到"Internet Information Services"管理器,双击进入IIS管理页面,如下图所示

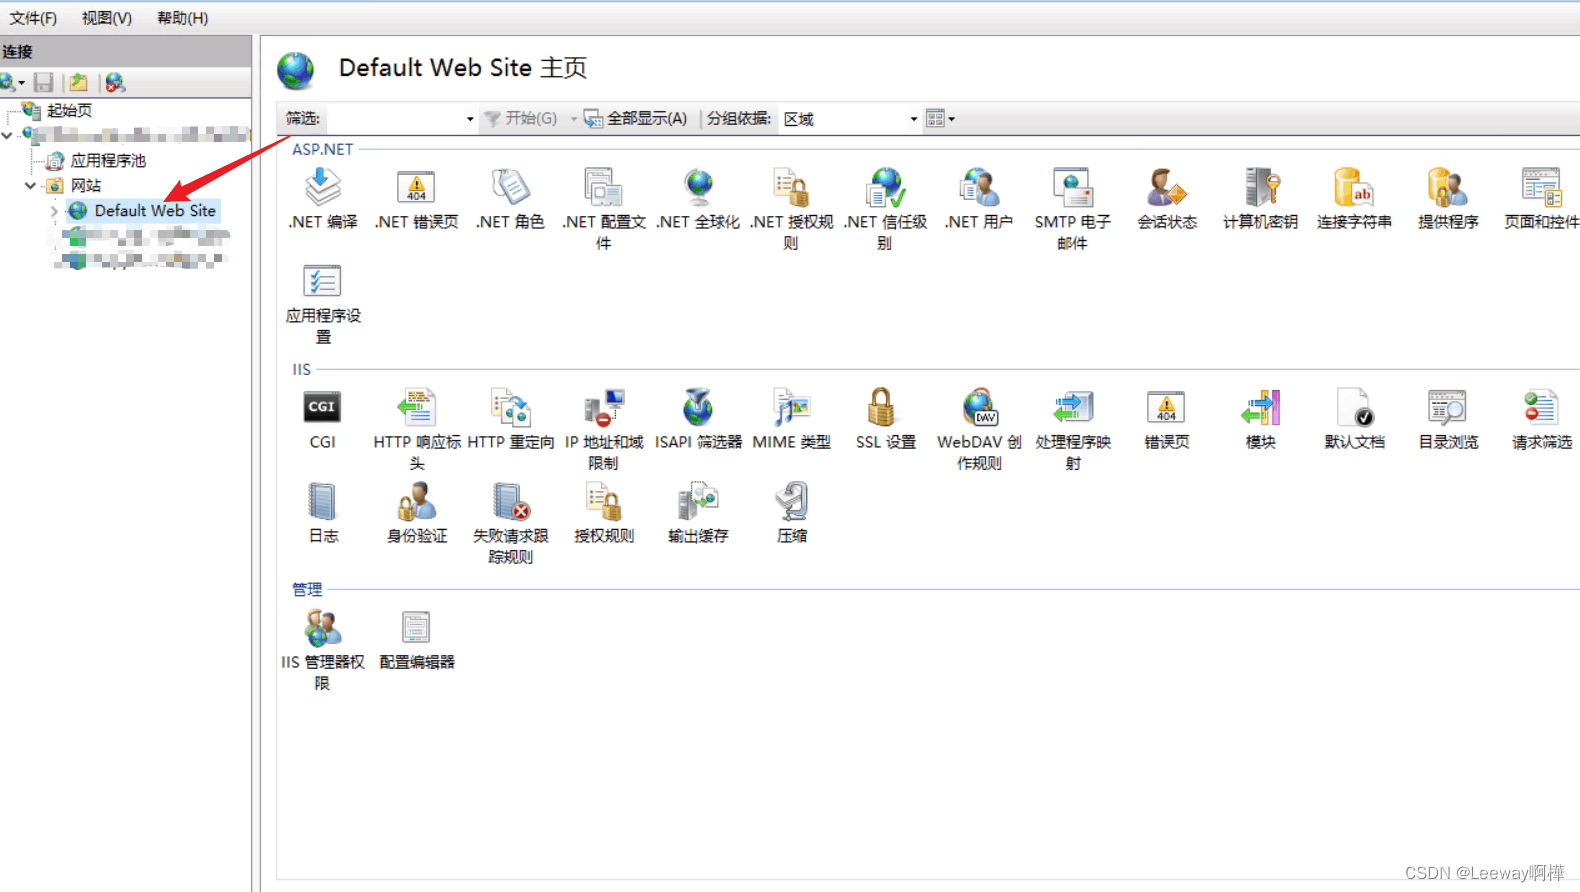
打开“Default Web Site”,点击下图所示的预览

或者直接打开浏览器,输入路径:localhost,呈现出Windows Server的页面,则表示安装成功

?到此,Windows IIS服务器安装就告一段落。