CentOS文本方式系统安装图文详细教程
各个版本的Linux安装,大同小异,懂一个版本的,其它的版本也没大问题;而同一个版本的Linux的图形用户界面安装与文本方式安装,也大同小异,只要懂其中一种安装方式,另外一种也就会了。当然你得懂一点英文。仅仅是一点而已。而文本方式安装,有它的优点,就是安装比较快,特别是小内存的机器。今天重装CentOS,顺便把图截下来,放到这里,做个很菜(很菜的鸟都看得懂)的Linux安装教程。
我这是在VMware里,用光盘安装的,装的是CentOS 4.7 ,其它版次一样的安装。在虚拟机里安装跟在真机安装步骤过程没什么两样。至于虚拟机的使用,很简单,就不写了现在。如果有空,也许会写个VMware Workstation 和 Virtual Box的使用。这两个的教程网上一大堆。很简单,自己都摸得出来。
下面开始:
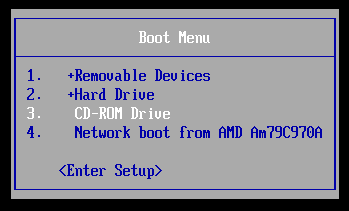
将CentOS光盘放进光驱,然后在启动,在有提示按键的一小段时间内按ESC键,即可进入Boot Menu (引导菜单)。选择CD-ROM Drive回车。
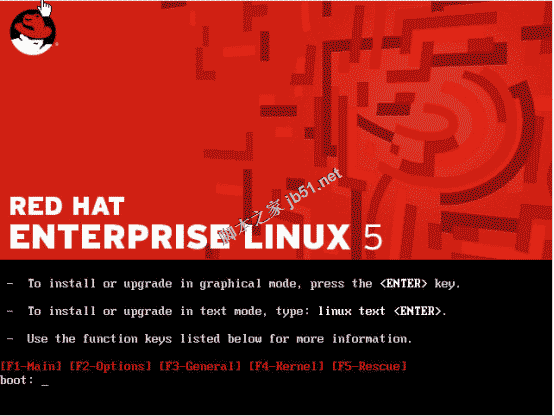
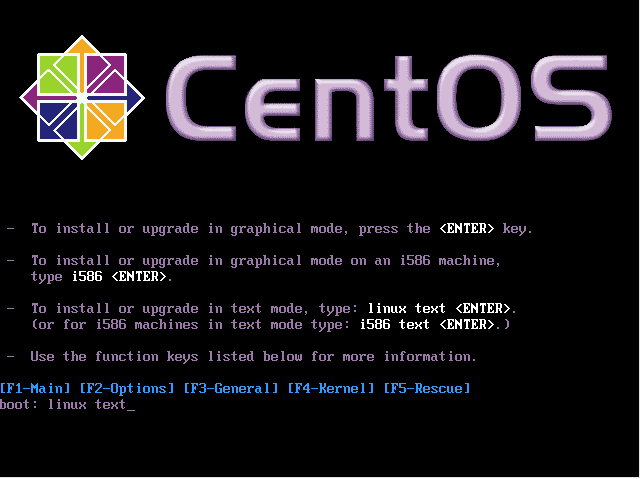
出现下面的界面。如果要用图形界面安装,直接回车即可。这里选择文本方式安装,www.linuxidc.com就在boot:后面输入linux text,然后回车。
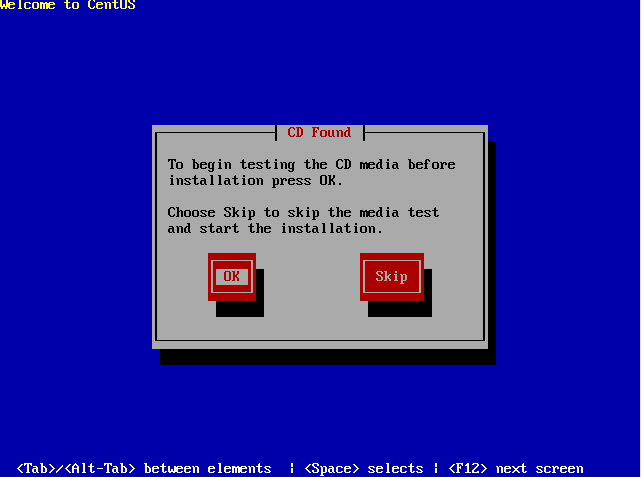
提示找到光盘了。问你要不要检测一下你的光盘。如果你确定你的光盘没有问题,直接skip(跳过)。记住,用[tab]键选择,用[Enter]确定。下面的也是。
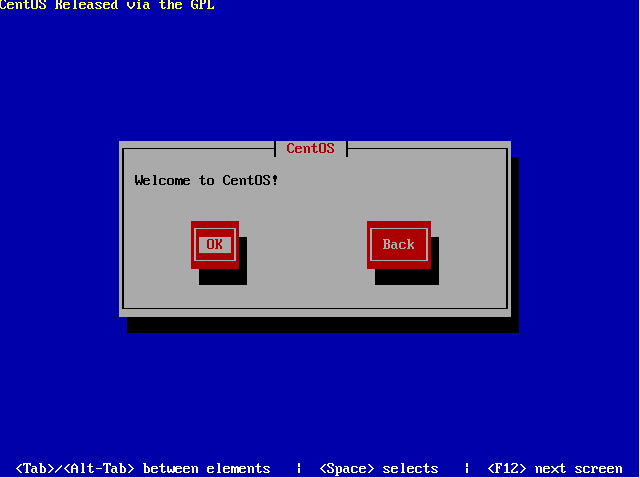
OK.
选择安装时要使用的语言种类(并不是系统语言),这里选择英文。如果选择中文的语,后面可能有的选项中文显示有点乱码。linux不是国人产的啊。

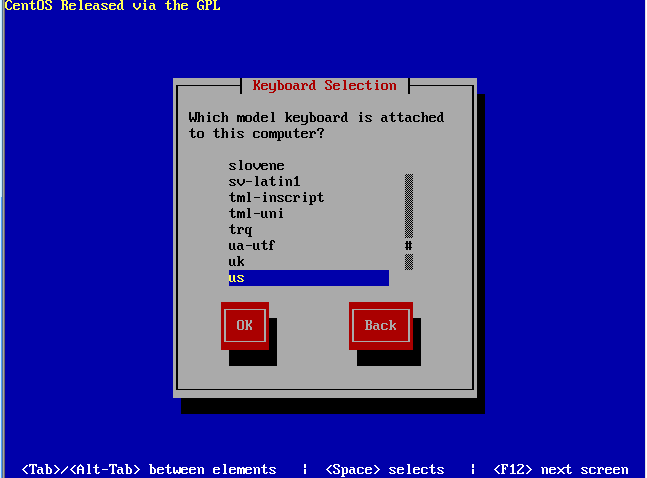
选择你的键盘各类。一般就是默认的美国的。如果有中国那项,选择它也是好的。
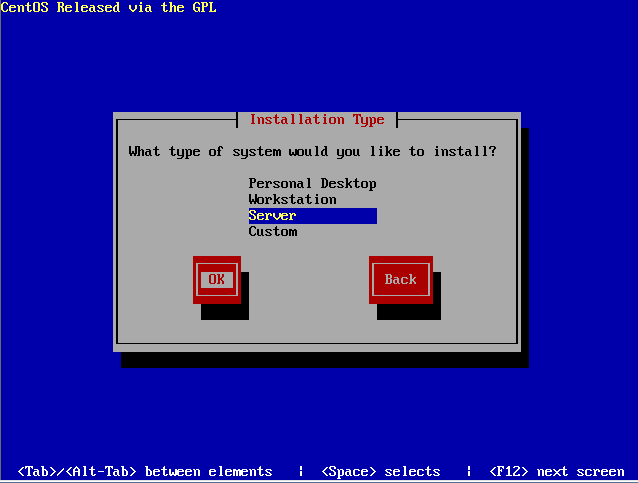
下面选择的是你将来要使用这台机器做什么角色,是个人桌面应用,还是工作台,或者是服务器,或者你自定义。因为我是用它来做学习linux的环境的,我这里选择server。
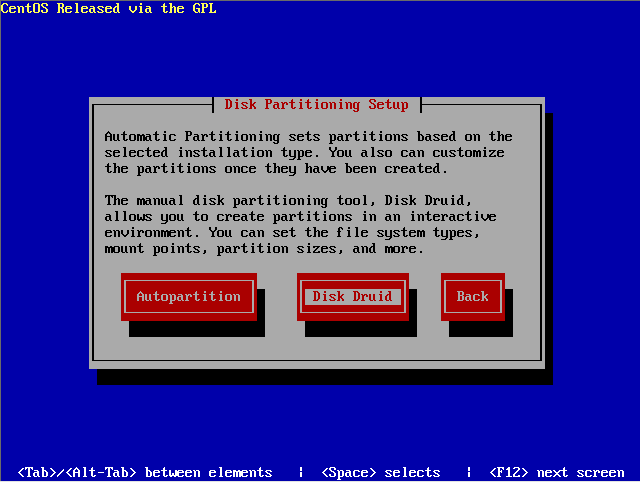
下面是重点。这里是要进行磁盘分区。可以选择自动分区,这样很简单,你不用知道系统做了什么。但一般建议我们自己手动去建立这个分区,就是选择Disk Druid。
接下来就看到我给这个系统大约10G左右的空闲空间。安装CentOS,建议分6G以上的空间。多多益善。
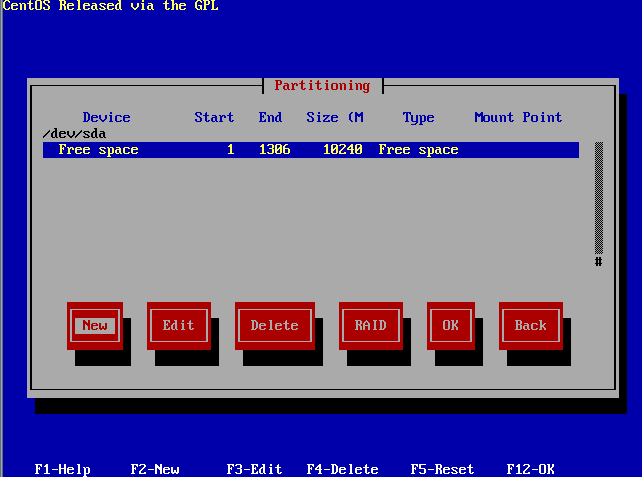
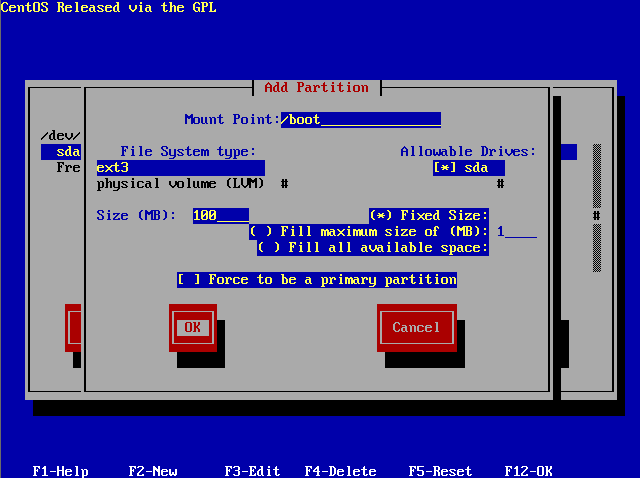
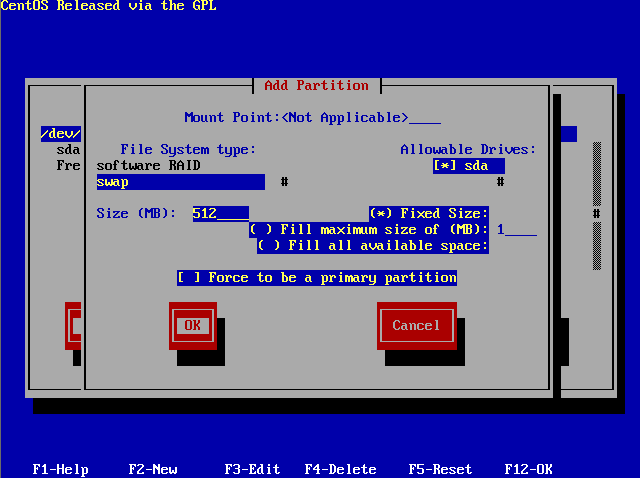
好,现在开始新建分区。[tab]选择到Free Space一行,再选择New(新建),出现Add Partition窗口。这里要我们输入的有Mount Point(挂载点)(大概就是放到哪里的意思)、File System type(文件系统类型)、Size(容量大小)等。先建一个引导分区:/boot,文件系统类型默认ext3就行,大小给100M足矣,至于要不要强制其成为一个主分区,这不一定。一般建议选择它(用[space]选择)。
再建一个交换分区(swap)。swap分区相当于Windows里的虚拟内存的概念。一般给它的大小是你机子内存的2倍左右。内存小的就给2倍吧,如果你有个2G内存,硬盘也大,给它3G也可以了。我这里写的是2倍。
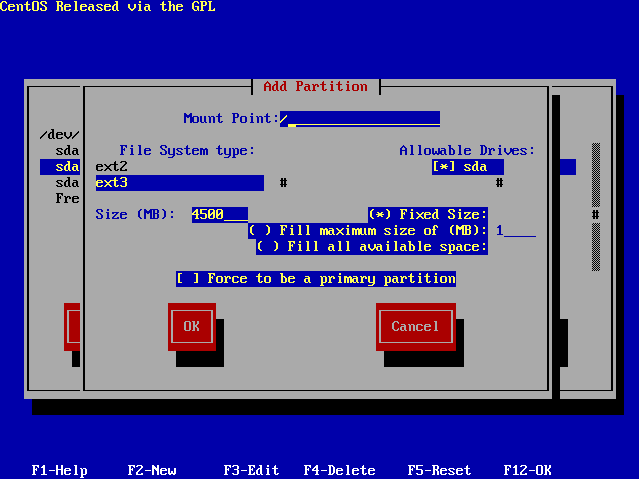
建立一个根分区(/)。很重要的分区。给它4.5G吧。
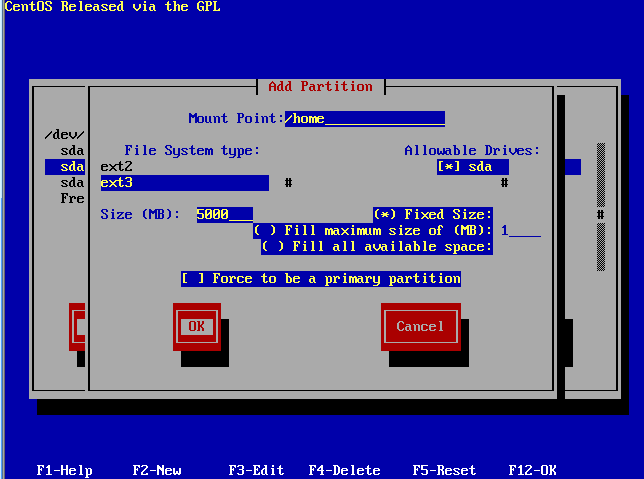
再建一个家分区(/home)。如果空间大,其它如/var, /usr ,/tmp ,/opt等都各建立一个独立分区比较好。你的东西都放在你的家目录下面,所以/home分区尽量大点。
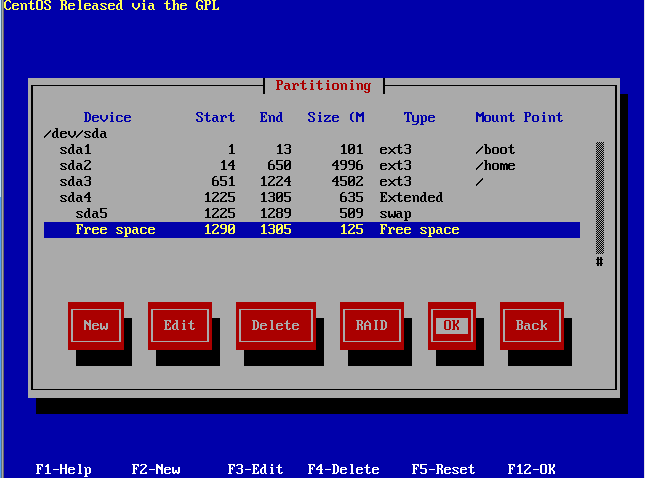
下图是建立好分区的情况。我这留一点空闲空间,是为了日后学习用。OK确定。
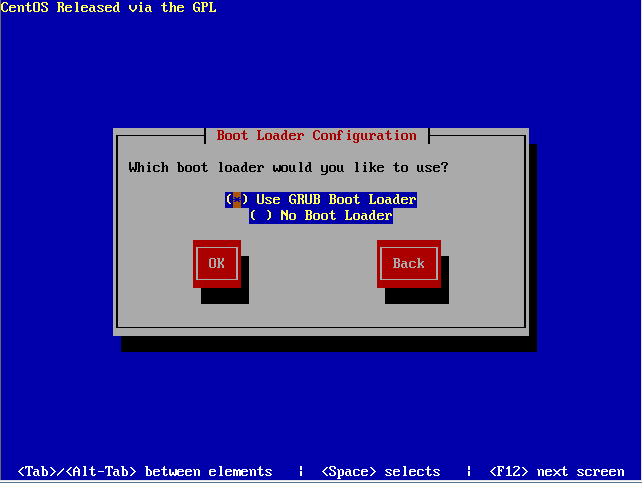
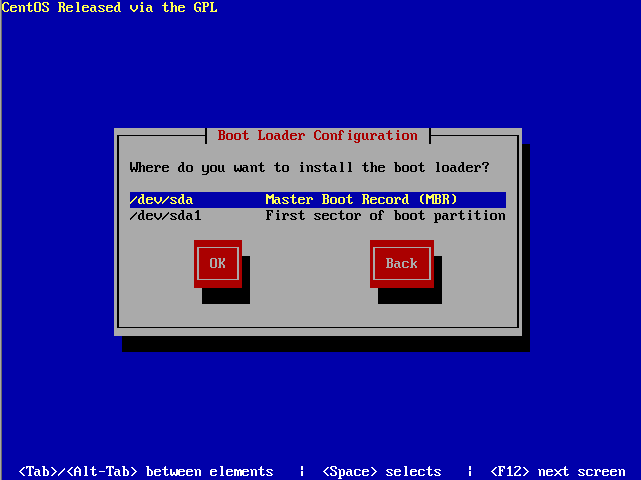
下面问你想要用哪个Boot Loader(大概是引导程序的意思)。现在都用GRUB,所以默认就行。
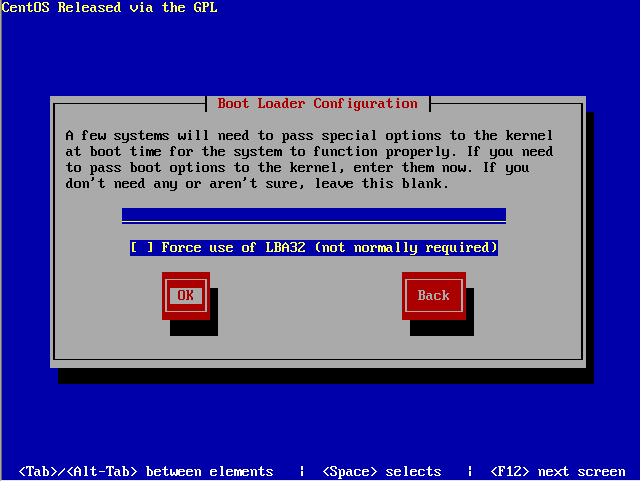
下面直接确定。
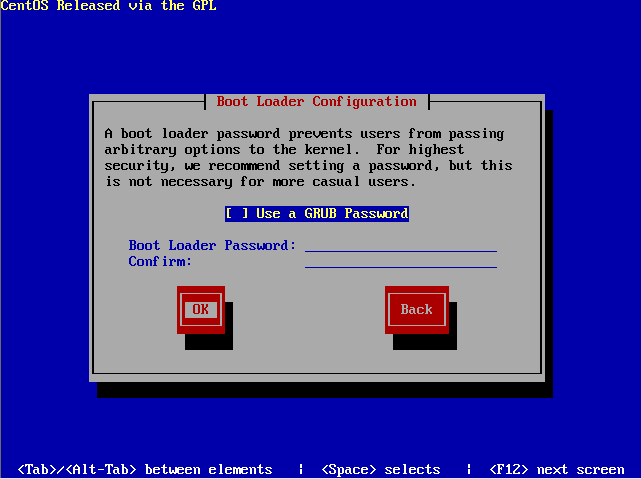
要你输入一个引导密码,我这里没什么贵重的东西,就直接OK。
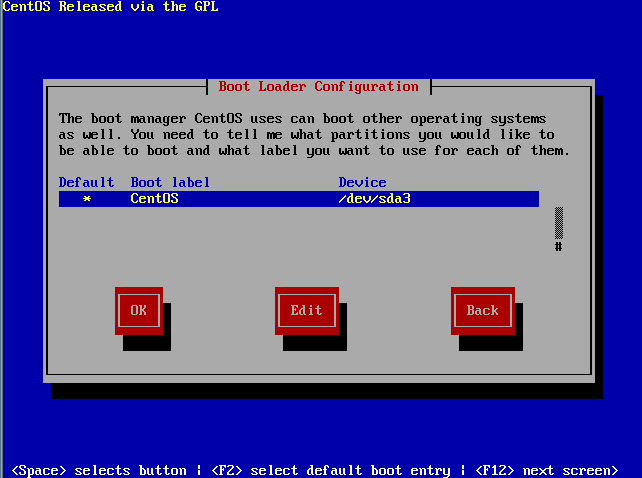
下面默认。
下面也默认。
下面是让你配置IP地址。因为我这是在学校,有个DHCP服务器自动给我分配IP地址,所以我就不示范手动输入IP地址和掩码了。直接OK。
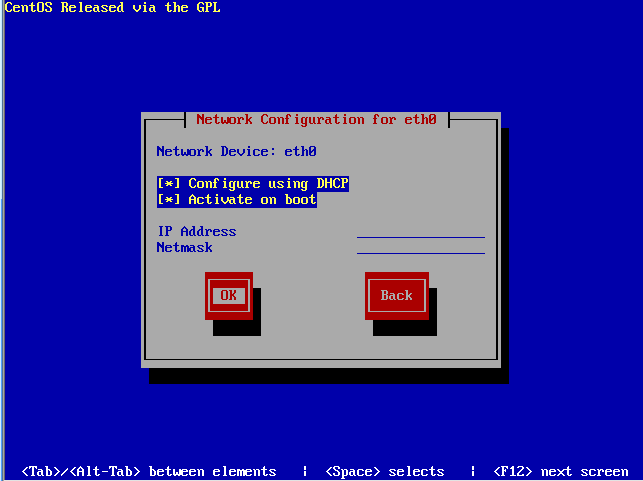
主机名,也是由DHCP分的,直接OK。

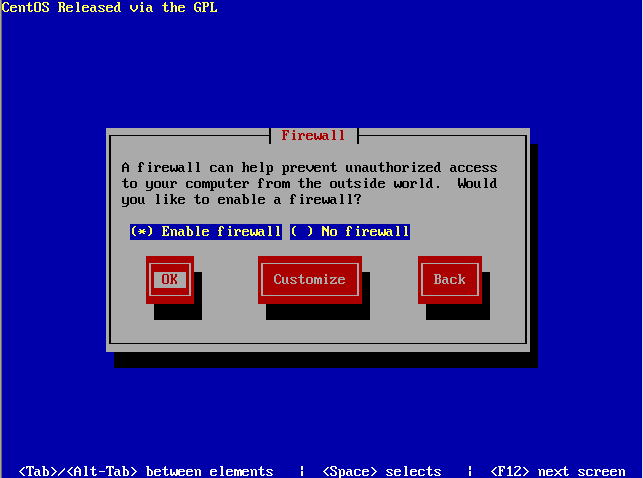
下面是防火墙设置。都说linux比较安全,其实也未必。你没有被黑,仅仅证明你没有价值而已。我这里选择开启firewall。
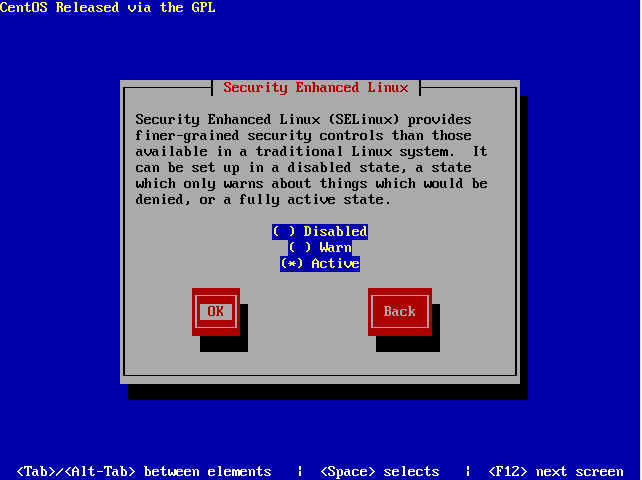
SELinux,安全加强型的linux,有了这个,更加安全。我就选上吧。
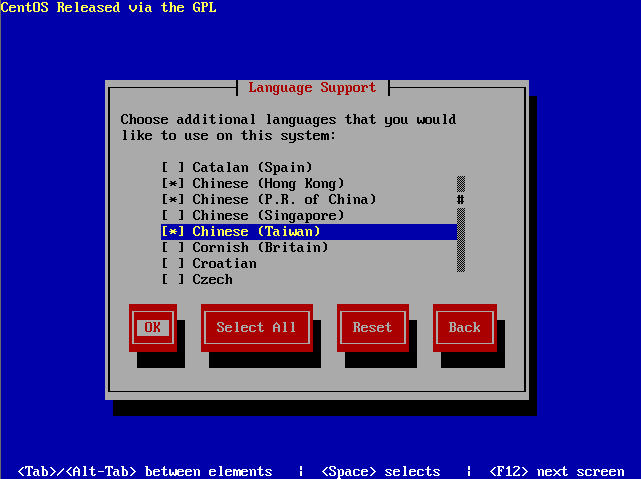
下面是语言支持。这里才是装好系统后,系统所能、所要显示的语言各类。咱中国人,自然选中文了,不管是简体繁体。当然英文是必不可少的。其它语系,自行选择。
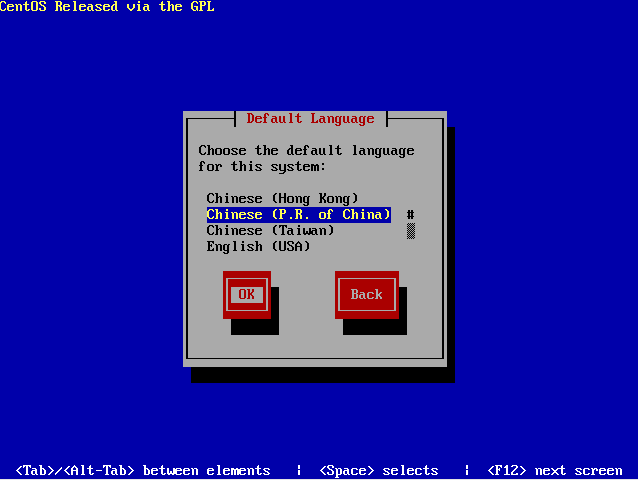
接下来让你选择系统默认的语言种类。我不习惯英文,自然选择简体中文为默认语种。
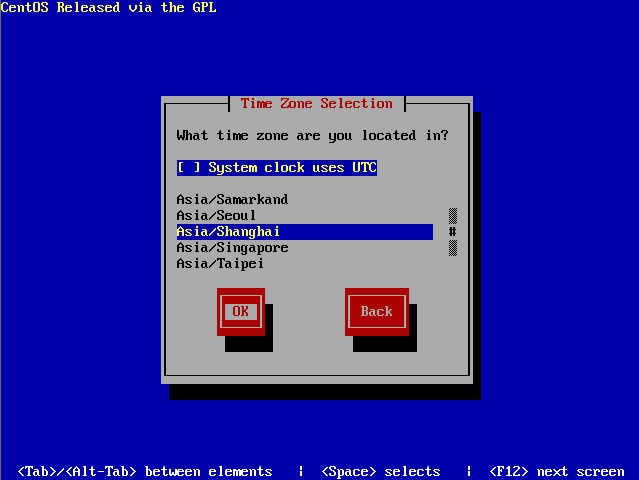
下面选择时区。大陆基本都选上海吧。
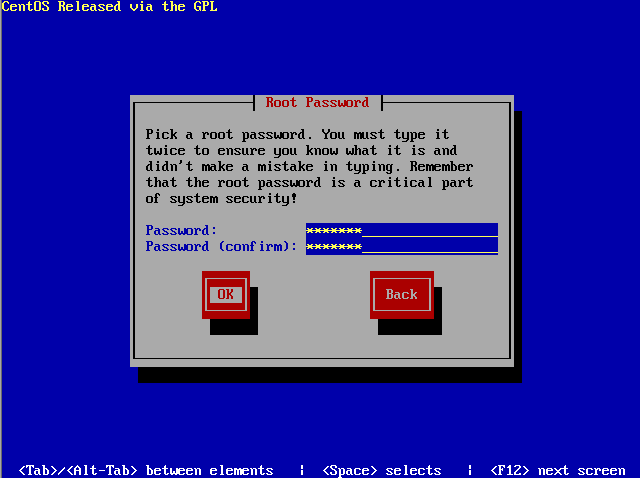
接下来的这个很重要。它是让你设置一个Root密码(就是系统管理员的密码,相当于Windows的Administrator)。Root在linux里具有至高无上的权力,可以为所欲为,所以一般建议不要用root登录系统去操作系统,而要用一个一般用户去管理。输入一个复杂一点的密码。
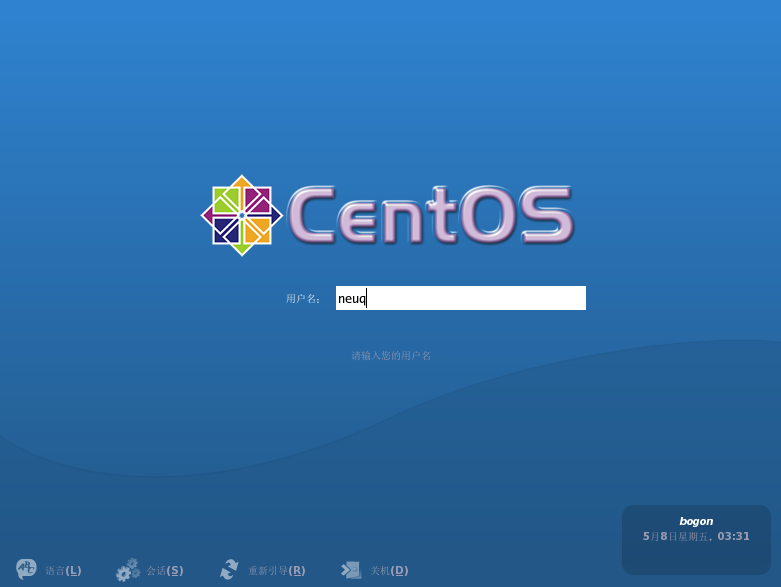
看到登录界面了。输入用户名,就是刚刚建立的那个neuq(一般用户账号)。
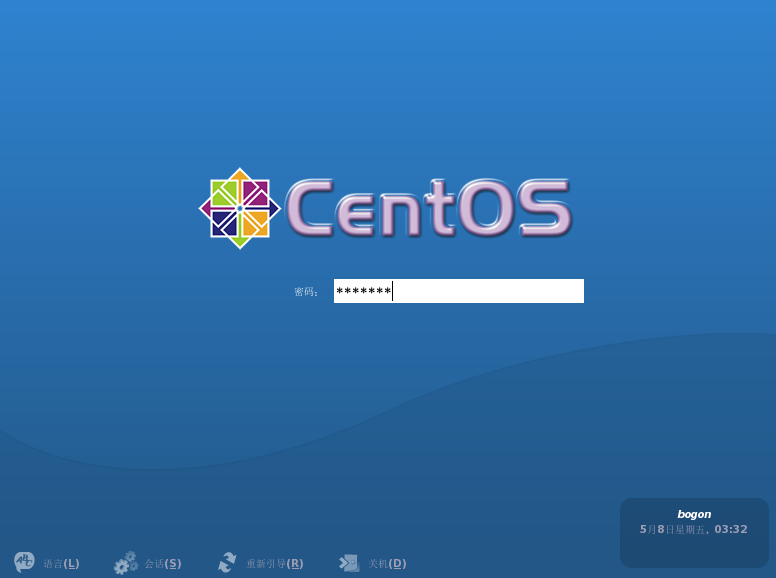
还有密码,就是不少于6位的那个。
几秒后就看到下面的界面了。成功安装。